Wiki Home Installation Diskless boot with UEFI BIOS
Diskless boot with UEFI BIOS
2023-06-04
diskless, boot, client, uefi
The following provides step-by-step instructions to enable diskless booting on a client PC via UEFI BIOS
Asus UEFI
1) First of all, you need to enable UEFI. To do so:
a) Open Boot tab and then select CSM (Compatibility Support Module) (Figure 1).
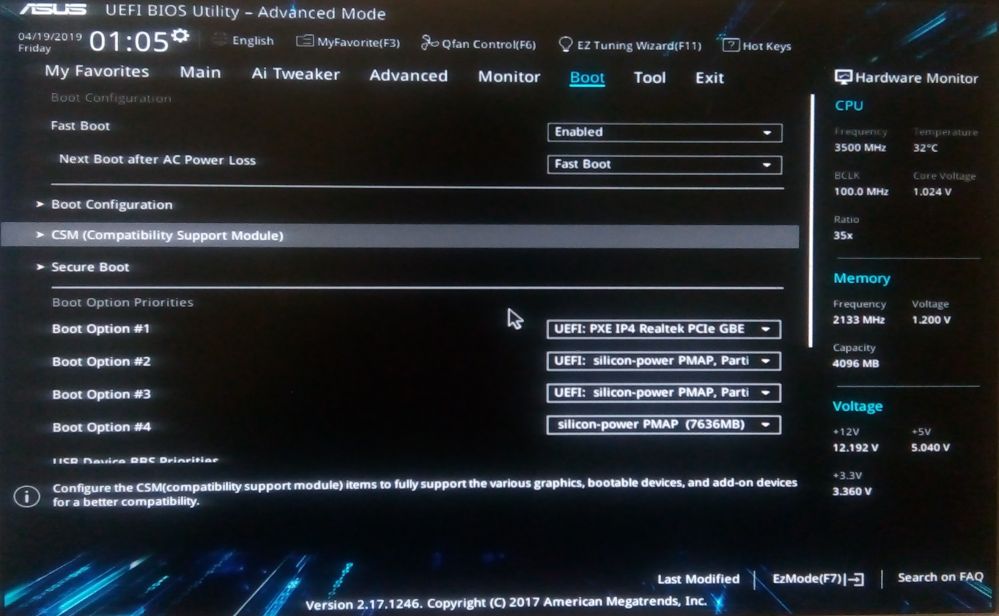
Figure 1
b) Once CMS is selected, enable for all devices UEFI (Figure 2).
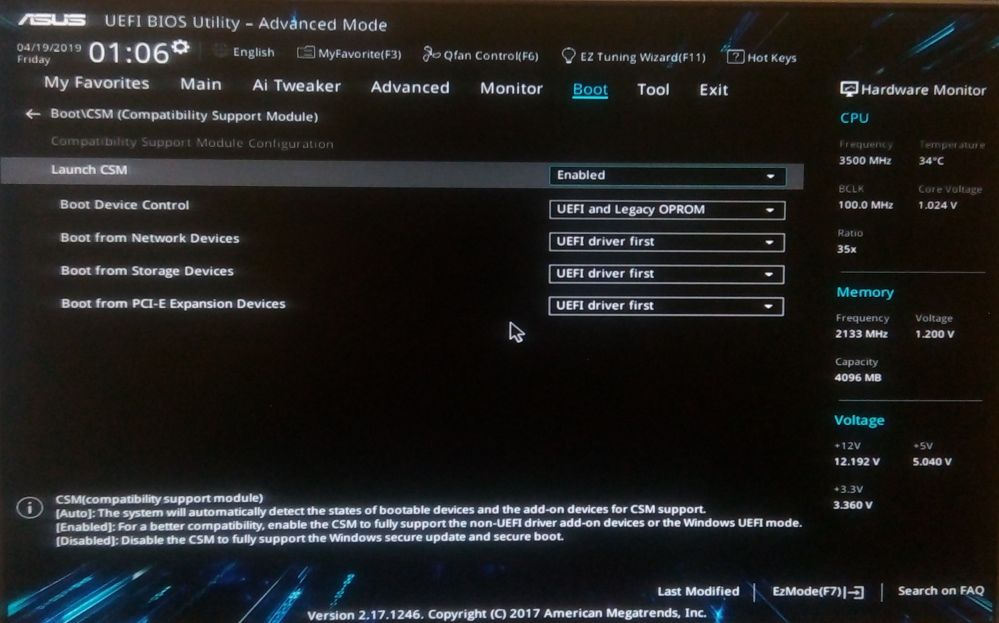
Figure 2
2. Then enable booting from Network. To enable booting from the network, open the "Advanced" tab, then "Onboard Devices Configuration" and enable PXE OPROM (Figure 3).
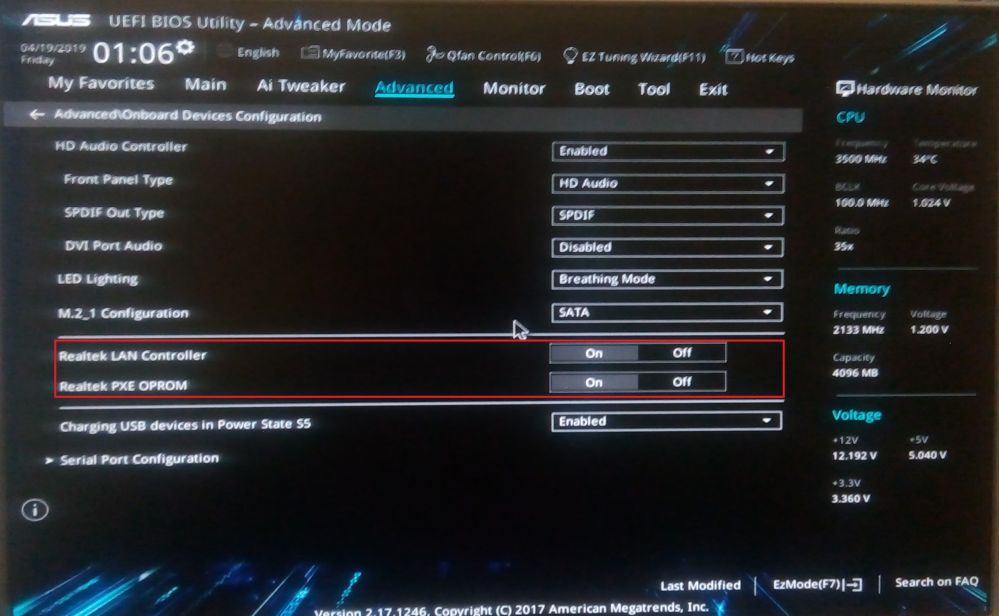
Figure 3
3. Once enabling booting from the network, go back to " Advanced" tab and open "Network Stack Configuration", then enable Network Stack and IPv4 PXE Support (Figure 4).

Figure 4
4. Now press F10 for save changes. If everything is right, after reboot you will see it (Figure 5).
MSI UEFI
- Open BIOS then go to “Settings>Advanced>Integrated Peripherals”
- Set parameter “LAN Option ROM” to “Enabled”
- Set parameter “Network Stack” to “Enabled”
- Set parameter “Ipv4 PXE Support” to “Enabled”
- Next go to “Settings>Advanced>Windows OS Configuration (Figure1)
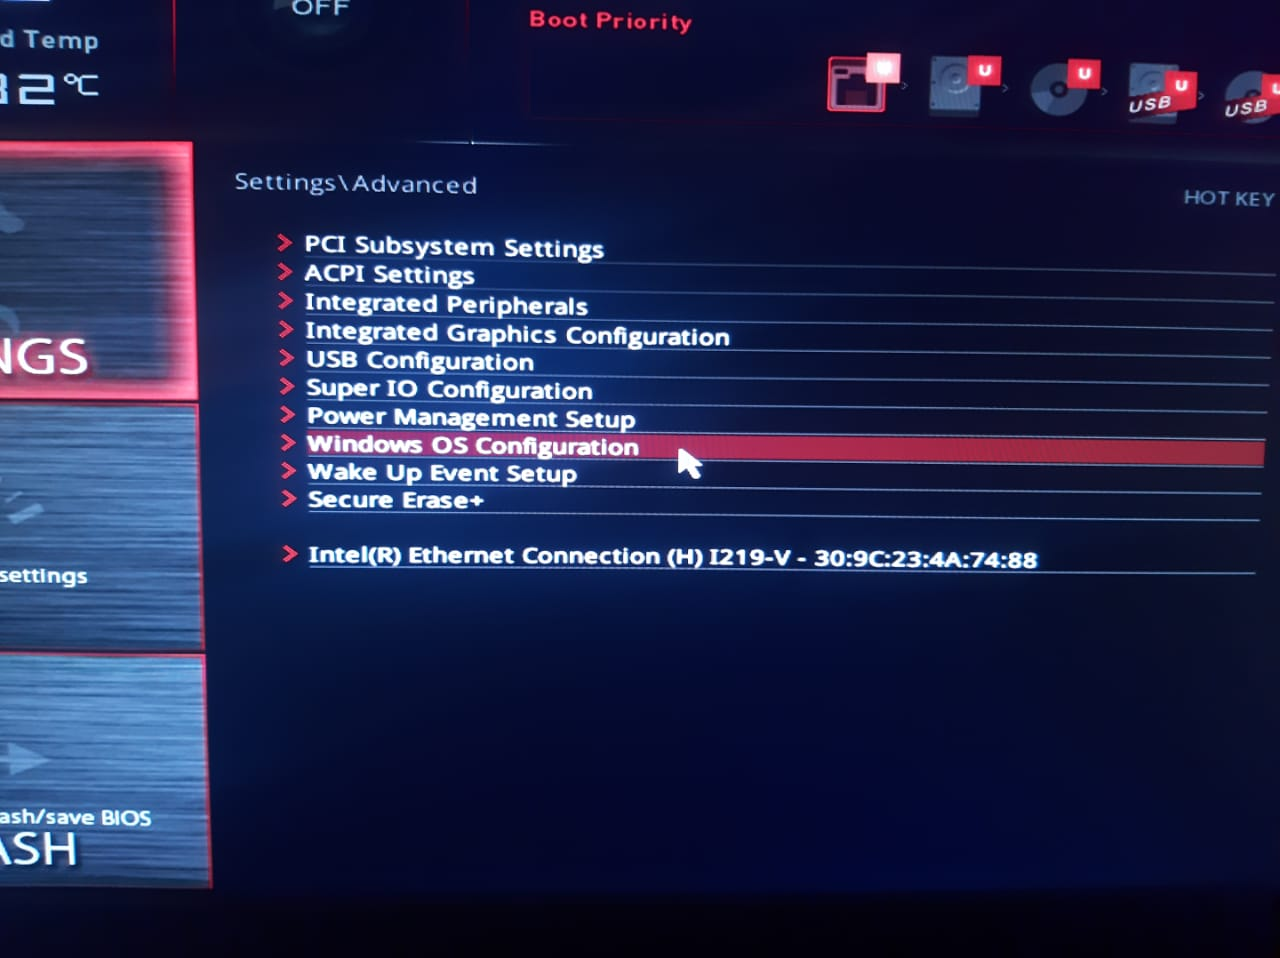
Figure 1
- Set parameter “Windows 10 WHQL Support” to “UEFI” (Figure 2)
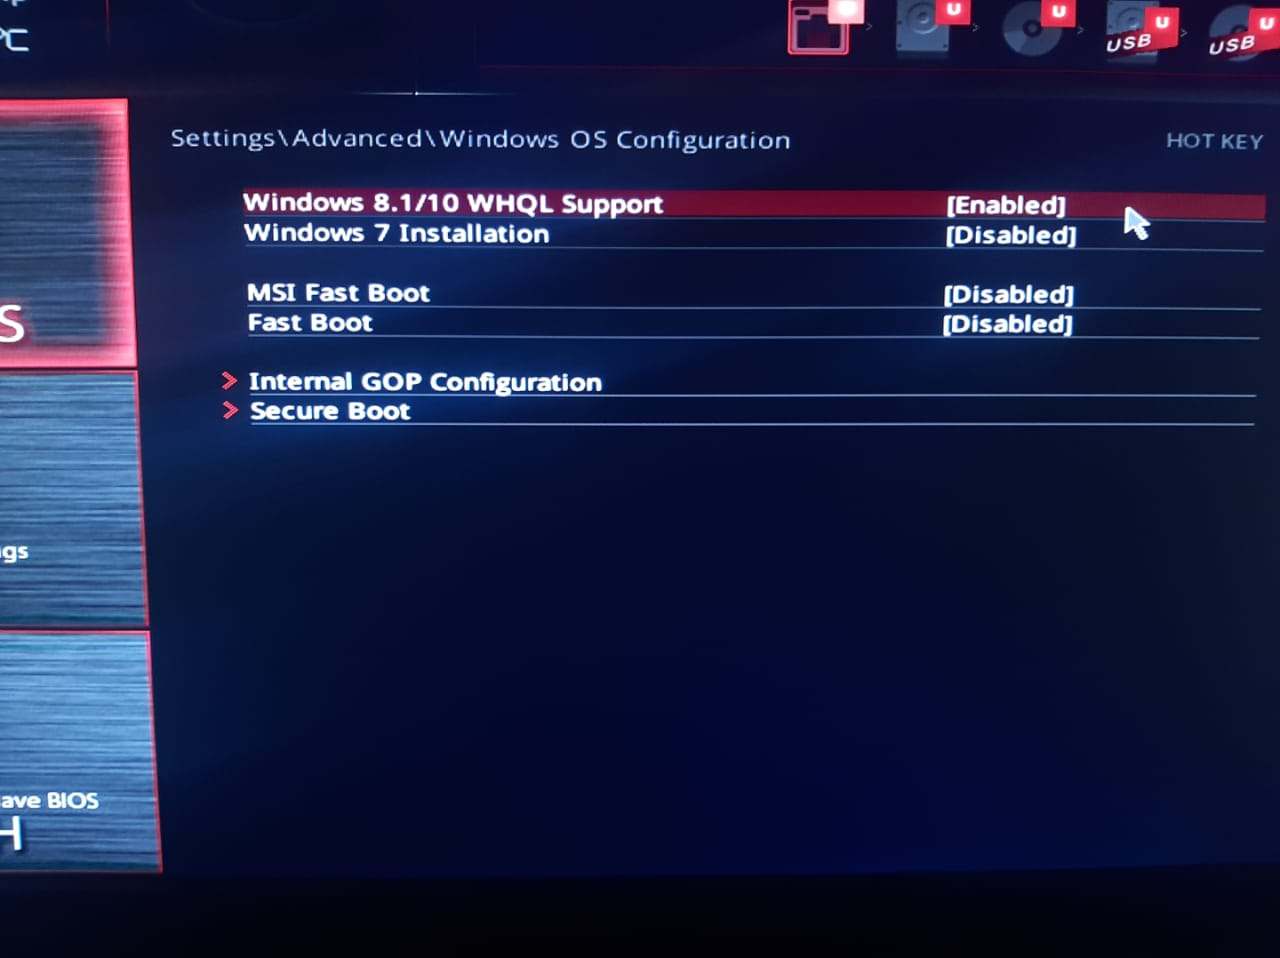
Figure 2
- Next go to :Settings>Boot” (Figure 3)
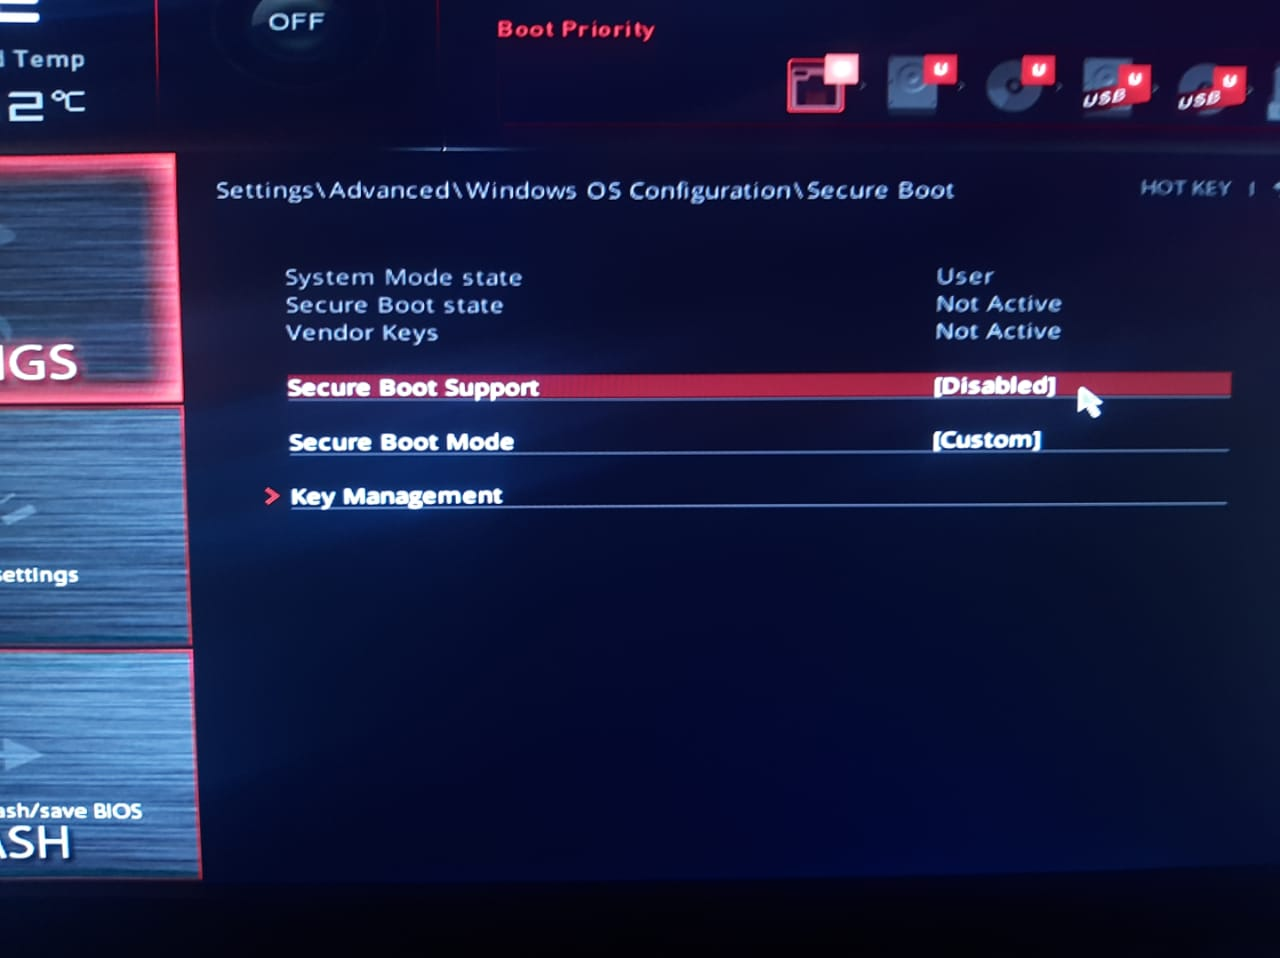
Figure 3
- Set parameter “Boot mode Select” to “Legacy + UEFI” or “UEFI”
- Set parameter “Boot Option #1” to “UEFI Network”
- Now press F10 for save changes.
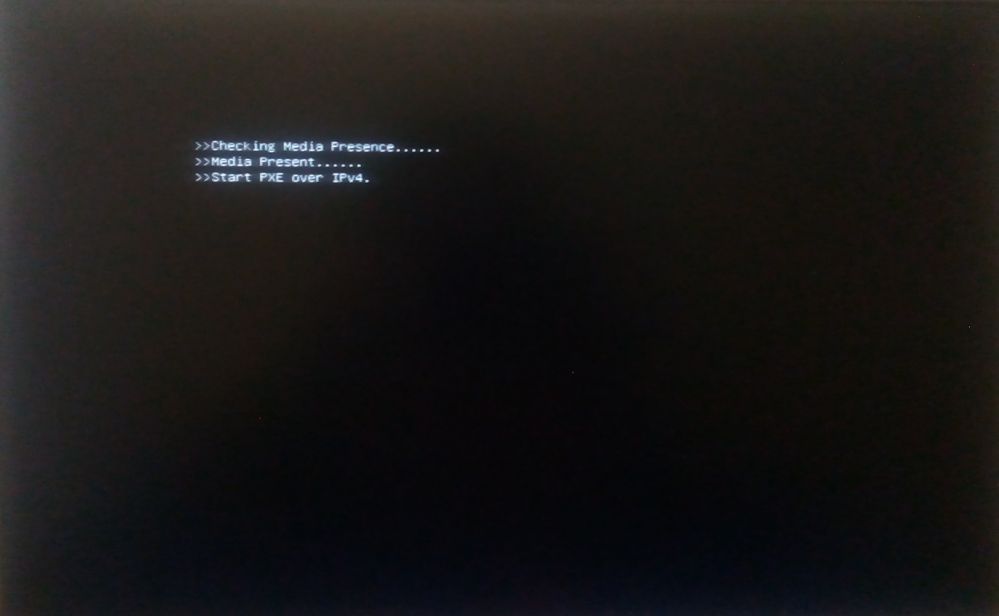
Figure 5
Note: UEFI BIOS is different from one board to another. So, having all boards screenshot is not possible. However, the general settings that need to be done in the UEFI are mentioned above.
Gigabyte UEFI
- Open BIOS then go to IO ports (Figure 1).
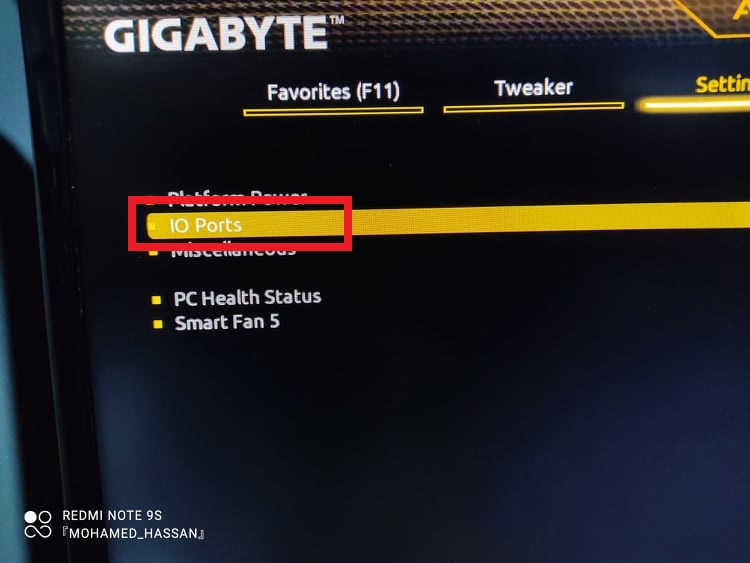
Figure 1
- Then go to “Settings>Network Stack Configuration” (Figure 2).
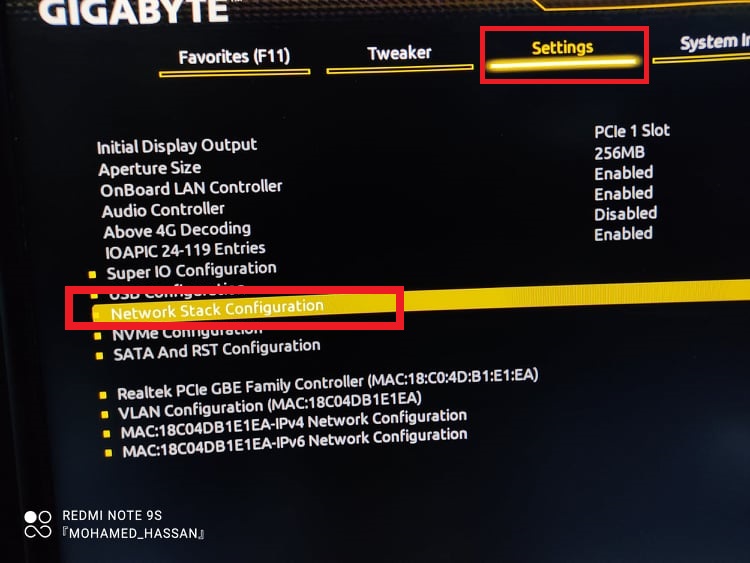
Figure 2
- Enable the network stack if it is disabled (Figure 3).
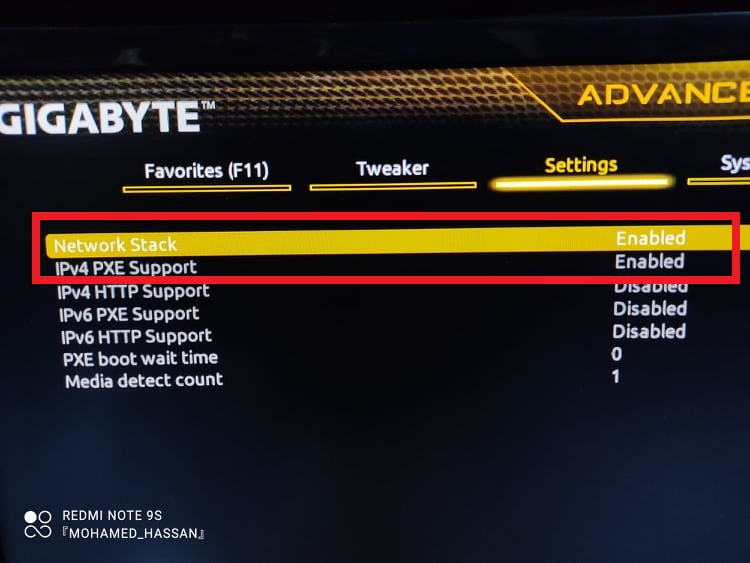
Figure 3
- Then in the “Boot” tab, check the settings as in the following figures 4 and 5.
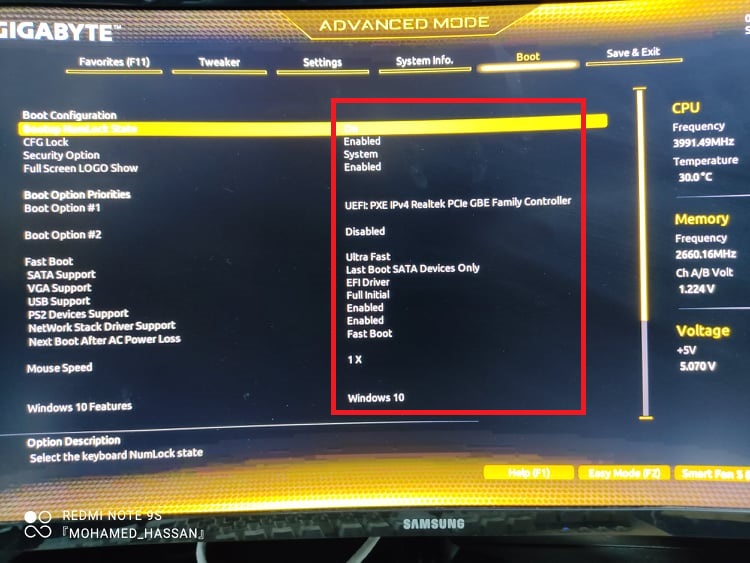
Figure 4
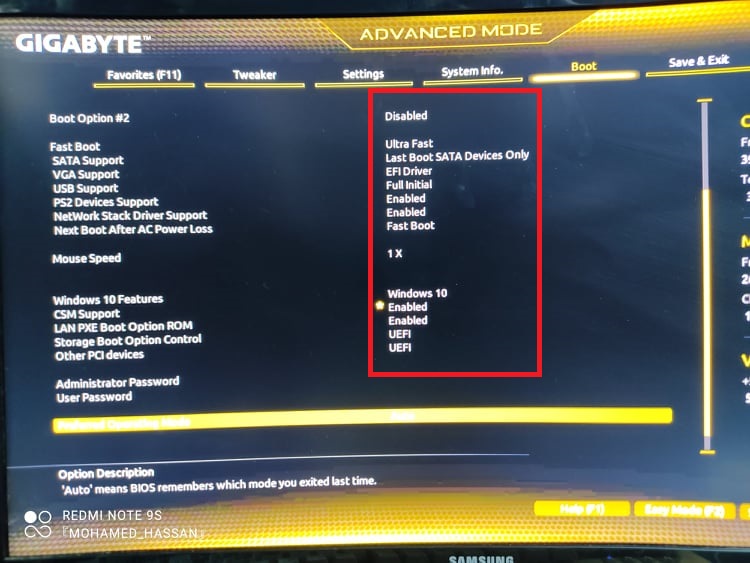
Figure 5
- Finally save and exit(Figure 6).
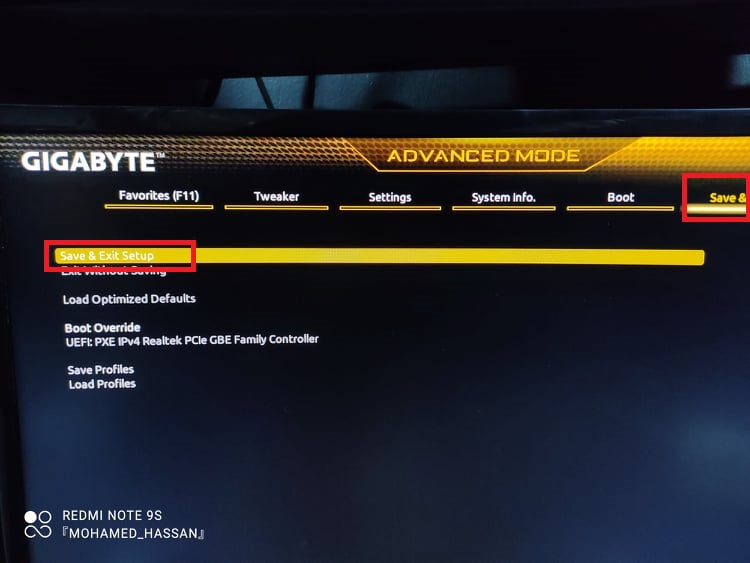
Figure 6
Asrock UEFI
Enable IOMMU
- Restart your PC and enter BIOS by pressing F2 or Del when the ASRock logo appears.
- The BIOS usually opens in EZ Mode. Press F6 to switch to Advanced Mode.
- Go to the Advanced tab → AMD CBS → NBIO Common Options.
- Find IOMMU.
- Change it from Auto to Enabled.
Enable UEFI
- While still in BIOS, go back to the Boot tab.
- Look for Boot Mode (sometimes called CSM or Boot Option Filter).
- Set it to UEFI only (disable Legacy/CSM if it shows up).
- If you want Windows to boot in UEFI, make sure your system disk is GPT partitioned. (If it’s MBR, Windows won’t boot after switching—so convert first if needed).
- Finally, press F10 → select Save Changes and Exit.