2024-04-22
ccdisk, cloud, setup
The following details the integration and setup of CCDisk with CCBootCloud, outlining configuration steps, system requirements, and transition procedures for enhanced cloud management. Since August 24, 2023, CCBootCloud has supported the CCDisk function. Starting April 20, 2024, CCBootClient will support the CCDiskClient function.
Switch CCBoot to CCDisk
- Open cloud panel
- Go to settings -> Center settings -> CCDisk mode (Figure 1)
a.Enable = CCDisk is enabled
b.Disable = CCBoot is enabled (this will switch CCDisk to CCBoot)
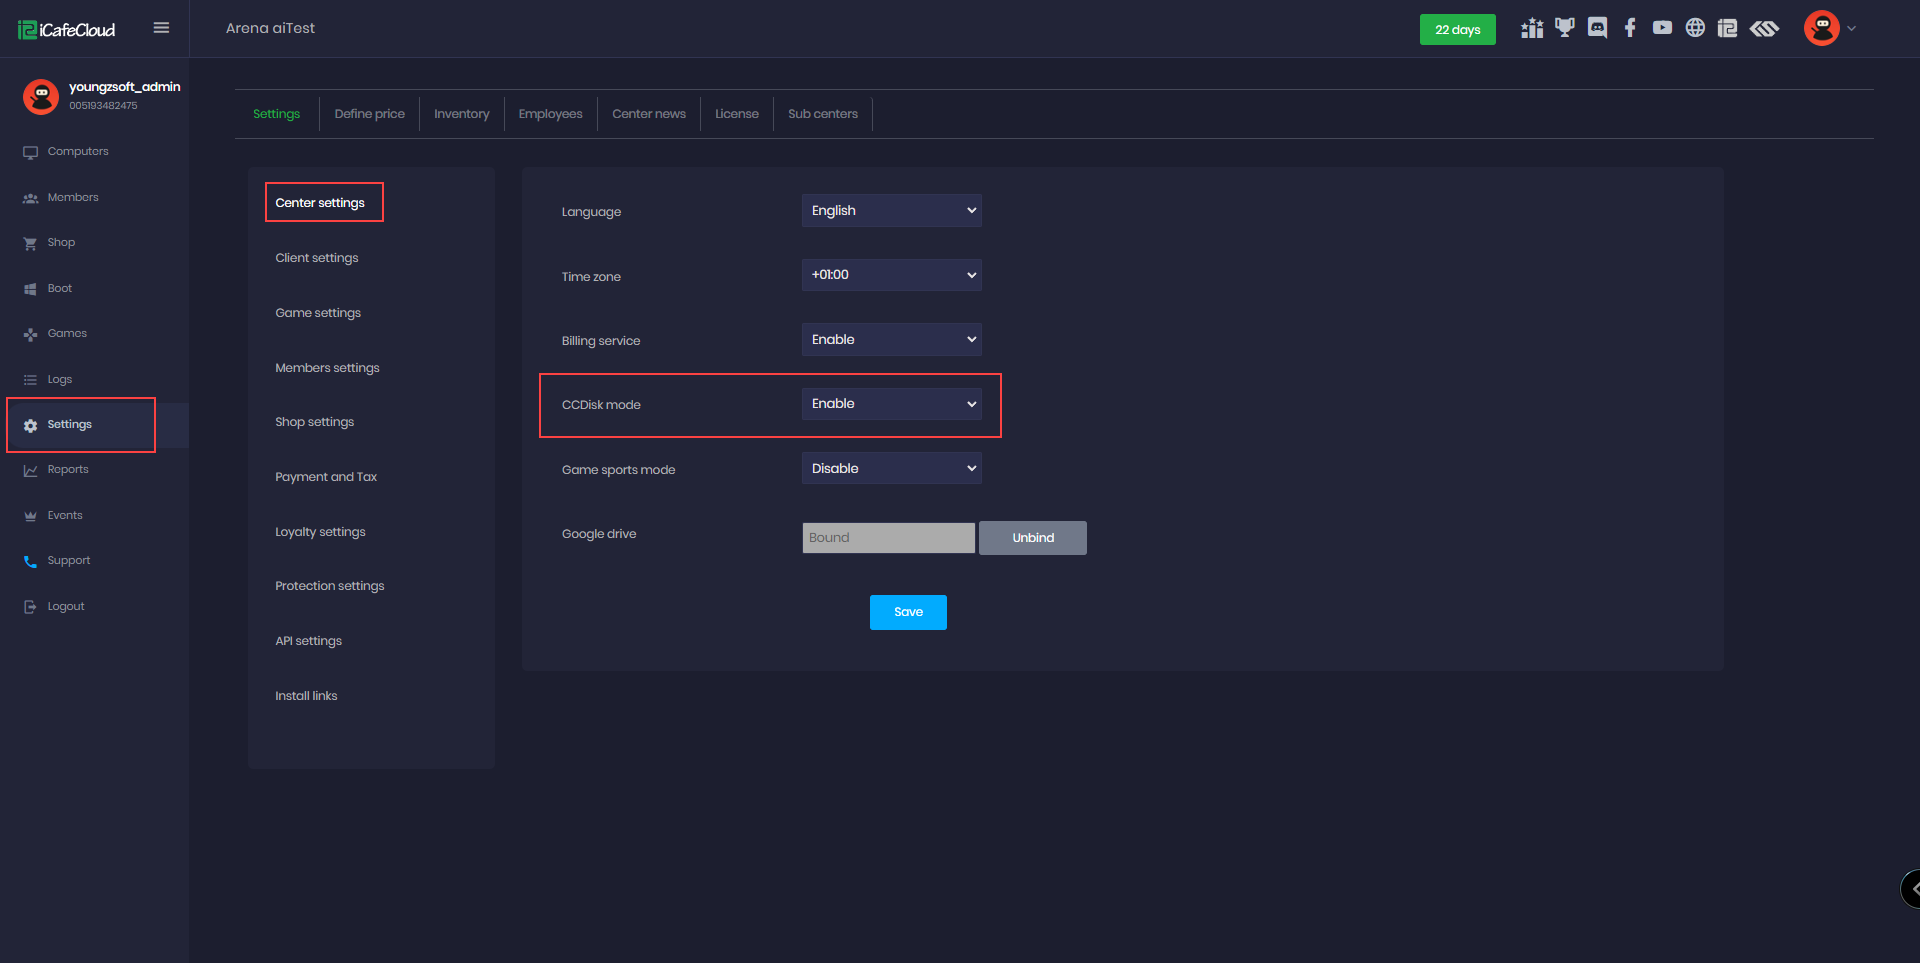
Figure 1
- Once CCDisk mode is enabled it will stop TFTP services , DHCP services, DHCP proxy services.(Figure 2)
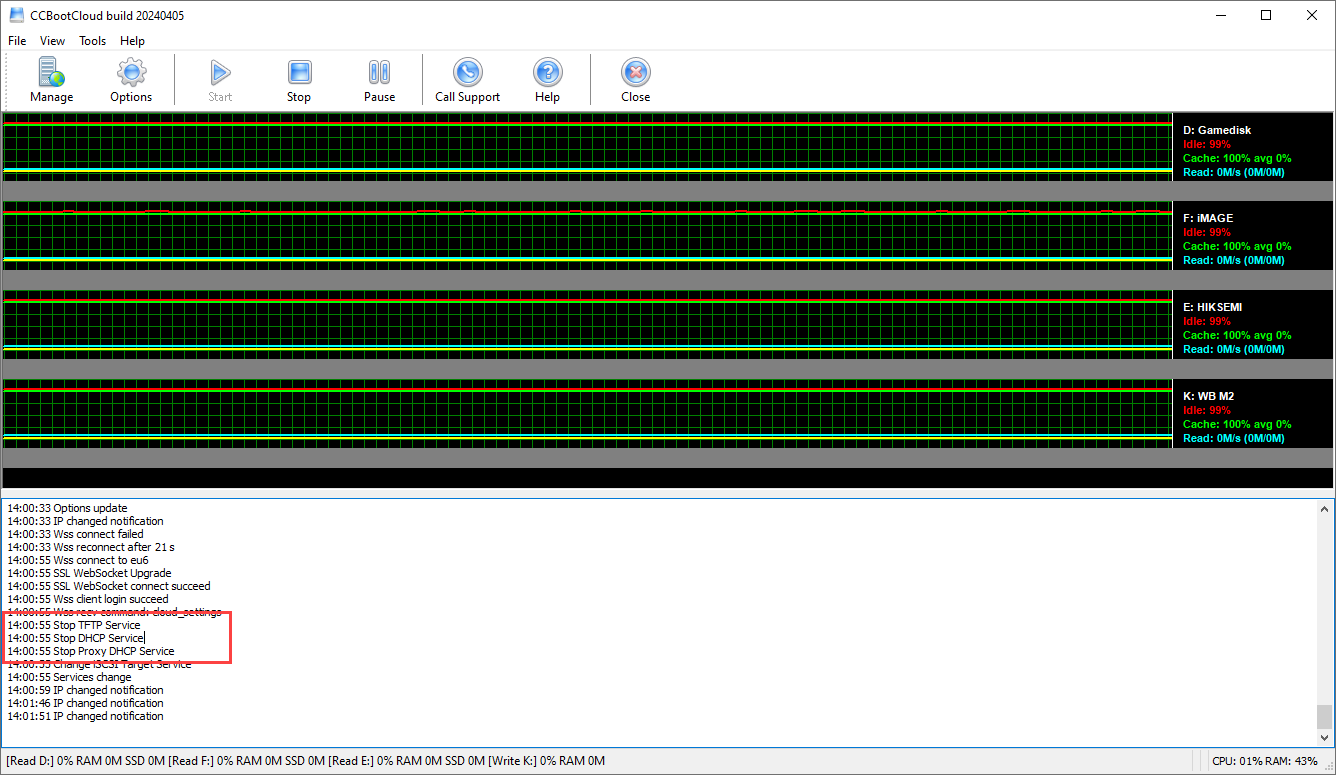
Figure 2
- The page will change from Boot to Disk once CCDisk mode is enabled. (Figure 3)
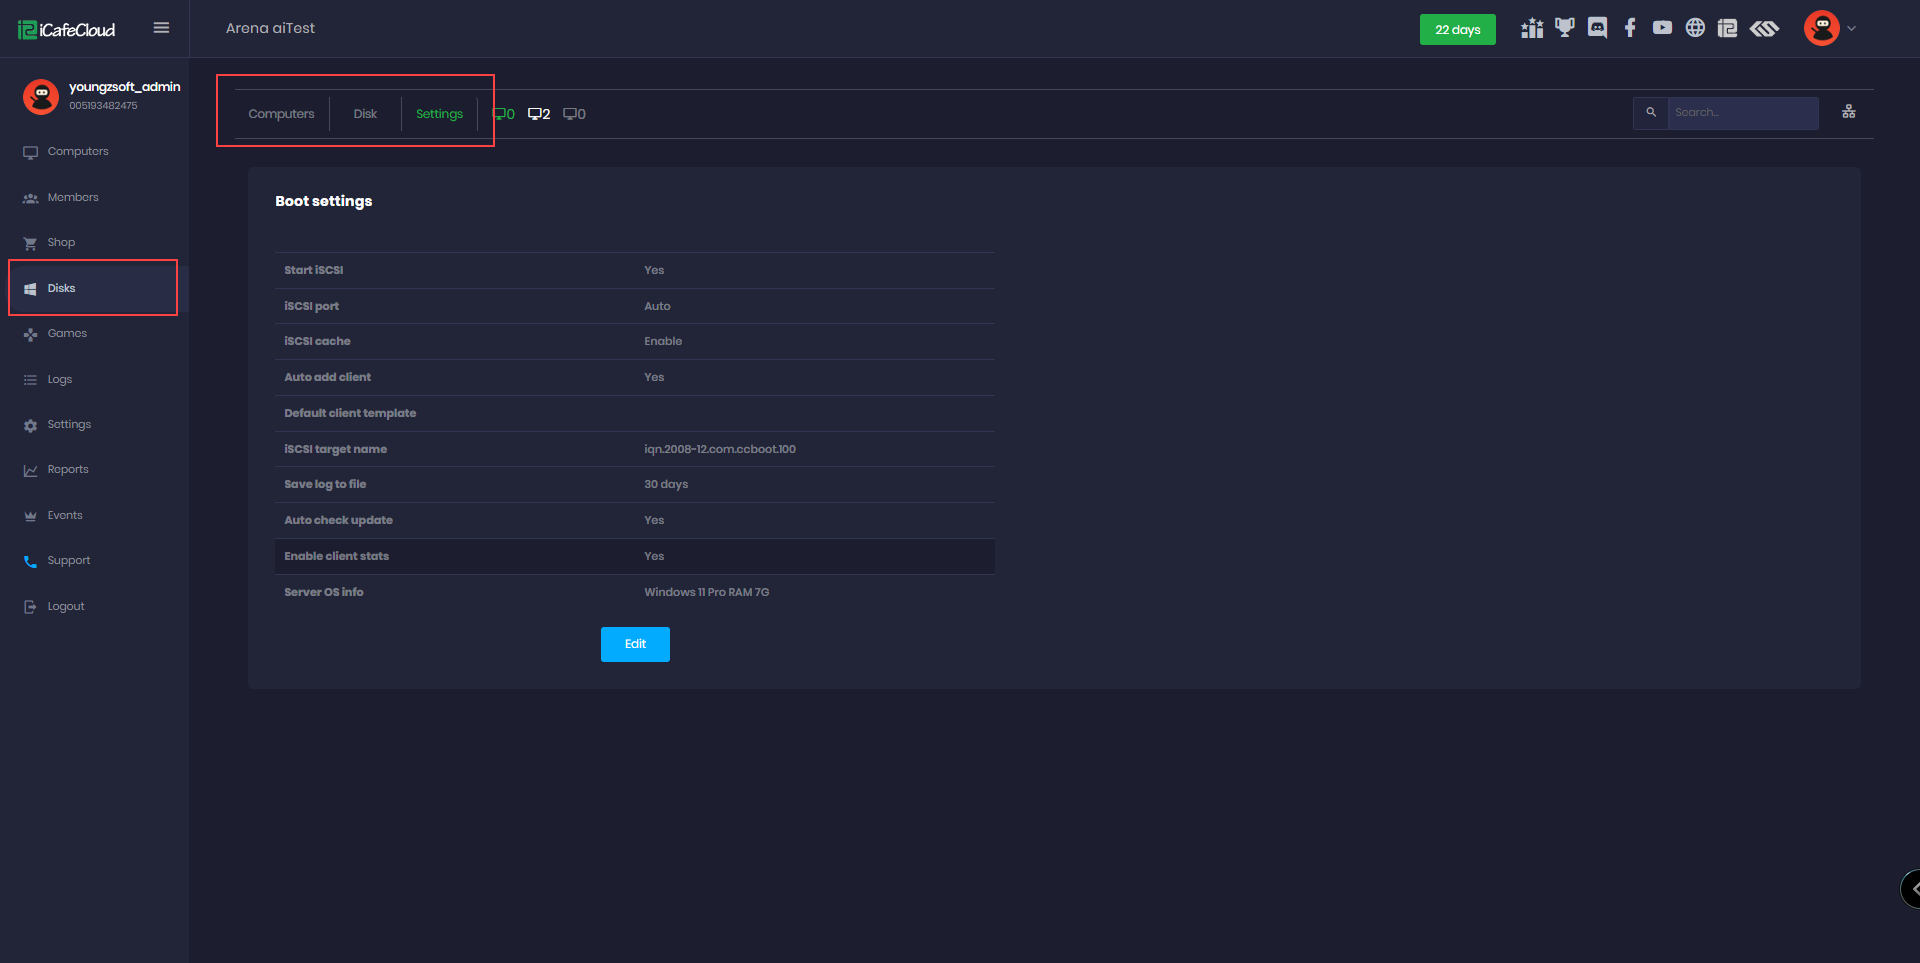
Figure 3
- The setup files can be found at settings - install links - CCBootCloud for the CCDisk server and client setup. (Figure 4)
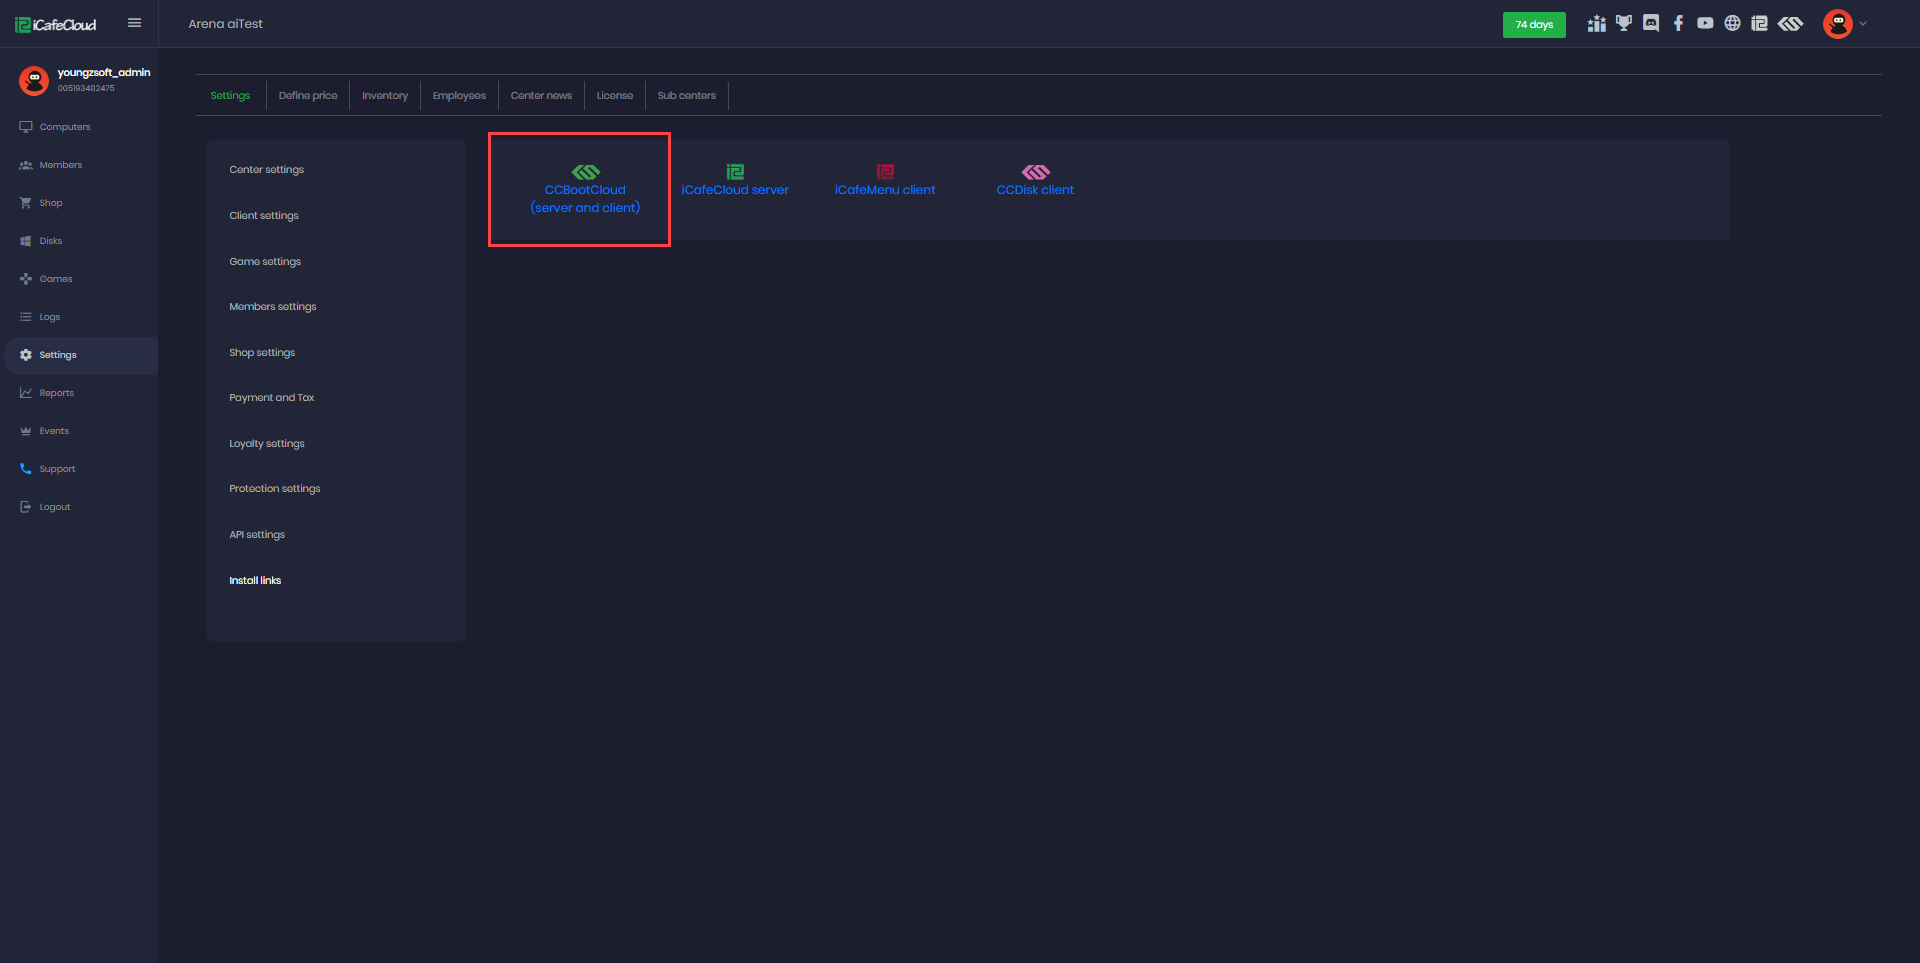
Figure 4
Install server
- Once the CCBootCloud file is downloaded, double-click on it to start the setup. In the setup window, choose "CCBoot server installation" and click "Next”. (Figure 5)
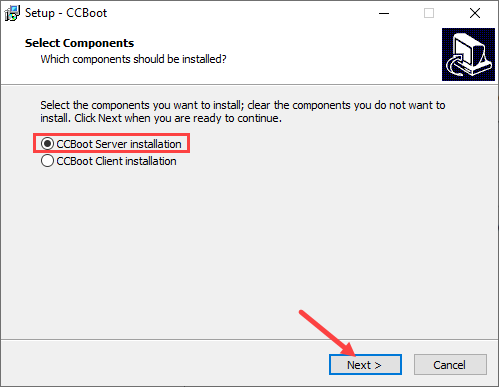
Figure 5
- On the destination folder leave it as default C:\CCBoot and click next. (Figure 6)
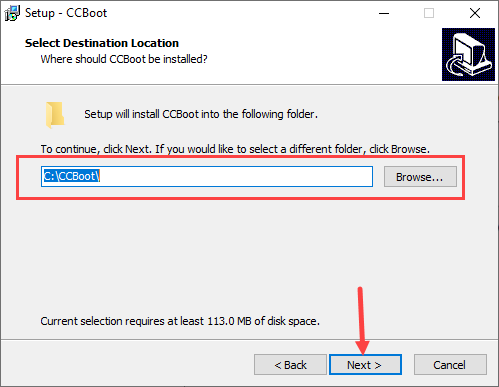
Figure 6
- After selecting "CCBoot server installation," click "Next" on the "Select start menu folder" window, then click "Next" again on the "Select additional tasks" window. Finally, click "Install" to finish the installation.
- Once the setup is complete, the CCBootCloud server will open and ask for your license and password. After you fill in this information, click "OK," and it will connect with the cloud.(Figure 8)
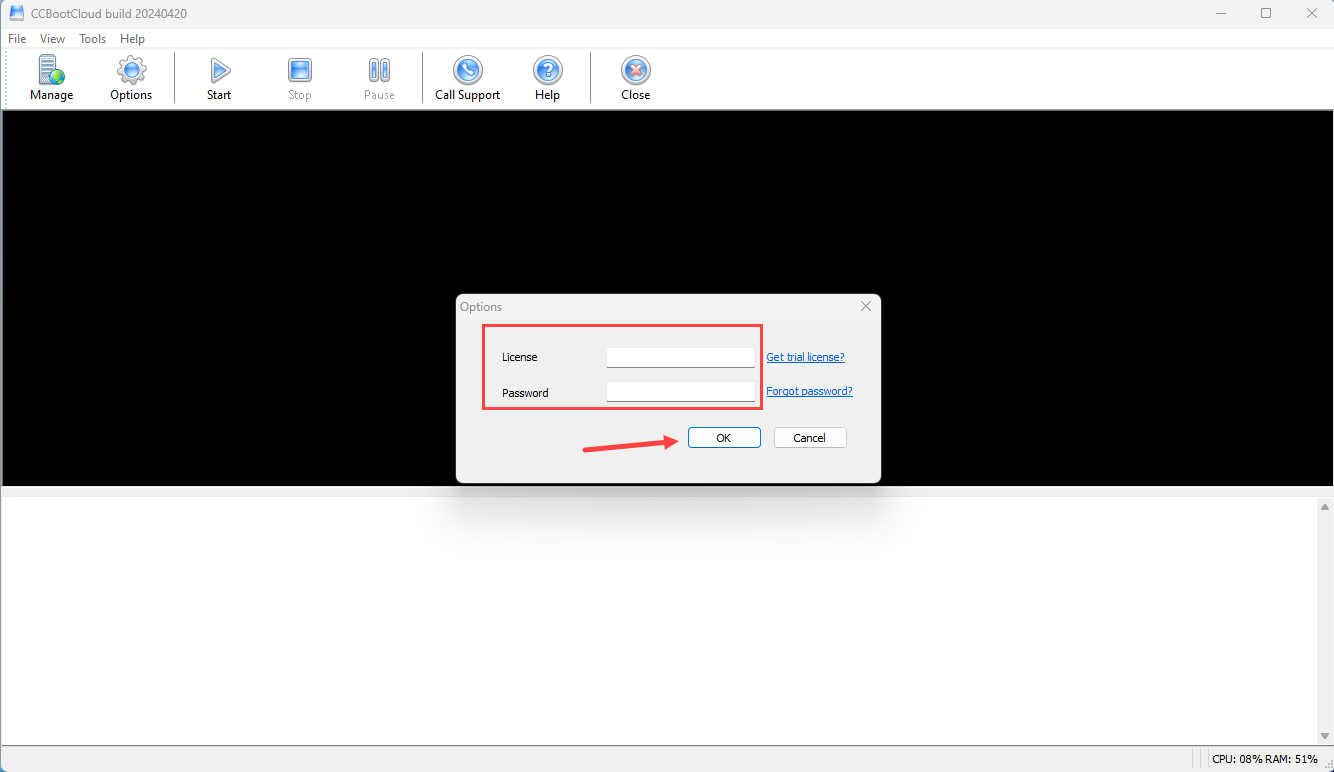
Figure 8
- Now, you can log in to your admin panel at cp.icafecloud.com and change the settings to CCDisk mode, as mentioned at the beginning of the manual.
Install Client
- Please ensure that each client PC has a unique static IP address and a distinct PC name. Otherwise, the CCBoot server will not recognize it. Do not change from a static IP to an automatic IP; always keep it set to static.
- Once you have downloaded the CCBootCloud file, double-click on it to start the setup. This action will open the setup window for CCBootClient. From there, select the “CCBoot Client installation” and click next to begin the installation process.(Figure 9)
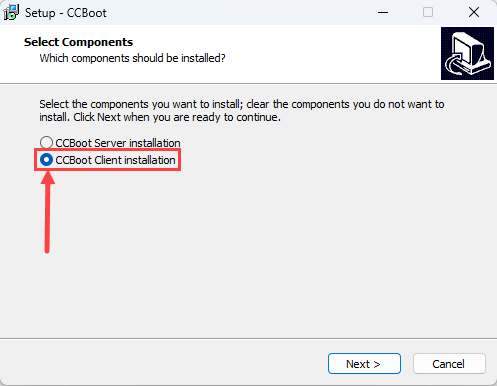
Figure 9
- Continue with the installation steps. Once you reach the "Complete the installation" window, select "Launch CCBootCloud" and then click "Finish".(Figure 10)
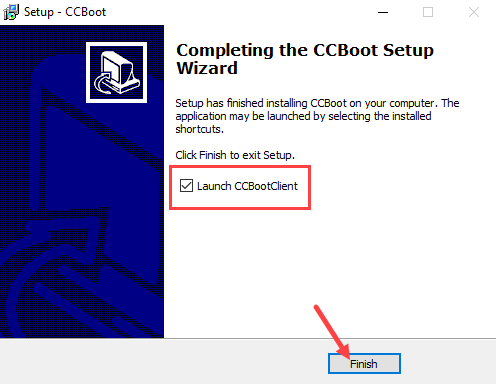
Figure 10
- The next step is to disable UAC and set a static IP. Once that's done, you will be prompted to "Start Install Client." Click "Yes" to proceed. (Figure 11)
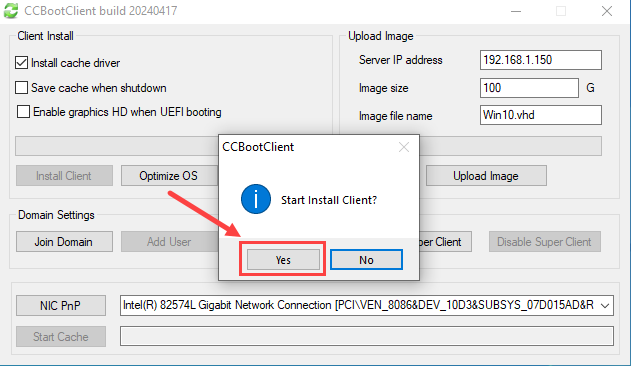
Figure 11
- You can skip the "Please reboot this PC and then upload image" step by selecting "No" as CCDiskCloud boots locally from the disk and doesn’t require an image. (Figure 13)
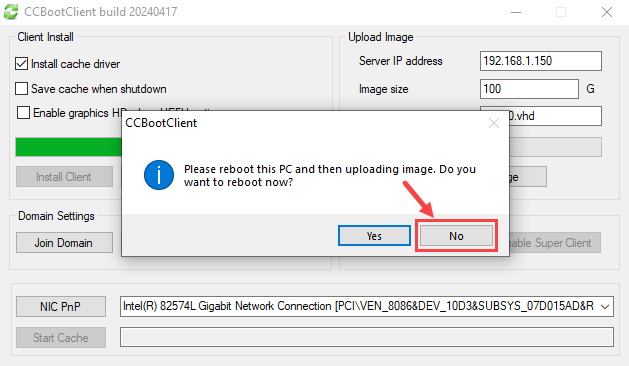
Figure 13
- And now the installation is complete.
- When the client virtual disk is ready, ccbootclient.exe will execute C:\CCBootClient\DiskIsReady.bat. You can manually create the batch file and rename it to DiskIsReady.bat to add your own scripts for execution.
Possible Problems
- Secure boot violation issue. Reinstall windows on the client PC. (Figure 1)
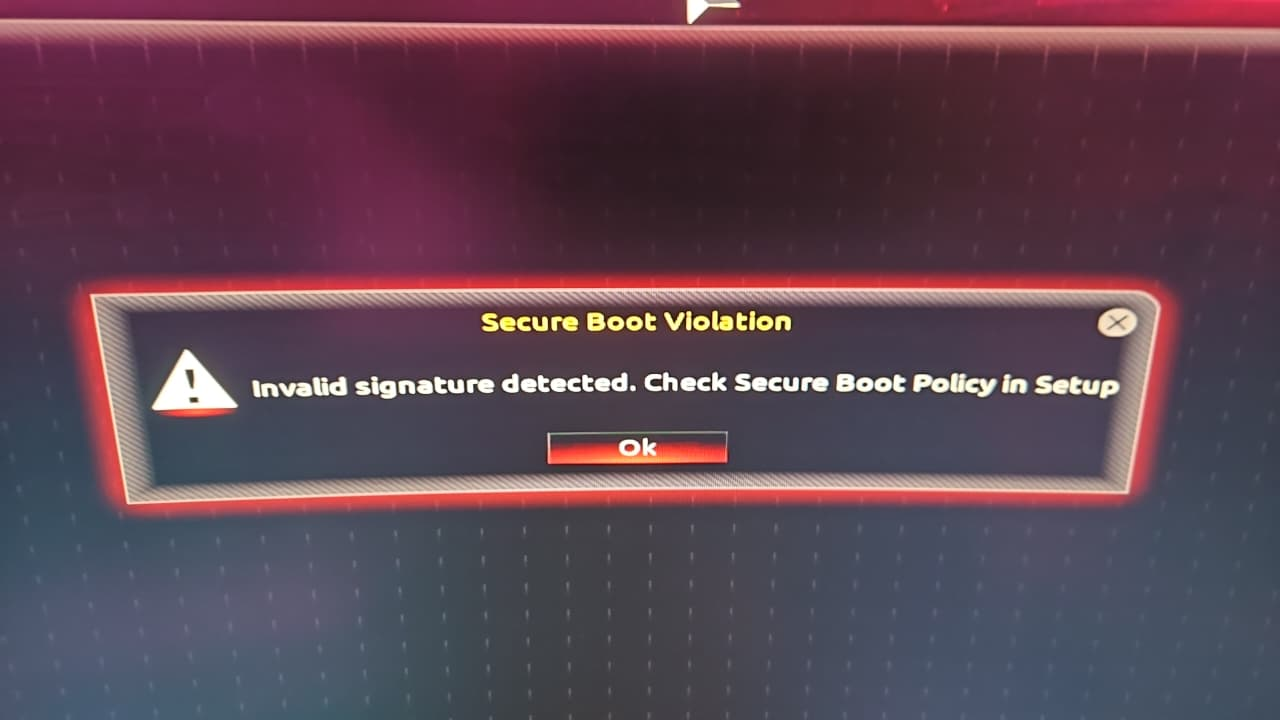
Figure 1