2024-04-09
valorant, secureboot, vanguard, fixes
Valorant requires UEFI and SecureBoot enabled in Windows 11 because Valotant anticheat (Vanguard). When encountering the "Install" prompt instead of "Play" on the Riot Client after the game is updated on the server, you can resolve this issue by following the solutions below
- Navigate to the settings menu on the admin panel, then proceed to the "Game Settings" section. Within this section, locate the "Game Fix" option and activate it. Specifically, enable the fix for Riot Games to ensure optimal functionality.
- Upon activation, a folder will be generated within the Game Fix directory on the server. This folder will contain both the appdata and programdata components. It will function as a symbolic link, connecting seamlessly with the client's corresponding appdata and programdata directories.
- Following this setup, launch the Valorant game on the client side. You may notice it displaying an "installing" or "updating" message once more. Rest assured, this behavior is expected as the game is installing or updating the new Vanguard anti-cheat system, ensuring enhanced security measures.
- To ensure seamless installation of the anti-cheat system, open the Super Client. This will allow you to save the installation process once the anti-cheat is being installed. Let the installation process complete uninterrupted. Once it finishes, a message will prompt you to restart the PC for the changes to take effect. (Figure 4).
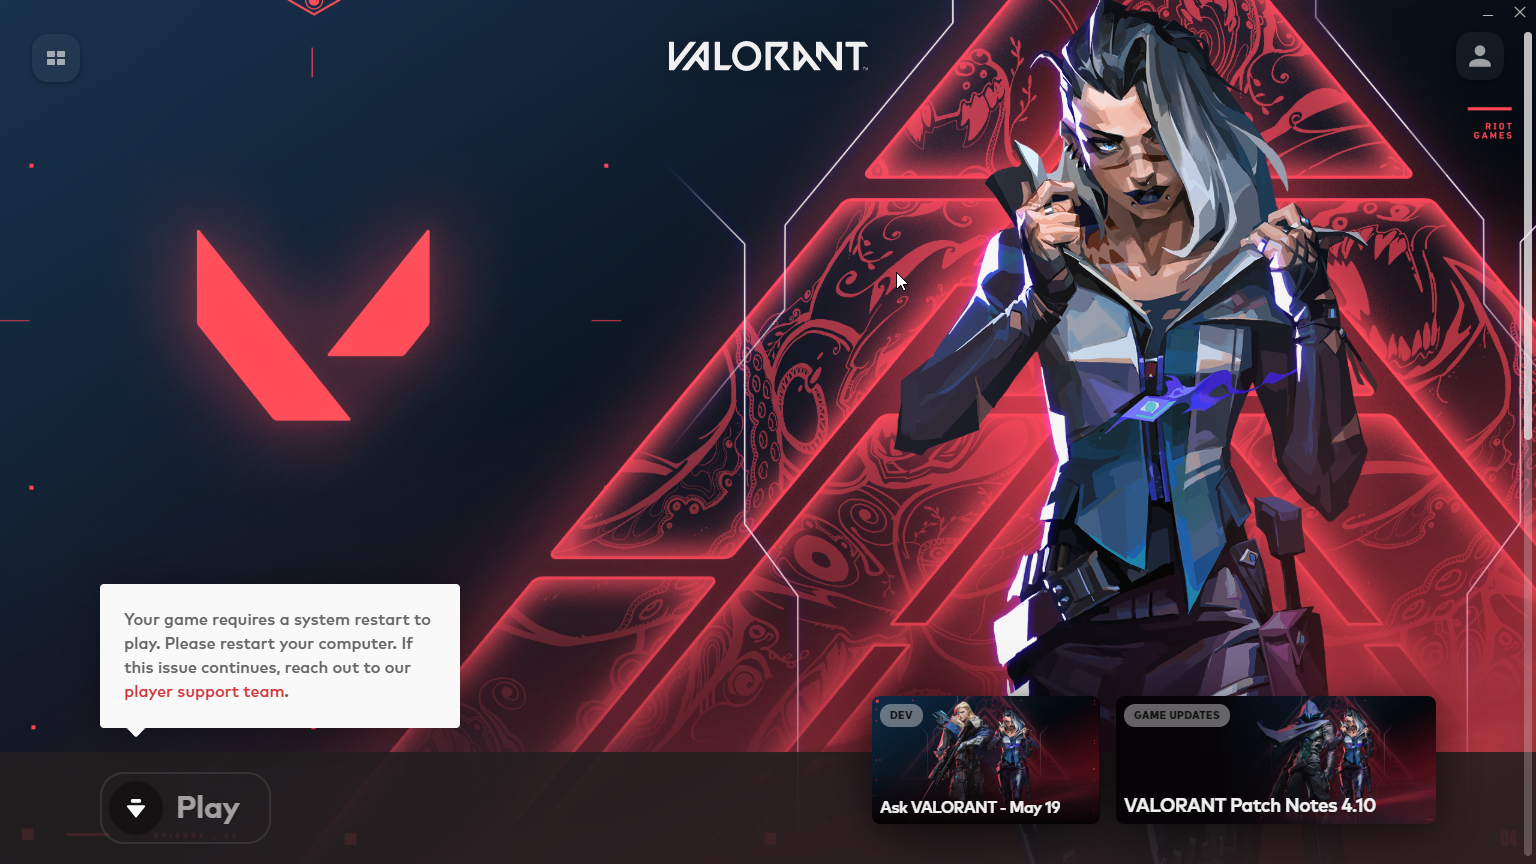
Figure 4
- After restarting the client, proceed to check the status. You should now see the option to "Play" the game, indicating that the installation process is successfully completed and you are ready to start playing.
- Turn off the PC, and disable the Super Client mode. Once disabled, proceed to save the image of the system.