2024-10-10
expand, disk, size
When creating a boot image with a VHD file, you can either set a specific disk size or use a small partition. To expand the VHD disk size later, follow this method to safely increase the allocated space.
- Stop the CCBoot service to release the VHD file from being accessed.
- Download VhdResize.zip from http://www.CCBoot.com/download/vhdtools/, extract it, and install the program.
- Click Start and select VHD Resizer. (Figure 1)
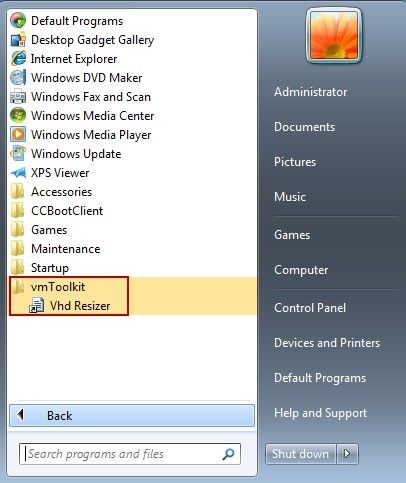
Figure 1
- In VHD Resizer, click the Open button to locate the old VHD file path. Then, click Save As to choose a new path for the resized VHD file. Enter the new disk size in the New Size field and click the Resize button to proceed.(Figure 2)
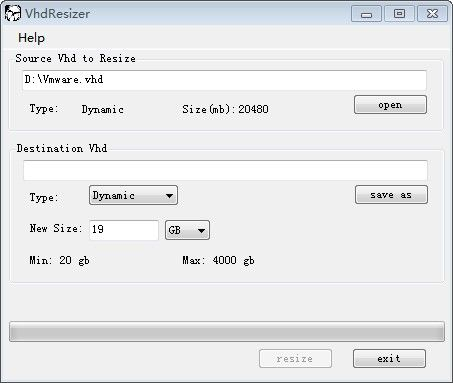
Figure 2
- When the resizing is complete, right-click My Computer and select Manage.
- In the Computer Management window, select Disk Management from the left-hand panel. Right-click on Disk Management and select Attach VHD.
- Locate the new VHD file. A new disk will appear in the disk list, indicated by a bright blue VHD disk icon.(Figure 3)
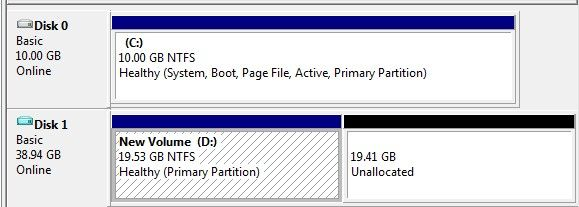
Figure 3
- Right-click on the new volume (e.g., New Volume (D:)) and select Expand Volume.(Figure 4)
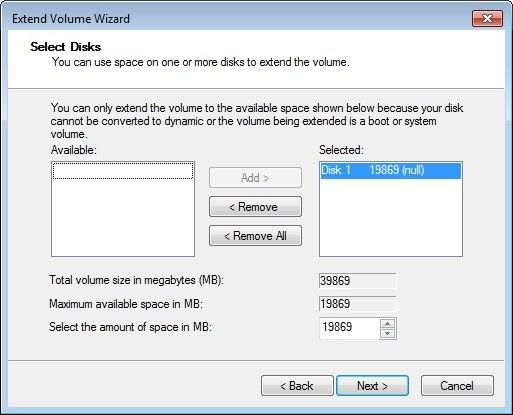
Figure 4
- In the Extend Volume Wizard, click Next to proceed through the steps.(Figure 5)
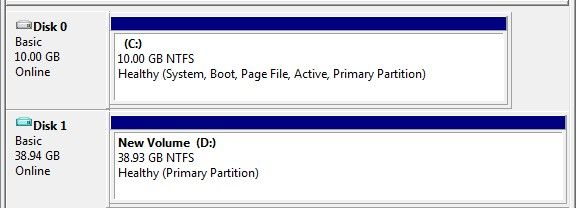
Figure 5
- After the volume is expanded, right-click on Disk 1 (or the disk where the VHD is attached), select Detach VHD, and click OK. Important: Ensure you do not select the Delete File option when detaching the VHD.(Figure 6)
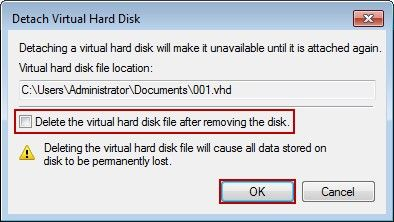
Figure 6
- Now you can add the newly resized VHD file to CCBoot. After booting with this VHD image, the C: drive will be expanded automatically.