2023-07-16
make, mellanox, nic
The following provides step-by-step instructions for integrating Mellanox 10G NIC drivers into CCBoot images
Before starting, download the required Mellanox driver package from our google drive.
Follow the steps below to make Mellanox 10G NIC work on CCBoot:
- Open CCBootCloud CP, in the “Image” tab, right click on image and choose "Add NIC Driver to image" then choose “Add from inf” (Figure 1).
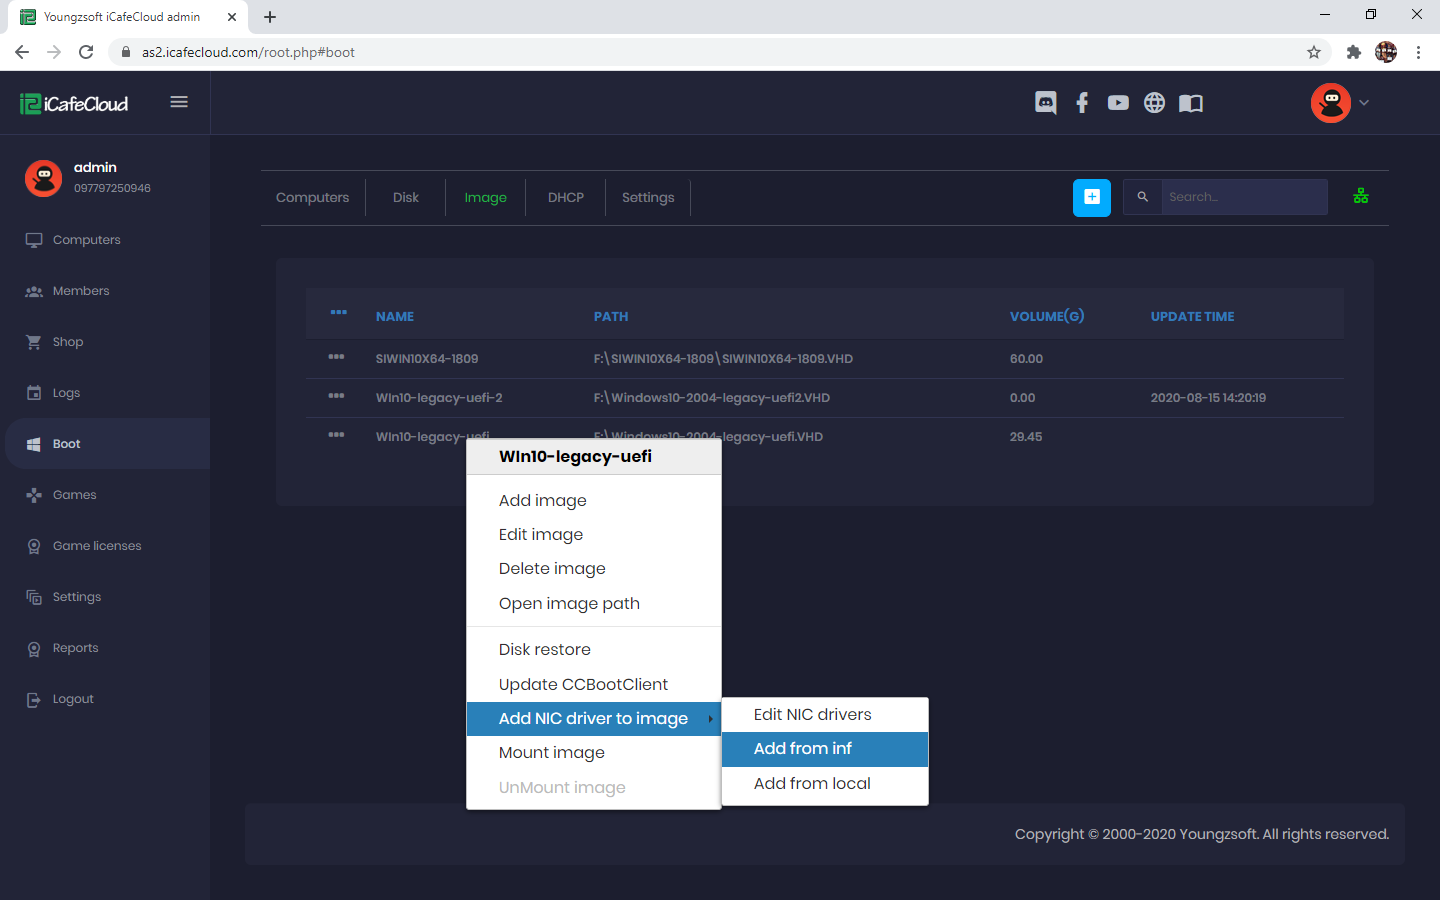
Figure 1
Note: There are two drivers mlx4eth63.inf (for the NIC) and mlx4_bus.inf (for the bus driver, the 10G NIC always connects to a special bus interface).
- Extract the downloaded “mellanox.zip” and then browse to “mellanox\5.10\Program Files 64\Mellanox\MLNX_VPI\ETH\” and choose the “mlx4eth63.inf” file then click “select” button (Figure 2).
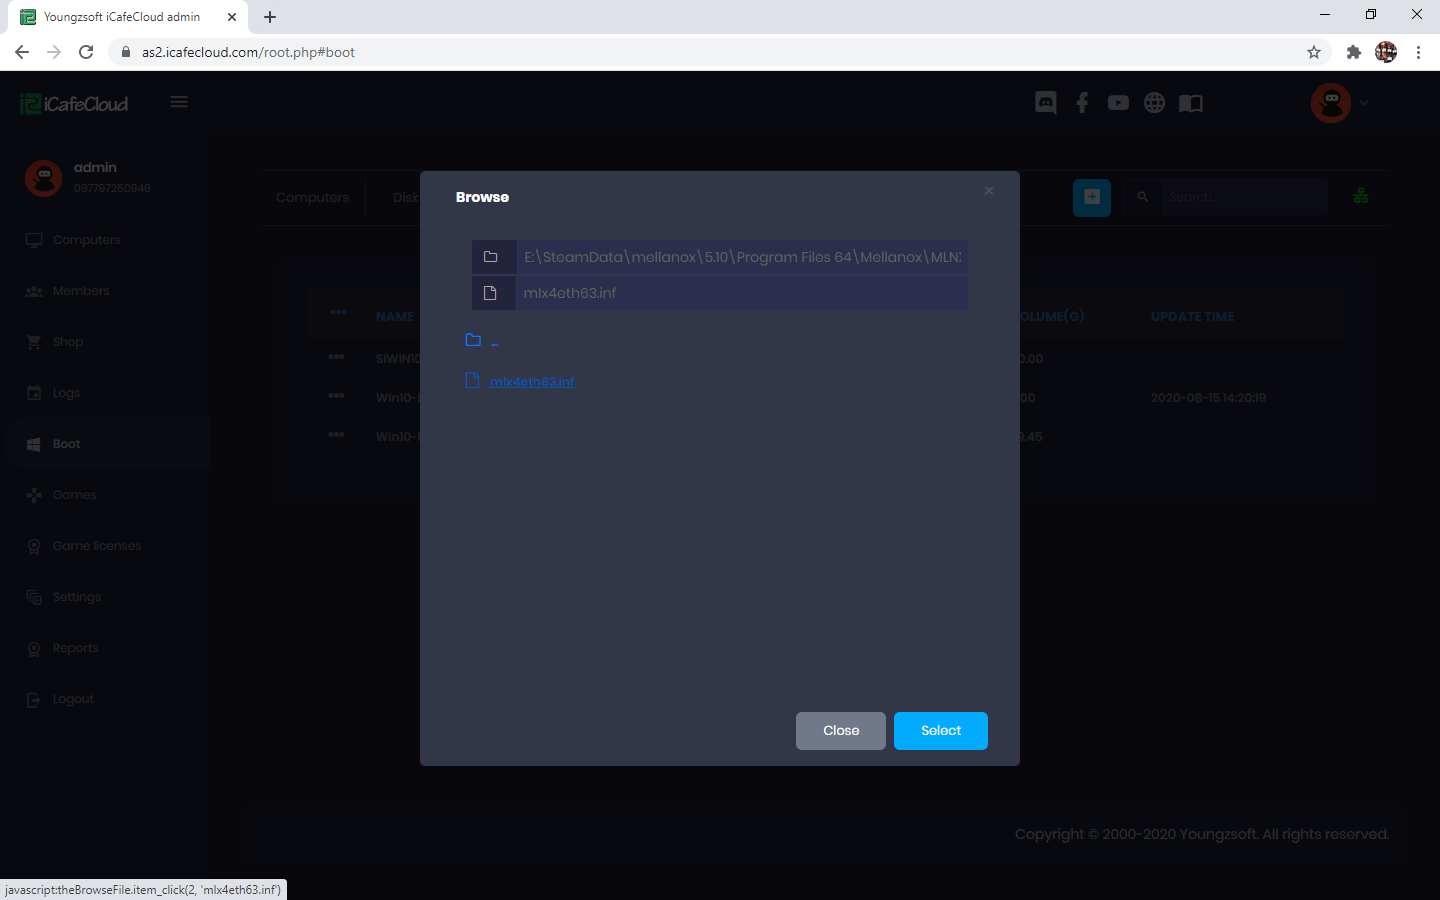
Figure 2
- Check the “Select all” check box and then click on "Ok" button (Figure 3).
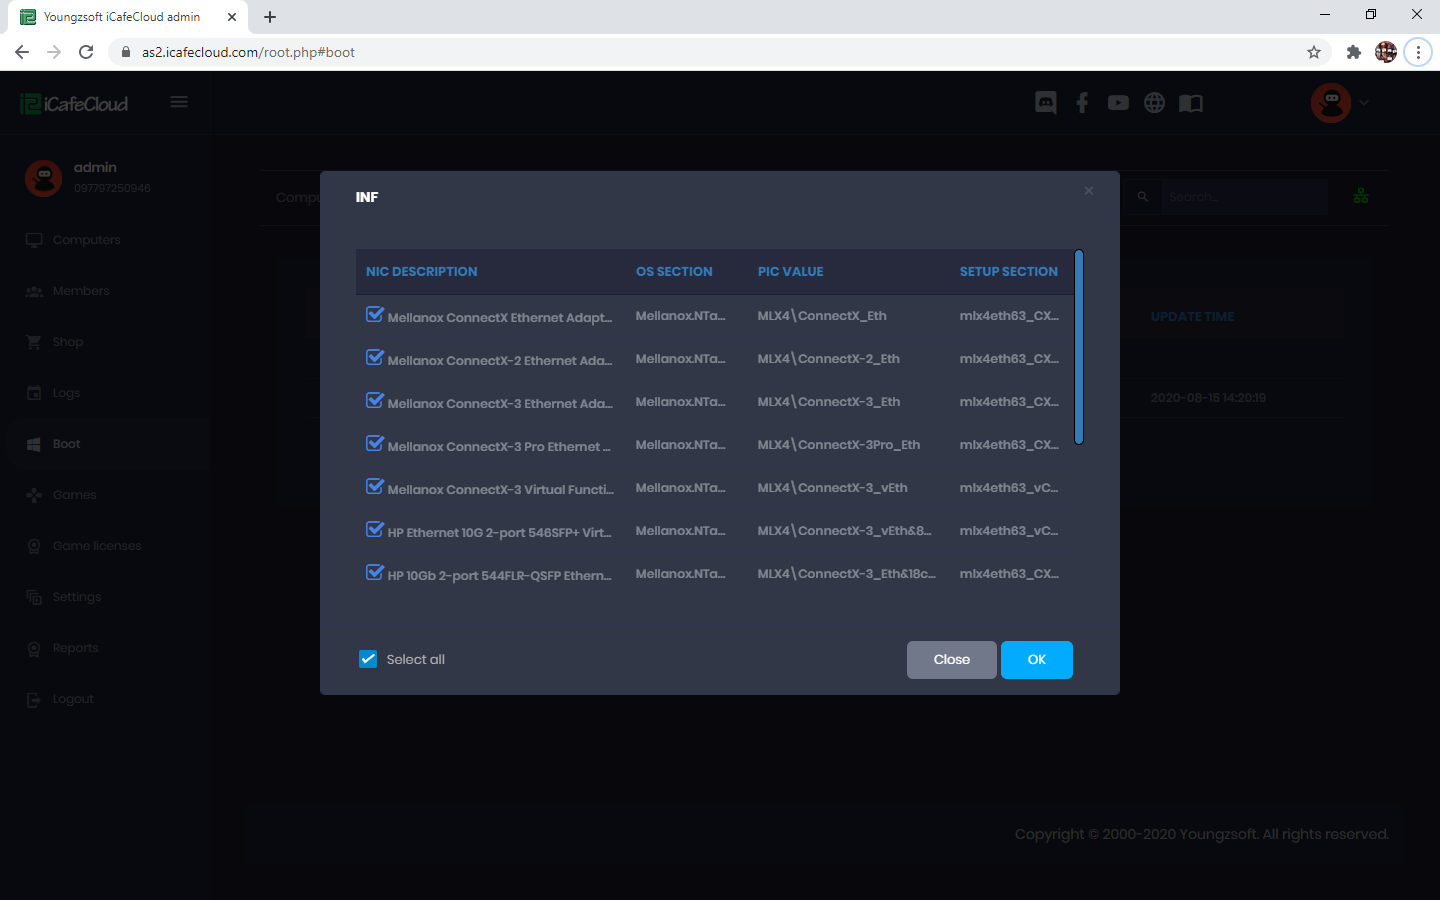
Figure 3
- Similarly, browse to mellanox\5.10\Program Files 64\Mellanox\MLNX_VPI\HW\mlx4_bus” and then choose “mlx4_bus.inf” and click on "Select" button (Figure 4).

Figure 4
- Check the “Select all” checkbox and click the "Ok" button (Figure 5).
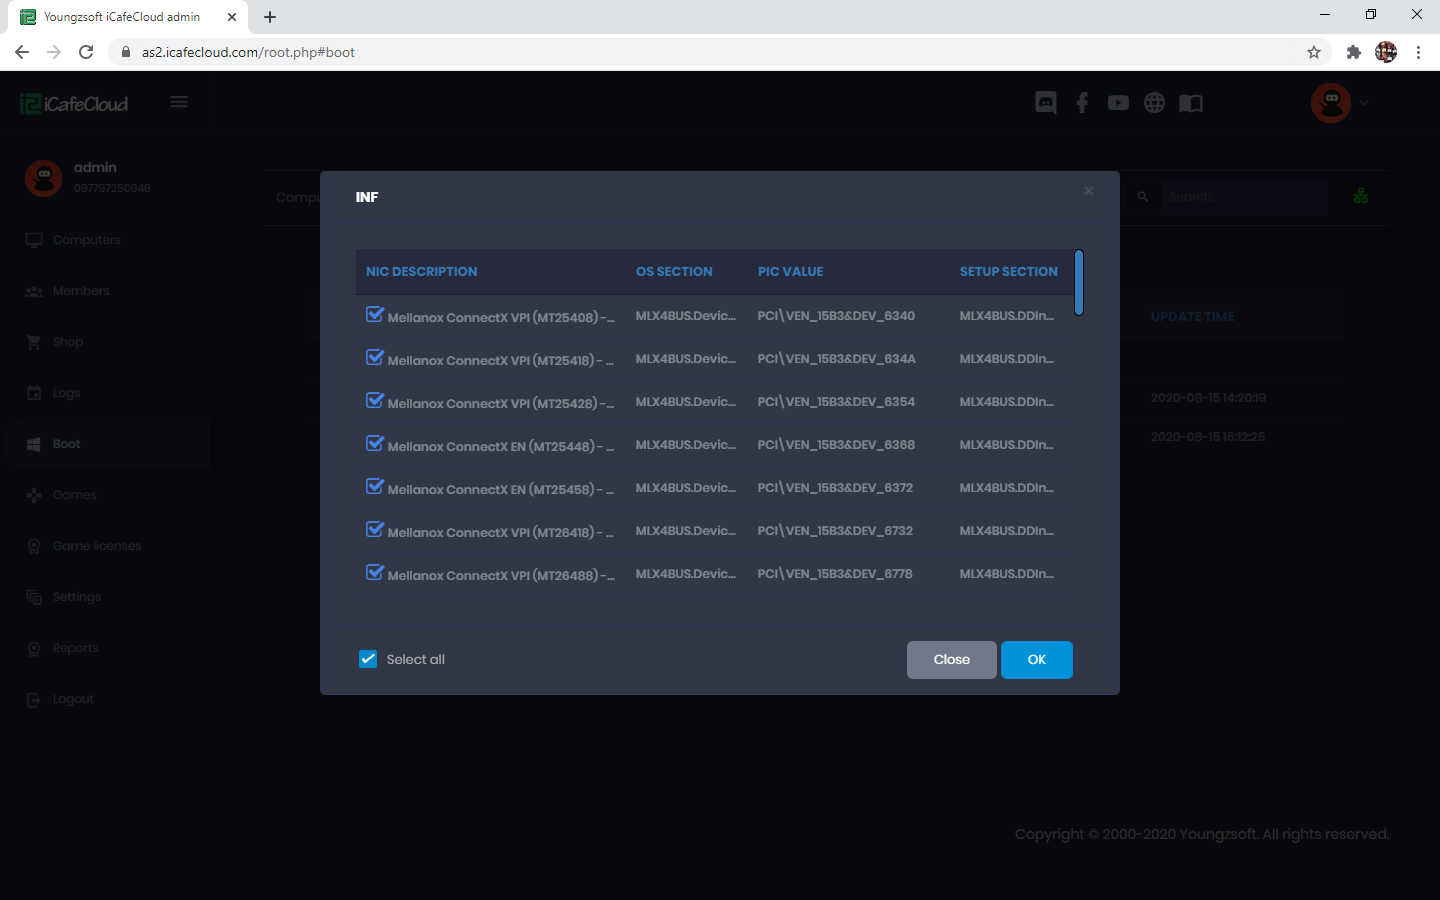
Figure 5
- It will add the drivers and show “Success” message (Figure 6)
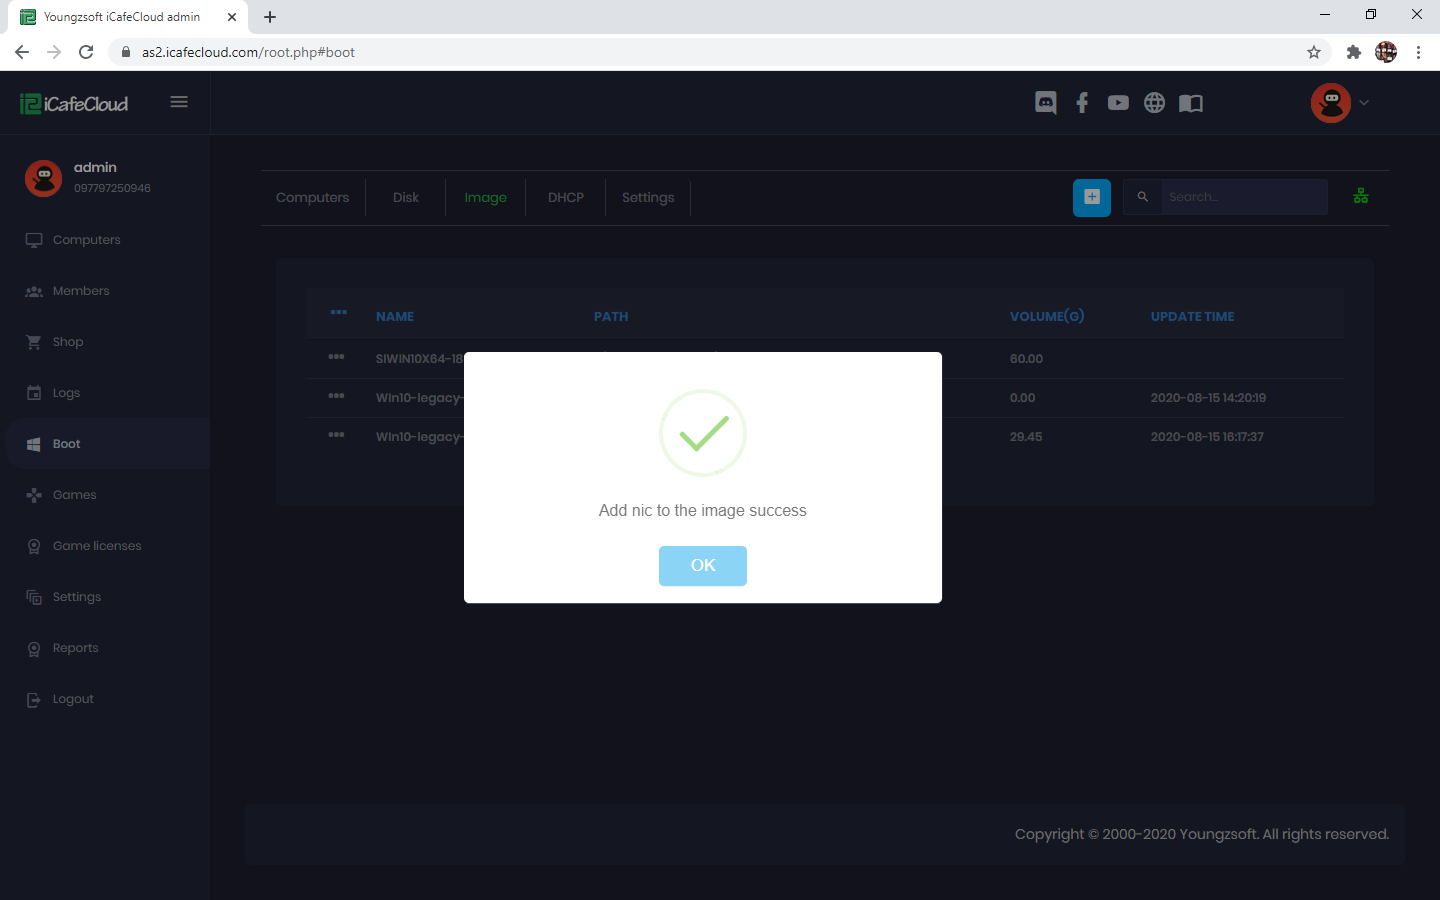
Figure 6
- Now boot the client in super client mode. It might take multiple boots and lastly save images.
In this way we can make Mellanox 10G work on CCBoot.