2024-01-12
GPU, pnp, drivers
The following provides instructions for implementing GPU Plug and Play (PNP) on CCBootclient, ensuring seamless GPU driver installation and configuration for both UEFI and Legacy systems.
- Before installing any GPU driver, make sure to boot all client PCs first so they detect the NIC (PnP) and register it in the boot section. Then proceed with the GPU (PnP) installation.
- Don’t install driver version 610.47, because it doesn’t have an Nvidia Control Panel.
Install GPU
- Ensure you're using the latest version of CCBootclient, as it now supports GPU PNP. This update includes the ability to remember all GPU drivers, a feature that has been thoroughly tested and verified.
- Boot the PC that needs to install a GPU driver with a super client.
- After completing the driver installation, perform a system reboot. Allow the PC to run for at least 5 minutes before shutdown.
- Disable the super client and save the system image.
Multiple GPUs
- If the GPU driver is already installed on one PC but not recognized on others, follow these steps:
- Boot the PC with super client where the driver is missing and let it run for 5–7 minutes. During this time, the system will automatically update the driver in the background.
- After that, reboot the PC. Once it restarts, you should see that the driver has been updated.
- Finally, shut down the PC, disable Super Client, and save the changes.
- Repeat the same steps for other PCs that use different GPUs.
- You can verify if the GPU drivers are installed correctly from the Boot Menu:
- Under "Video Card", the system should display the NVIDIA model name.
- If it appears as empty or shows a dash (-), it means the driver is not installed correctly, and you will need to repeat the steps on that PC. (Figure 1)
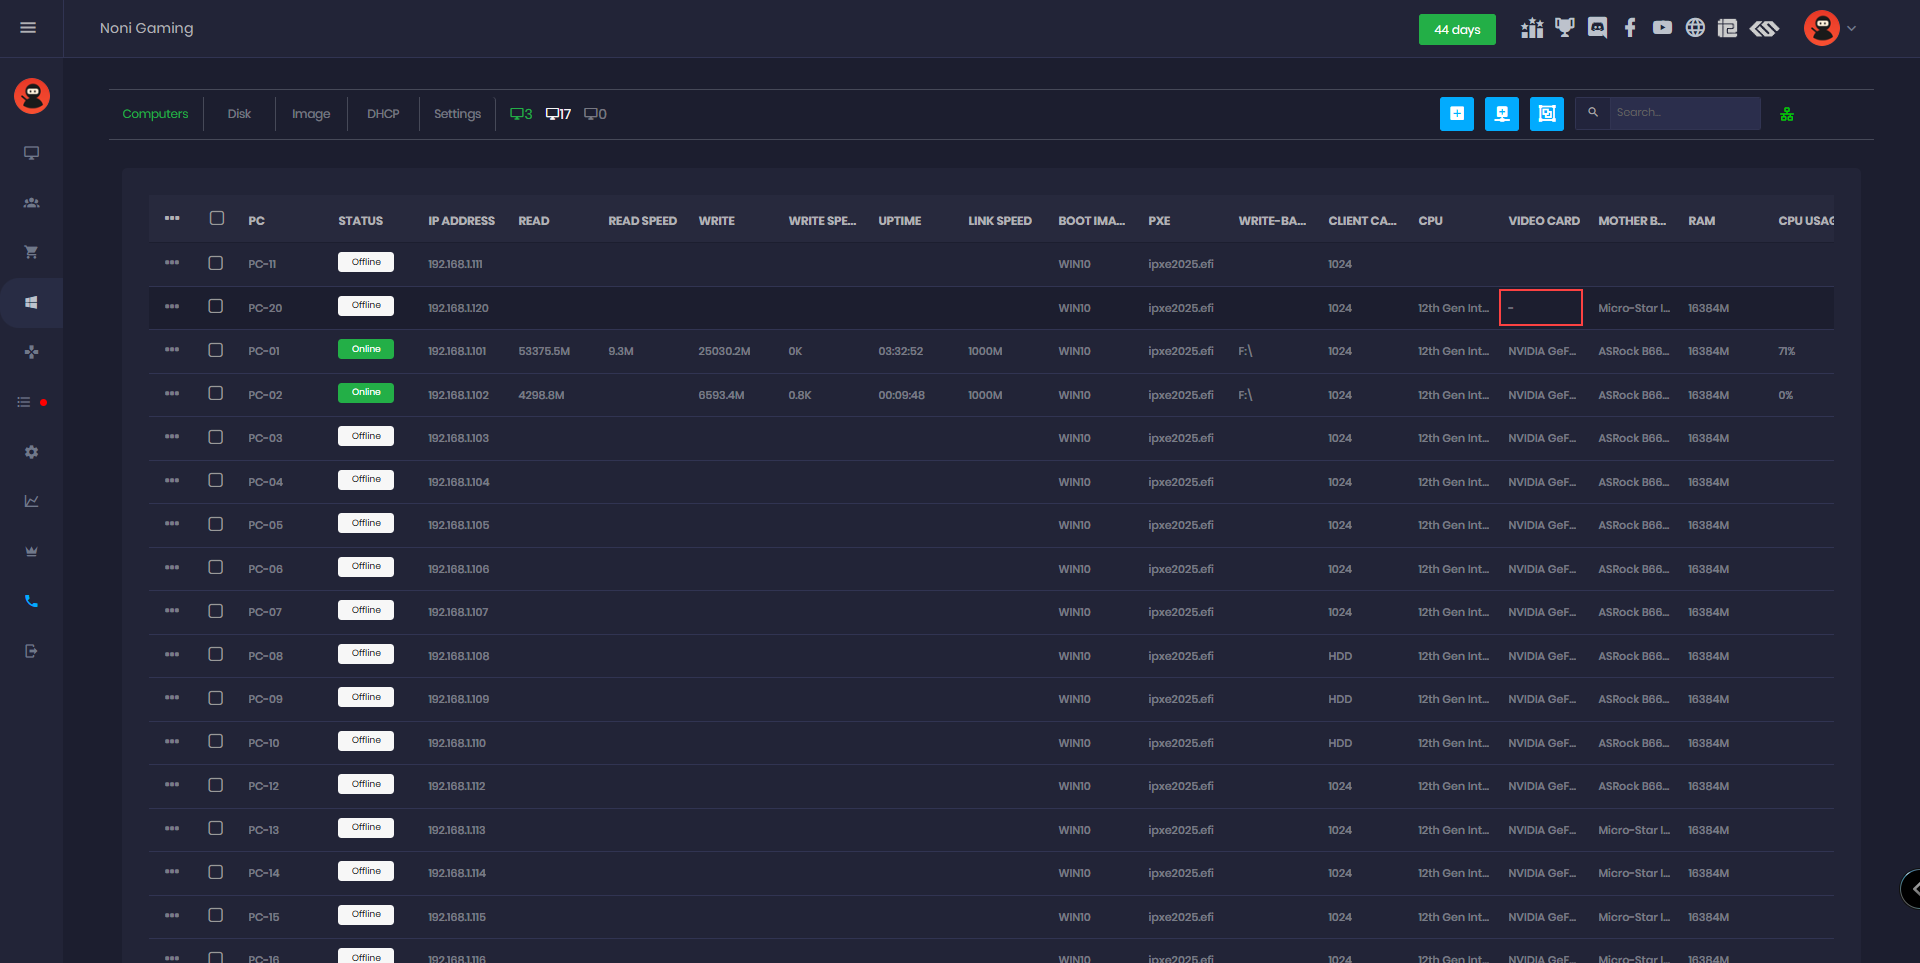
Figure 1
- After shutting down the PC, the ccbootclient.exe will initiate the execution of gpupnp.bat located at C:\CCBootClient\Tools\GPUPnP. This process will generate gpupnp.log in the same directory. (Figure 2)
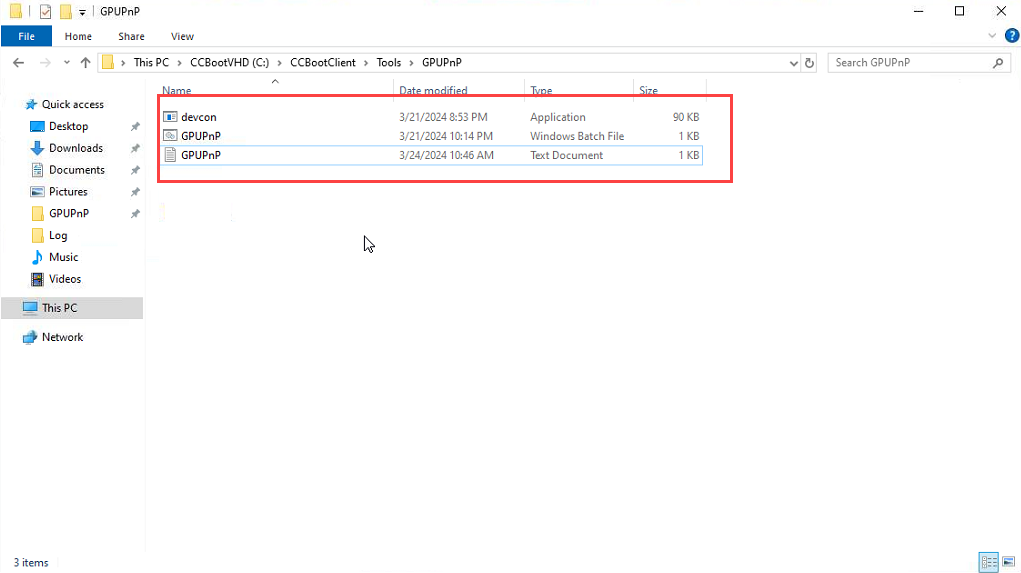
Figure 2
- In the GpuPnp.log file, there will be a line indicating that the operation was completed successfully, and the GPU model will be saved. (Figure 3)
Figure 3
GPU drivers