2023-12-14
create, boot, image, USB
The following guides users through creating a bootable USB drive for Windows installation using CCBootCloud, ensuring straightforward setup on various PCs.
Create image on Control Panel
- Prepare a fast write speed USB and plug it into the server.(e.g HIKSEMI R36C 128G 300MB/S Write) If you don't have such a USB disk, you can try external SSD disk + USB 3.0.
- Use Windows functionality to mount the downloaded ISO file, creating a virtual disc drive with Windows installation files.
- Navigate to the Admin panel, go to Boot, and click on the Windows icon.(Figure 1)
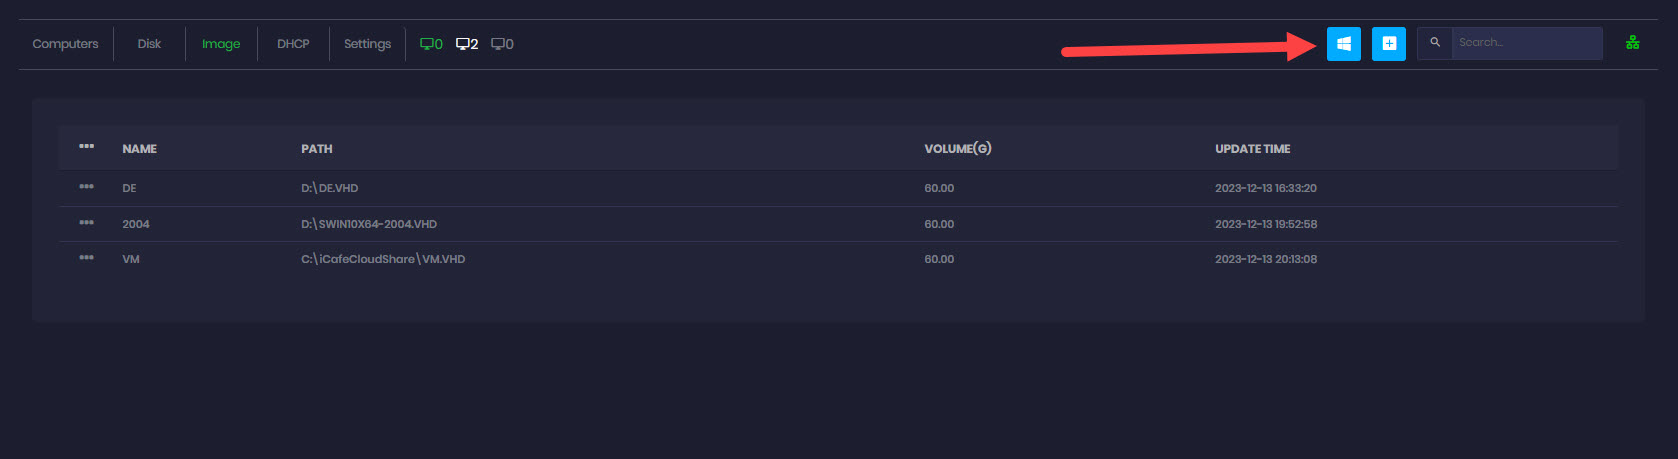
Figure 1
- Select the Windows install file by choosing install.wim from the mounted ISO (E:\sources\install.wim).
- Target USB driver - Select the usb prepared or you can add USB letter directly (ex: F:)
- Windows product - Select the windows version from the drop down list
- UEFI - select Yes for UEFI mode and No for legacy mode. (Figure 2)
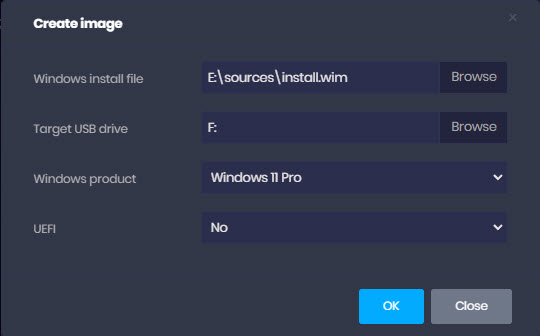
Figure 2
- Click OK, and the process will start, taking 2-5 minutes based on USB speed.(Figure 3)
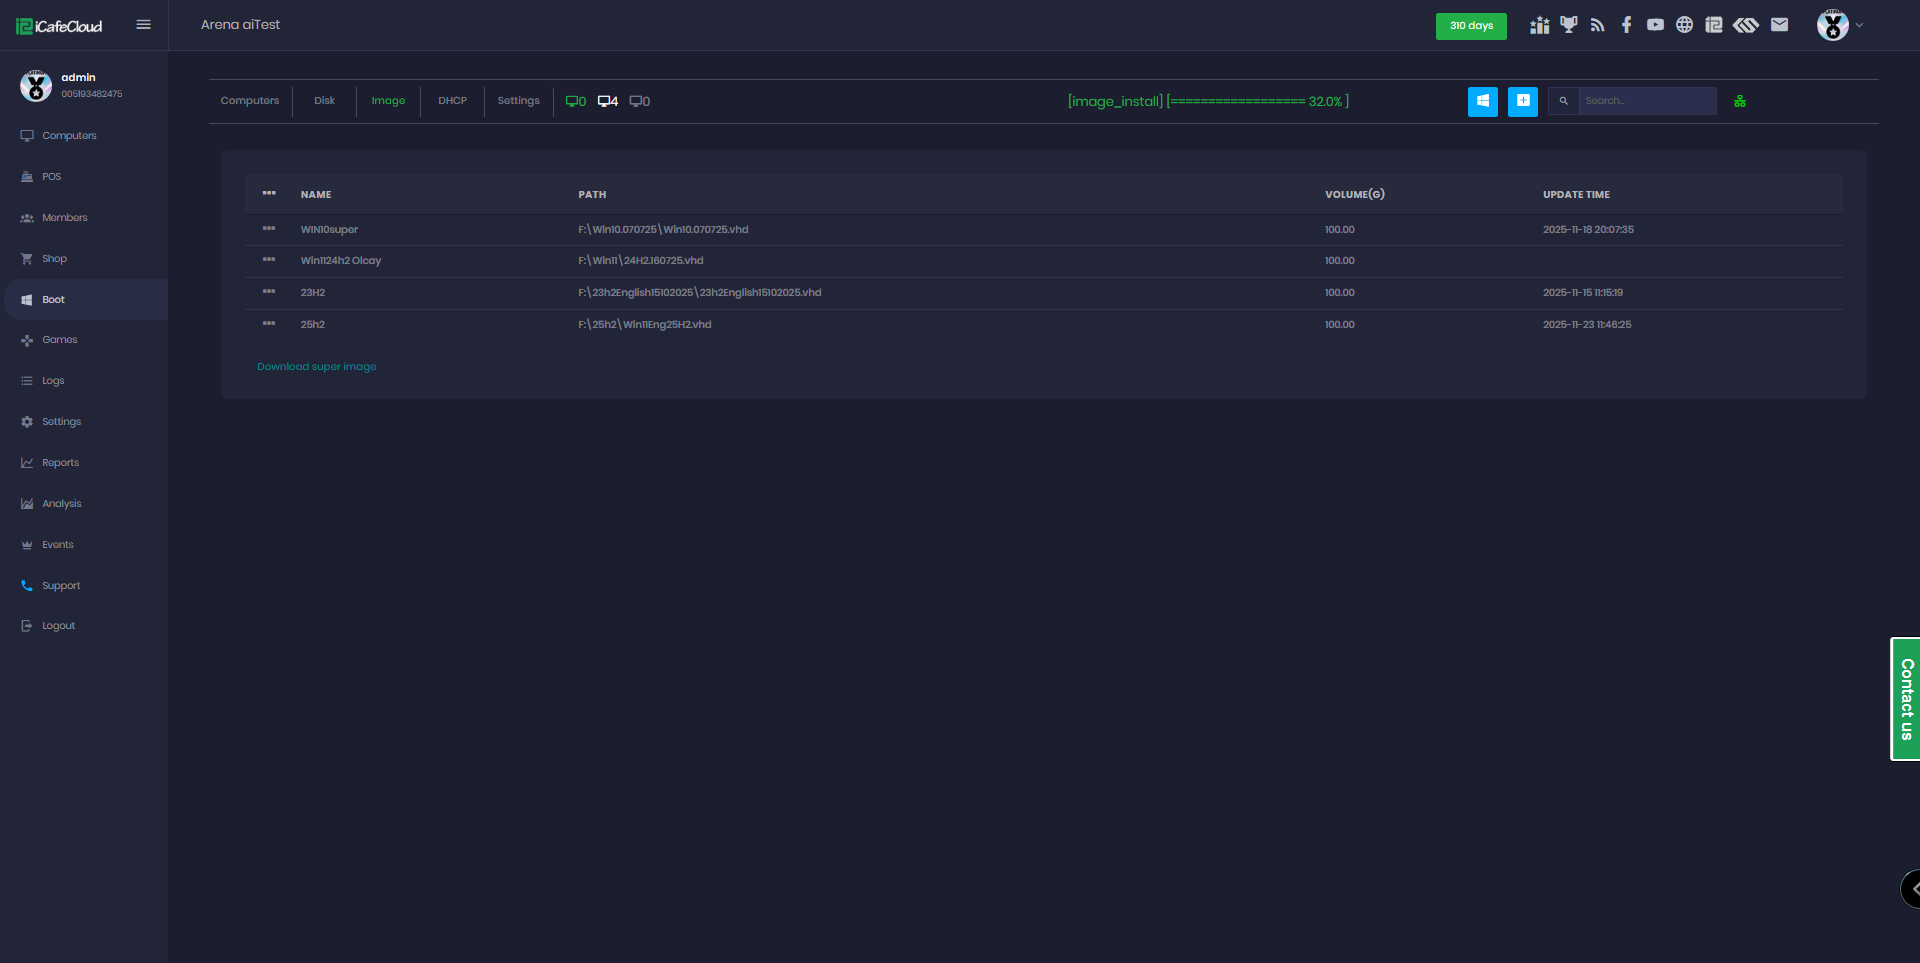
Figure 3
- When the process completes successfully, CCBoot will automatically eject the USB. The indicator shows as “[image_install] 100%” .(Figure 4)
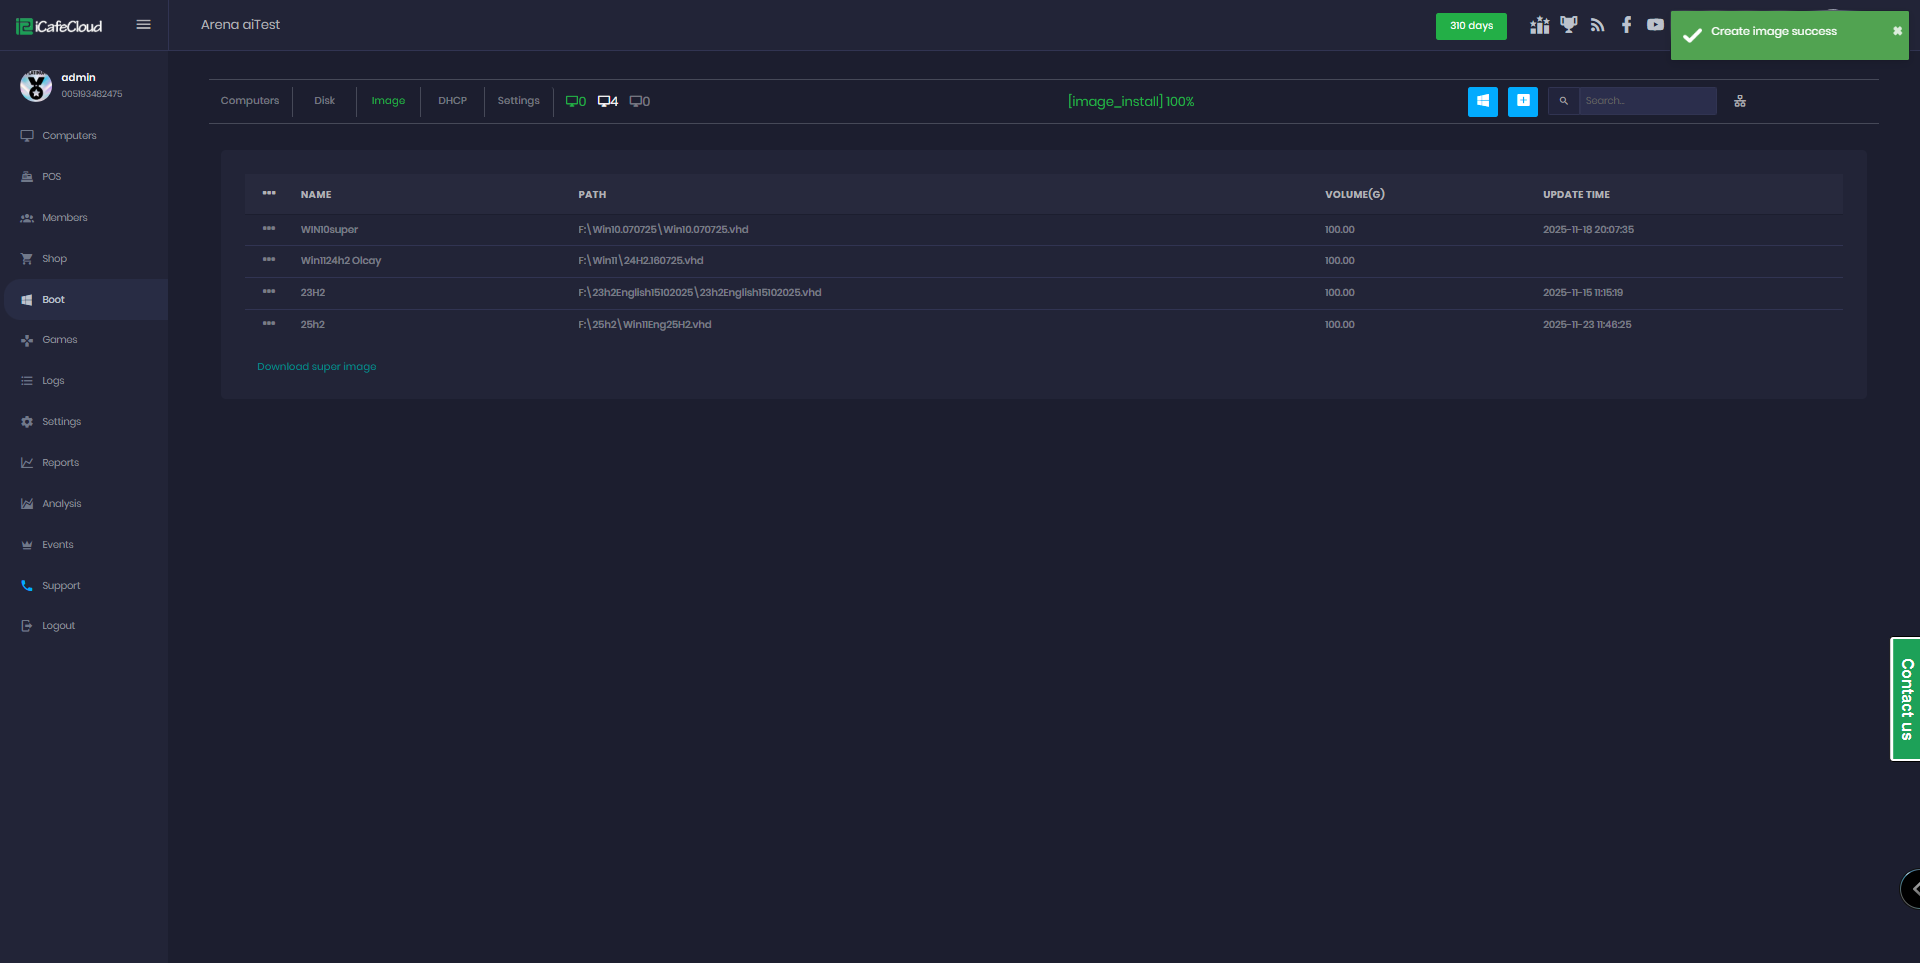
Figure 4
- Plug the USB into a client PC, boot from USB in BIOS, and proceed with Windows installation and setup.
- After installation, navigate to run c:\ccbootclient\ccbootclient.exe and click "install client."(Figure 5)
Figure 5
- Shutdown the client PC after installation.
- Unplug the USB from the client PC and reconnect it to the server PC.
- Open the USB disk, find the VHD file, and copy it to your image disk.
- Add the new image on the Admin panel, under Boot, using the "Add image" button.
- Fill in the image name and locate the image path of the VHD copied from the USB.
- You are now ready to boot the client PC on a diskless system.
Retain the USB for future use on any client PC, either to retrieve drivers or to create new images. This versatile USB can be employed as needed for ongoing system maintenance and image creation.
Suggestions
- If you get the error “a bootable device has not been detected” to resolve the issue, reboot your system once more. This occurs because your computer may not have detected the USB drive after you made changes in the BIOS settings. Simply restart your computer, and it should recognize the USB drive during the boot process.(Figure 1)

Figure 1
- During the Windows installation process, you have the option to expedite the installation by selecting "I don't have Internet" and opting for a "Continue with limited setup" approach. This allows you to install Windows quickly without the immediate need to apply patches. You can address updates at a later time. (Figure 2 and 3)
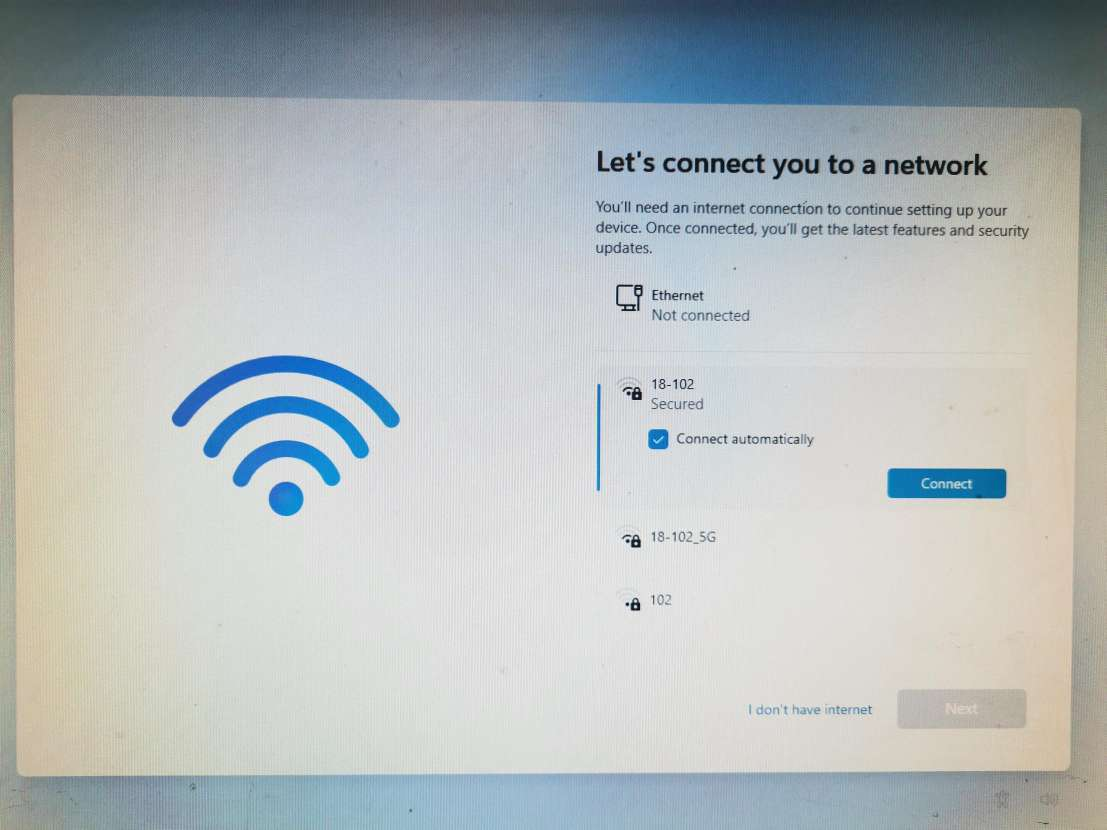
Figure 2
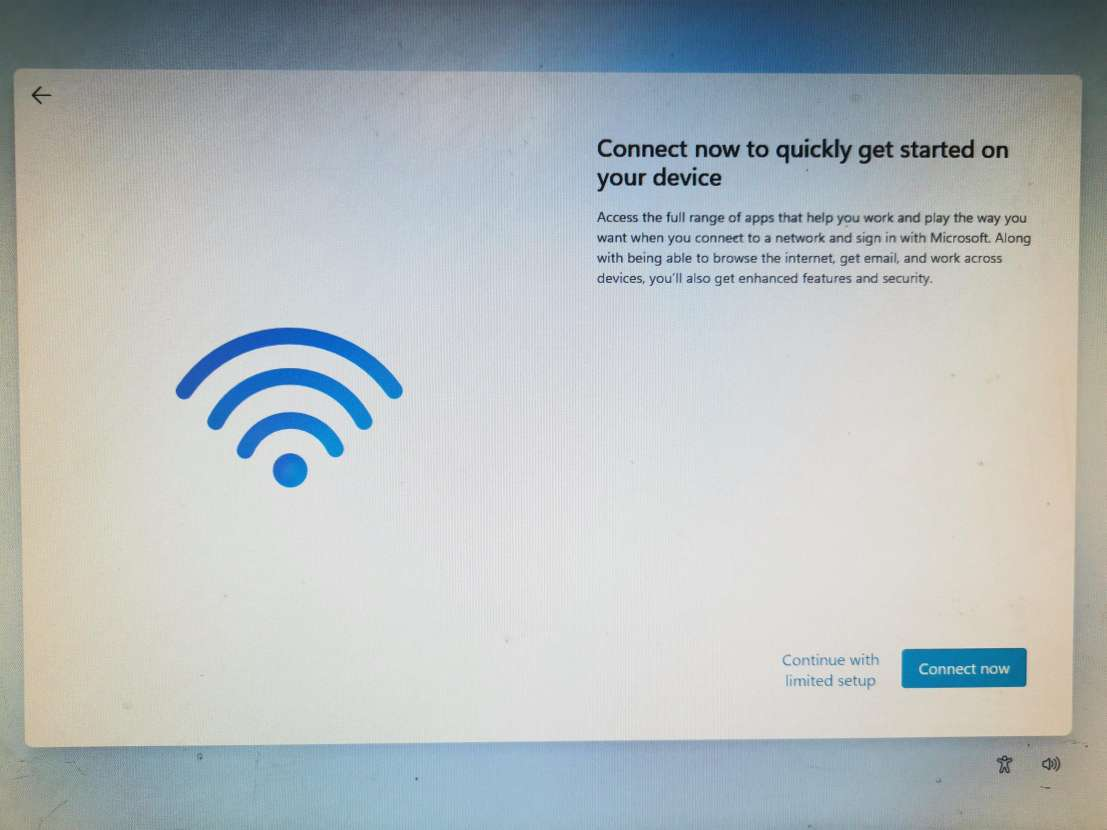
Figure 3
- When you USB boot Windows, you may get this message. Just ignore it and don't change pagefile settings. It's the limitation if you boot Windows with USB. (Figure 4)
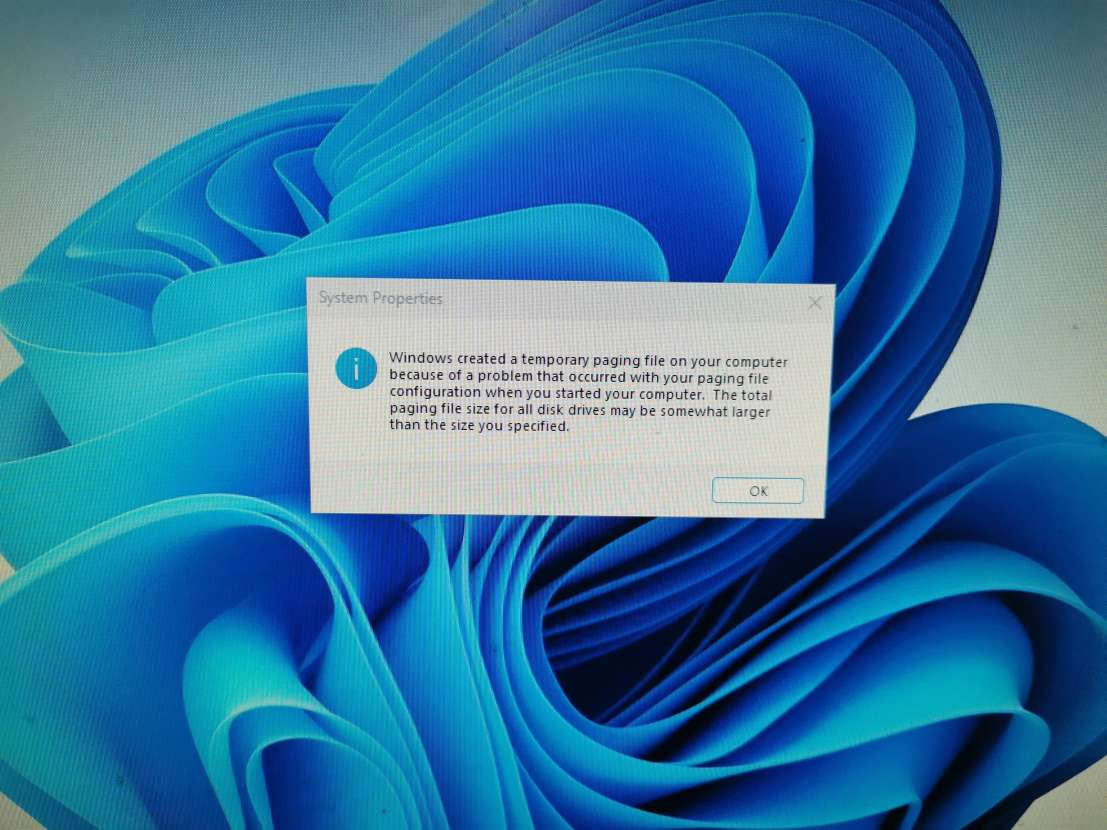
Figure 4
High speed USB
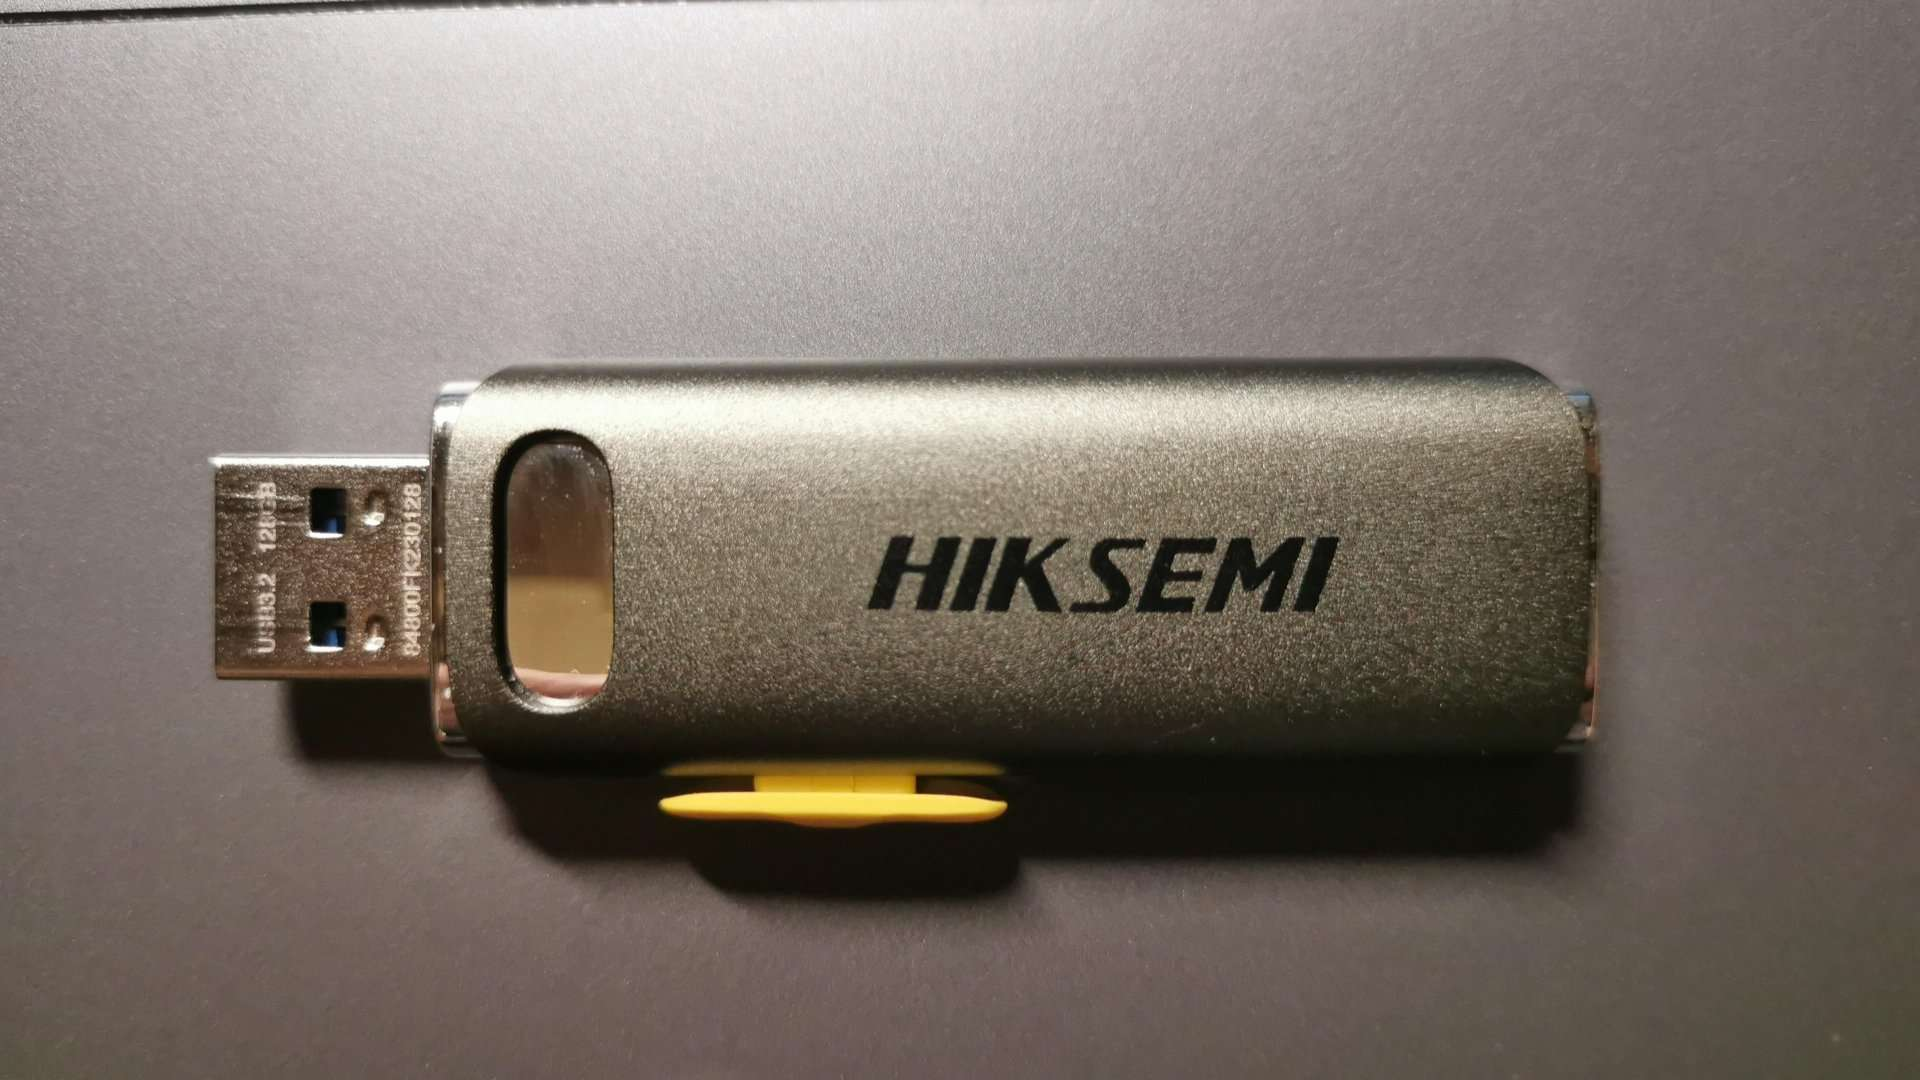
HIKSEMI R36C 128G Read 500MB/s and write 300MB/s
https://www.hiksemitech.com/en/hiksemi.html
https://m.aliexpress.com/i/1005005459758460.htm
High speed external disk
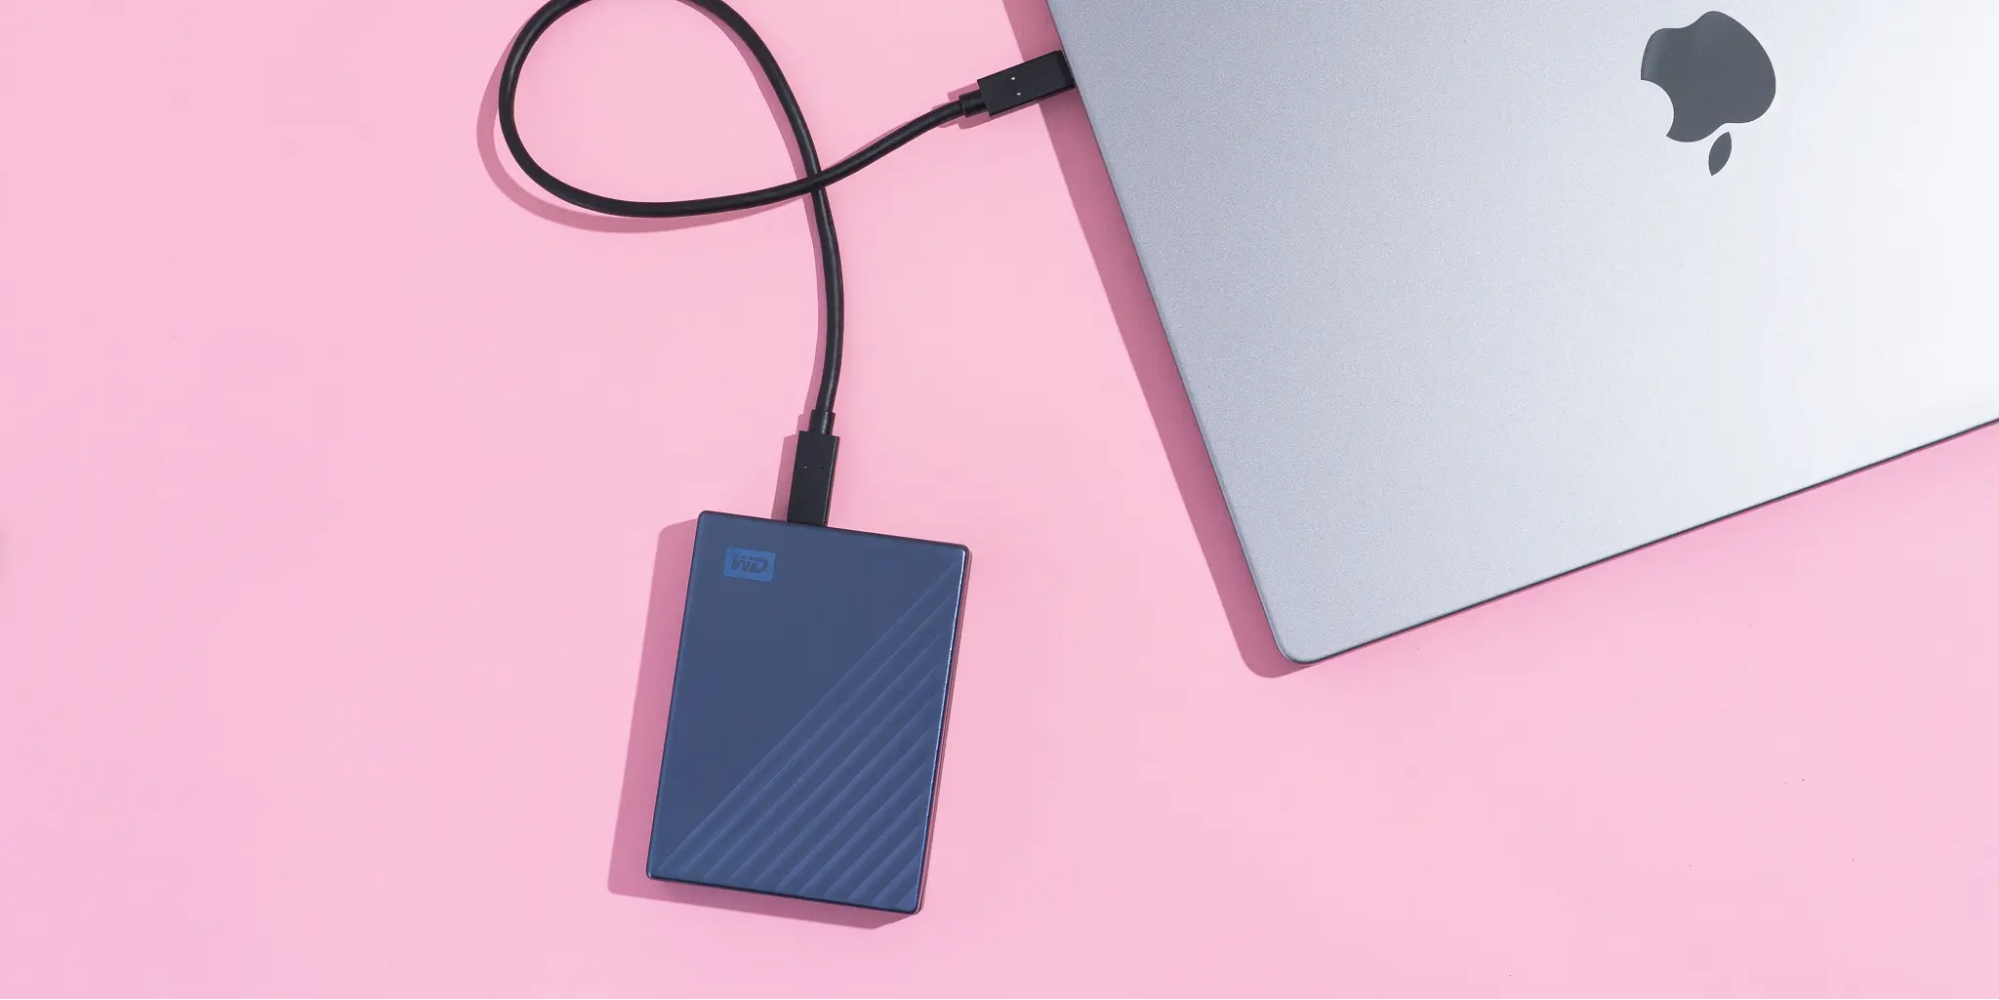
Any SSD external disk + USB 3.0 also worked. For better performance, please use SSD and USB 3.0.