Wiki Home Boot image Upgrade Windows 10
Upgrade Windows 10
2024-06-29
upgrade, windows10, image
Windows 10 build 2004, 20H2 and 21H1 share the same core system thus you are able to update your image from windows 10 build 2004 to 20H2 or 21H1 in super client mode.
- Important: Before trying the steps mentioned below, make sure you have enabled Windows Update in your image or it will give you an error message.
- Boot client pc in super client and open Windows Update and check for updates. You will see updates available for download similar to below (Figure 1).
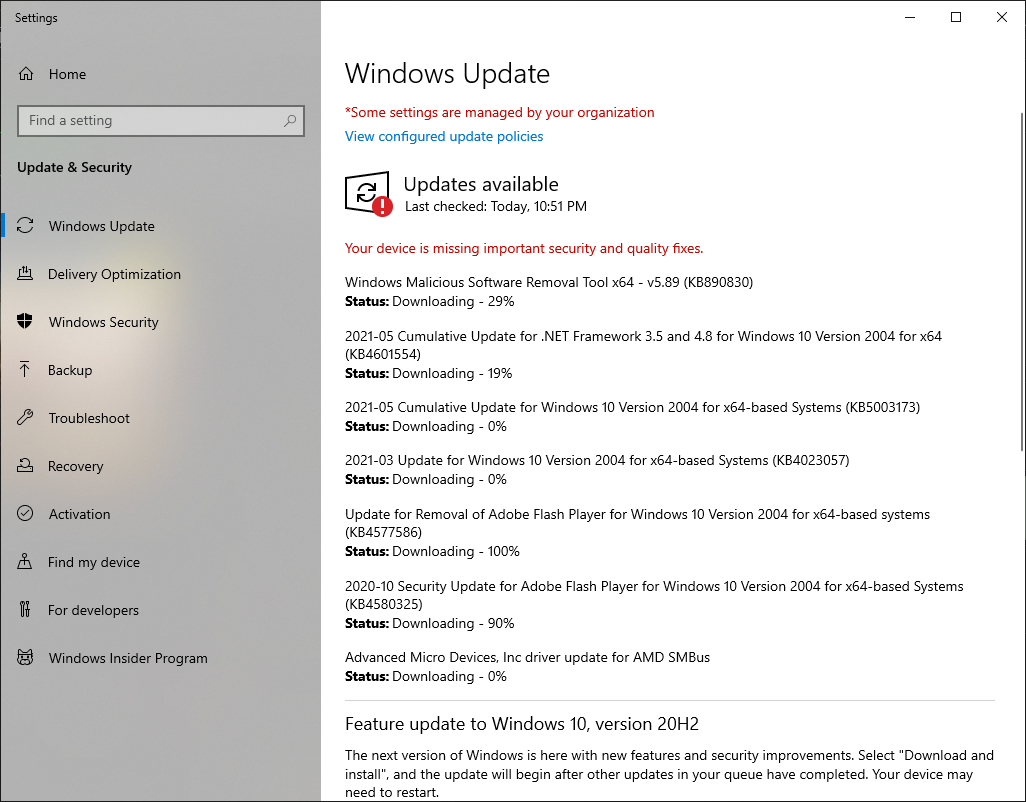
Figure 1
- In the list of the updates the one update most important and required to upgrade to newer builds is “KB5003173” (Figure 2).
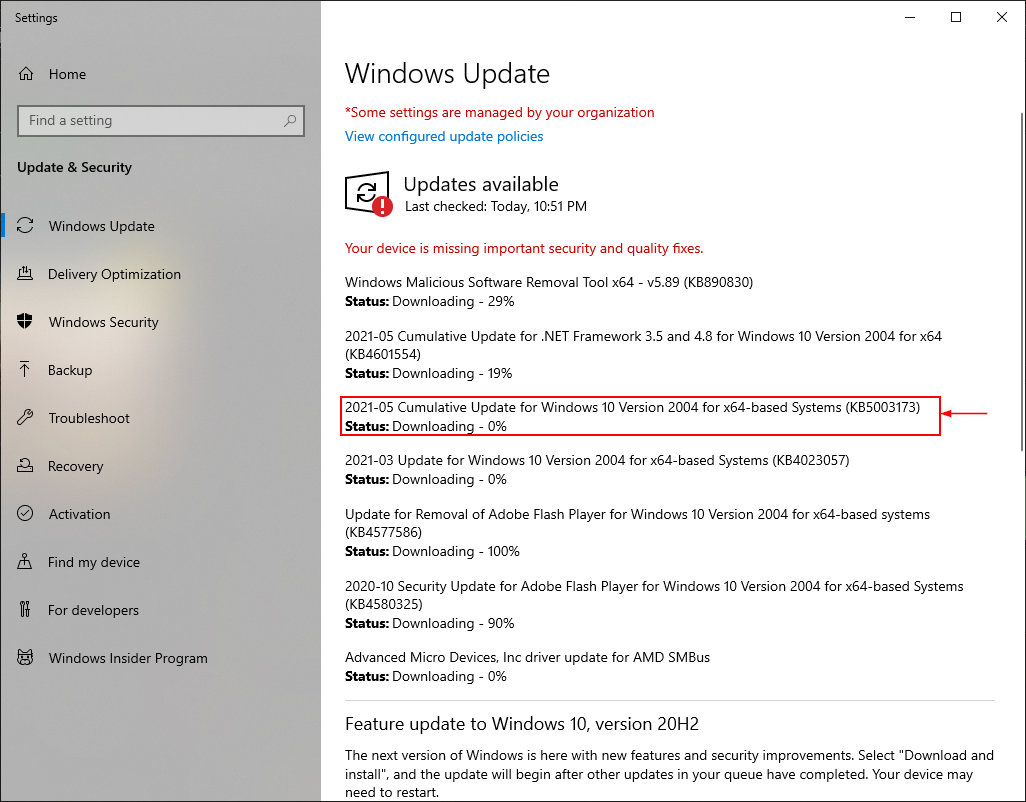
Figure 2
- The update requires a bit of time to install, and once installed it will restart. After the computer has restarted and reached the desktop, check the windows version (CMD > winver > enter) and you will see that the WIndows has been updated to 19041.985 (Figure 3).

Figure 3
- Now, we need to install the enablement package to make the Windows 10 upgrade to Windows 10 build 20H2 or 21H1
- The enablement package required to upgrade to Windows 10 build 21H2 is KB5000736, download the package and install it (Figure 4).

Figure 4
- After installation, it will restart the computer. One the computer has restarted, you can see that the Windows 10 has been upgraded to Windows 10 build 21H1 (Figure 5).

Figure 5
- Similarly, to upgrade to 20H2, you need to download and install the enablement package KB4562830 (Figure 6).
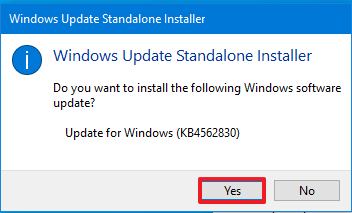
Figure 6
- After installation, it will restart the computer. One the computer has restarted, you can see that the Windows 10 has been upgraded to Windows 10 build 20H2 (Figure 7).
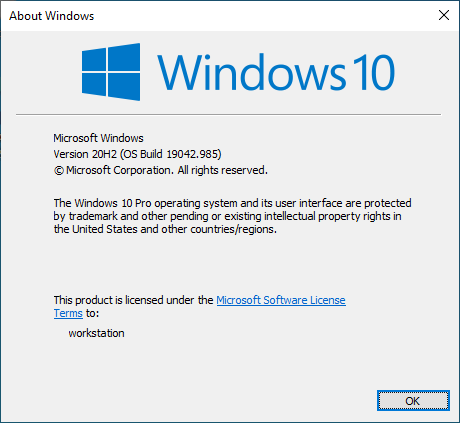
Figure 7