Wiki Home Troubleshoots ProtonVPN working in CCBoot Client
ProtonVPN working in CCBoot Client
2018/02/26 01:30
Using a VPN connection to get better latency is standard nowadays. Here is how you can make ProtonVPN working in CCBoot client.
1. Search "Services" in start menu and click on "Services" (Figure 1).
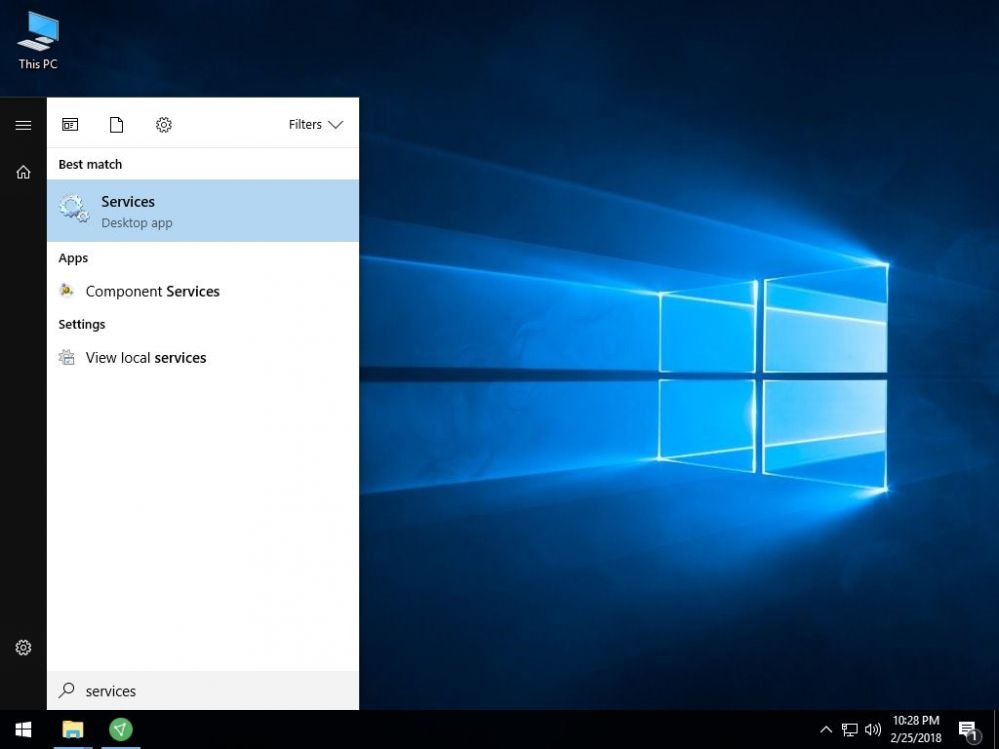
Figure 1
2. Now, on "Services" window, check and make sure Windows firewall is running and set as "Automatic" (Figure 2).
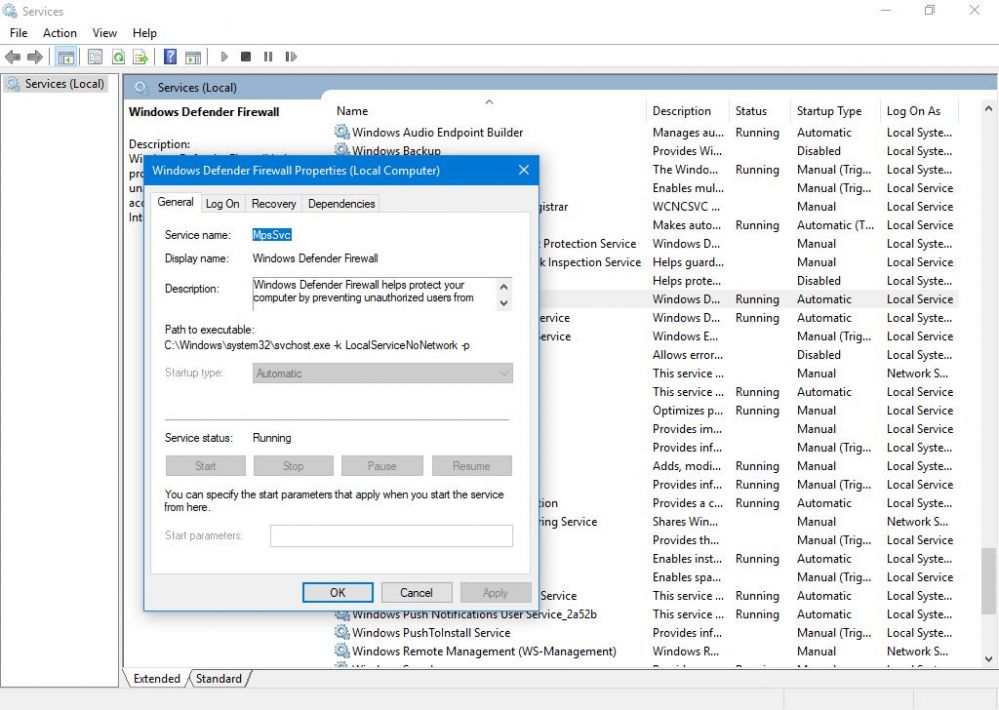
Figure 2
3. Now, Right click the network icon and choose "Network and Internet Center" (Figure 3).

Figure 3
4. Click on "Change adapter settings" (Figure 4).
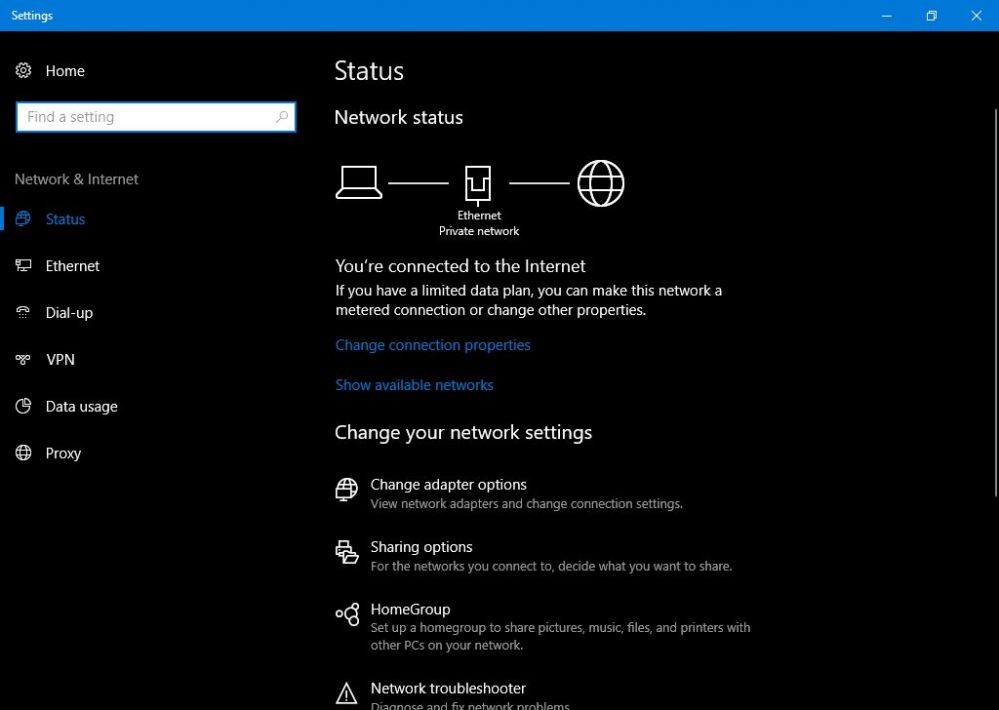
Figure 4
5. Now, right click the "Proton VPN" adapter and click on "Disable" (Figure 5).
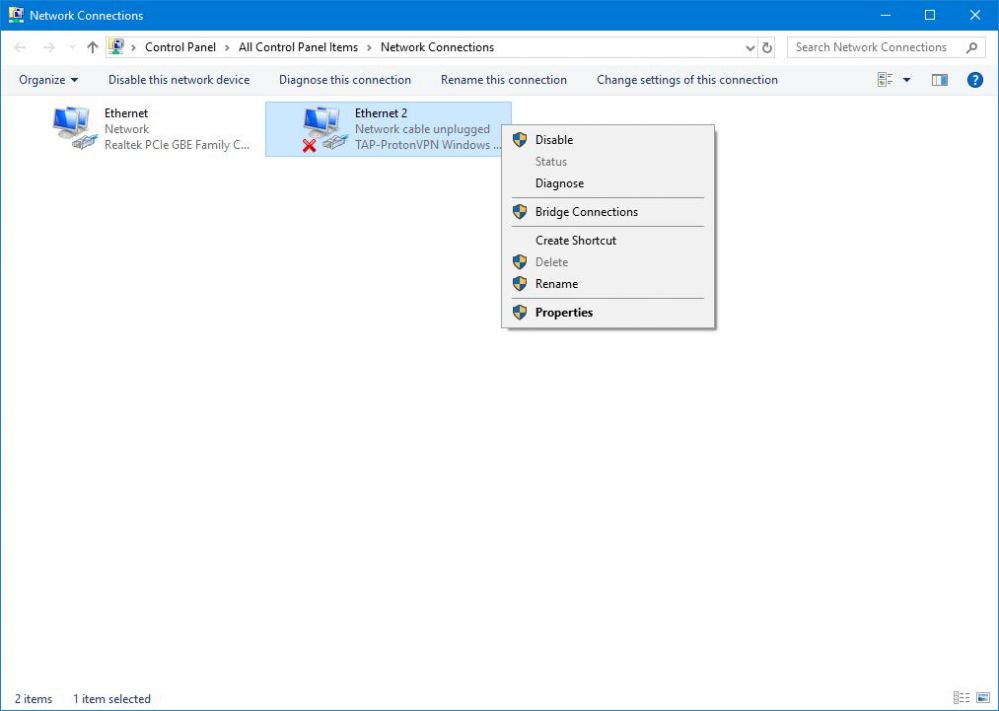
Figure 5
6. Now, once its disabled properly, right click and click on "Enable" to enable it again (Figure 6).
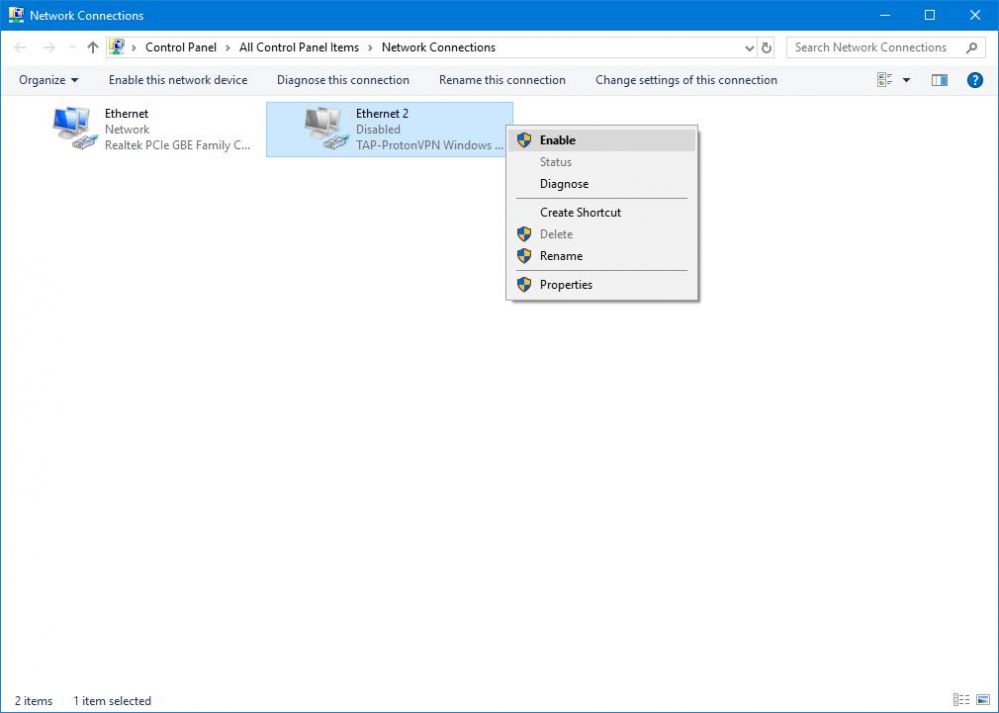
Figure 6
7. Open, Proton VPN application, then login and click on "Quick Connect" (Figure 7).

Figure 7
8. After few seconds, it will successfully connect to one of the servers (Figure 8).
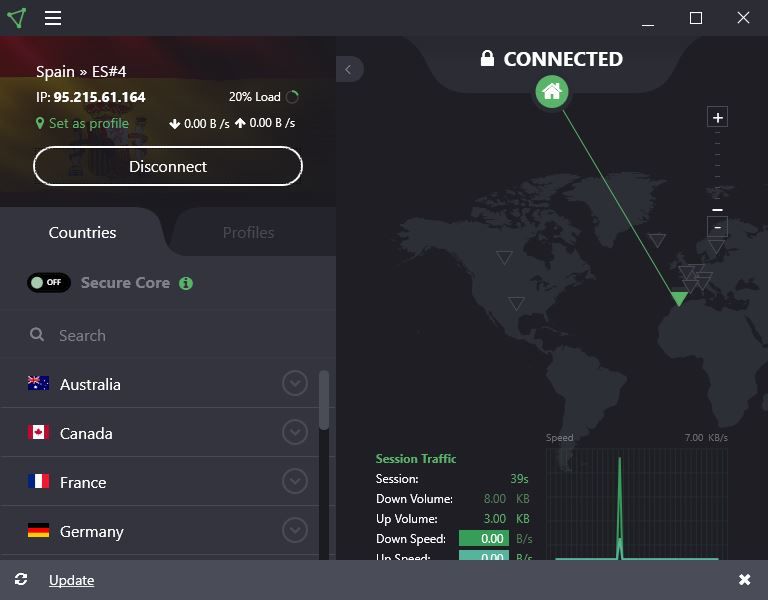
Figure 8