2023-10-30
change, display, resolution, hz
The following provides instructions on customizing display and refresh rate (HZ) on monitor settings for individual client PCs in CCBootcloud
- To accommodate clients with varying monitor specifications such as size, refresh rates, and resolutions, default settings may not always be optimal. Therefore, customizing client details for each individual can rectify these disparities. Here's a guide on how to adjust these settings:
- Access the Boot page and navigate to the computer tab. Select the specific PC requiring resolution adjustments, then click on "Edit PC" (Figure 1).
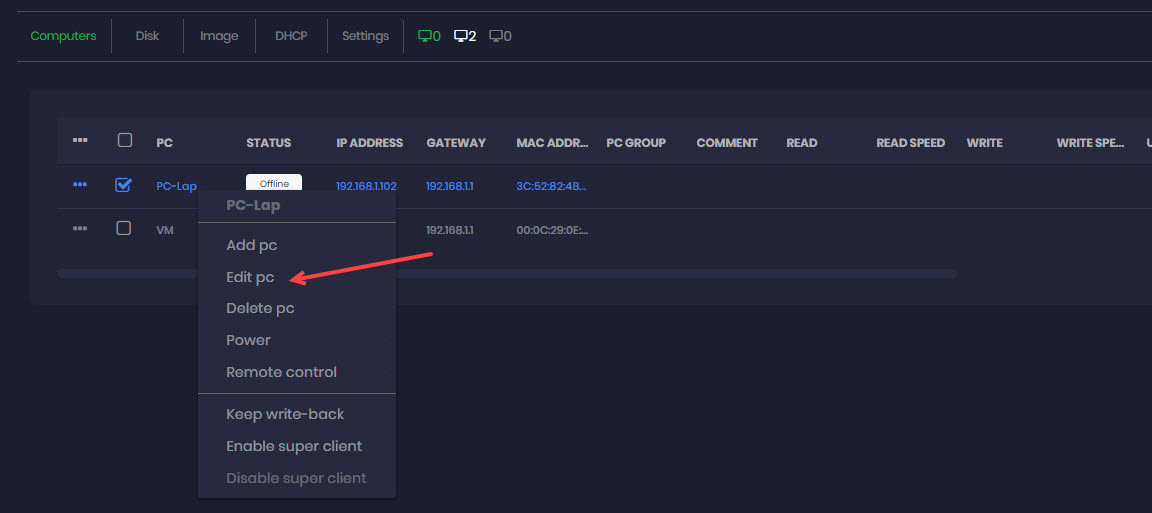
Figure 1
- Within the "Edit PC" window, select the "Change Display" option. Set the client's monitor to preferred resolution and preferred refresh rate. Once done, click "OK" to save the changes (Figure 2)
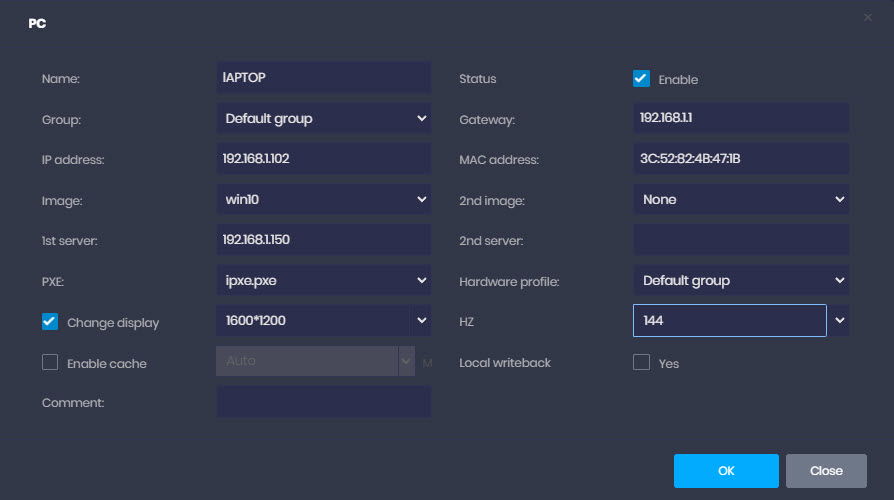
Figure 2
- In case the desired refresh rate isn't listed, you can manually input the preferred Hertz (HZ) value. Simply type in the desired HZ.
- After configuring the settings for all respective PCs, ensure to restart each client to apply the changes effectively.These adjustments aim to align each client's display settings with their individual monitor specifications, optimizing their viewing experience.
- The resolution command now runs twice. If the drivers haven't loaded yet during the first attempt, it will try again a second time.
- Once the client PC has booted up, you can check the CCBoot logs to verify whether the resolution change was successful or failed. (Figure 3)

Figure 3
- If the HZ setting is incorrect or the driver settings do not support it, the resolution change will fail to occur.