2024-01-12
enable, super, client
This following explains how to use Super Client mode in CCBootCloud. It covers how to enable Super Client to make changes directly to the client OS or game disk, how to save those changes after finishing.
- Before saving the changes in the image, reboot the client once and check if it is booting properly. If you have installed drivers or other apps, it may cause issues on booting or BSOD.
- Go to the boot page from CP of iCafeCloud and Computers page respectively. Then right click on the PC and select “Enable superclient” (Figure 1).

Figure 1
- Select the disks you want to update and click OK. (Figure 2)
- Choose only the image disk if you plan to modify the boot image, and select the game disk as well if you need to install or update games directly from the client PC.
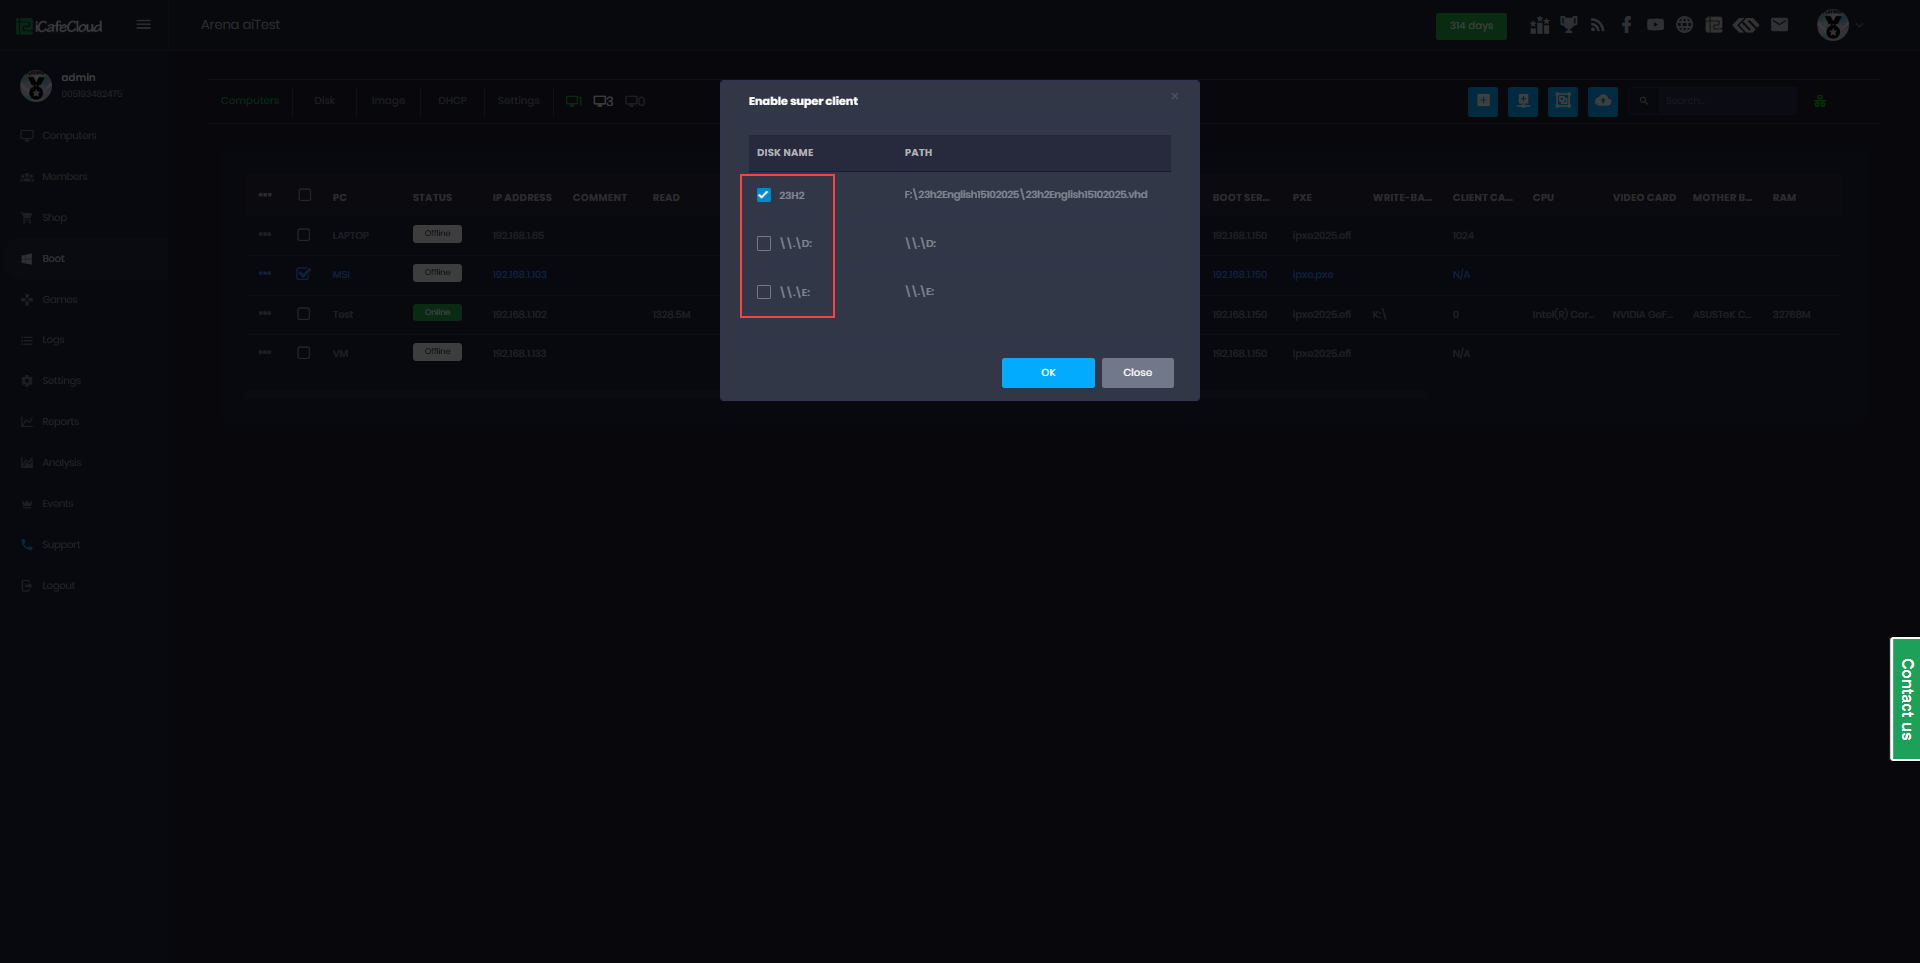
Figure 2
- When Super Client mode is enabled, the PC name will appear in red, indicating that the client is currently in editable mode.(Figure 3).
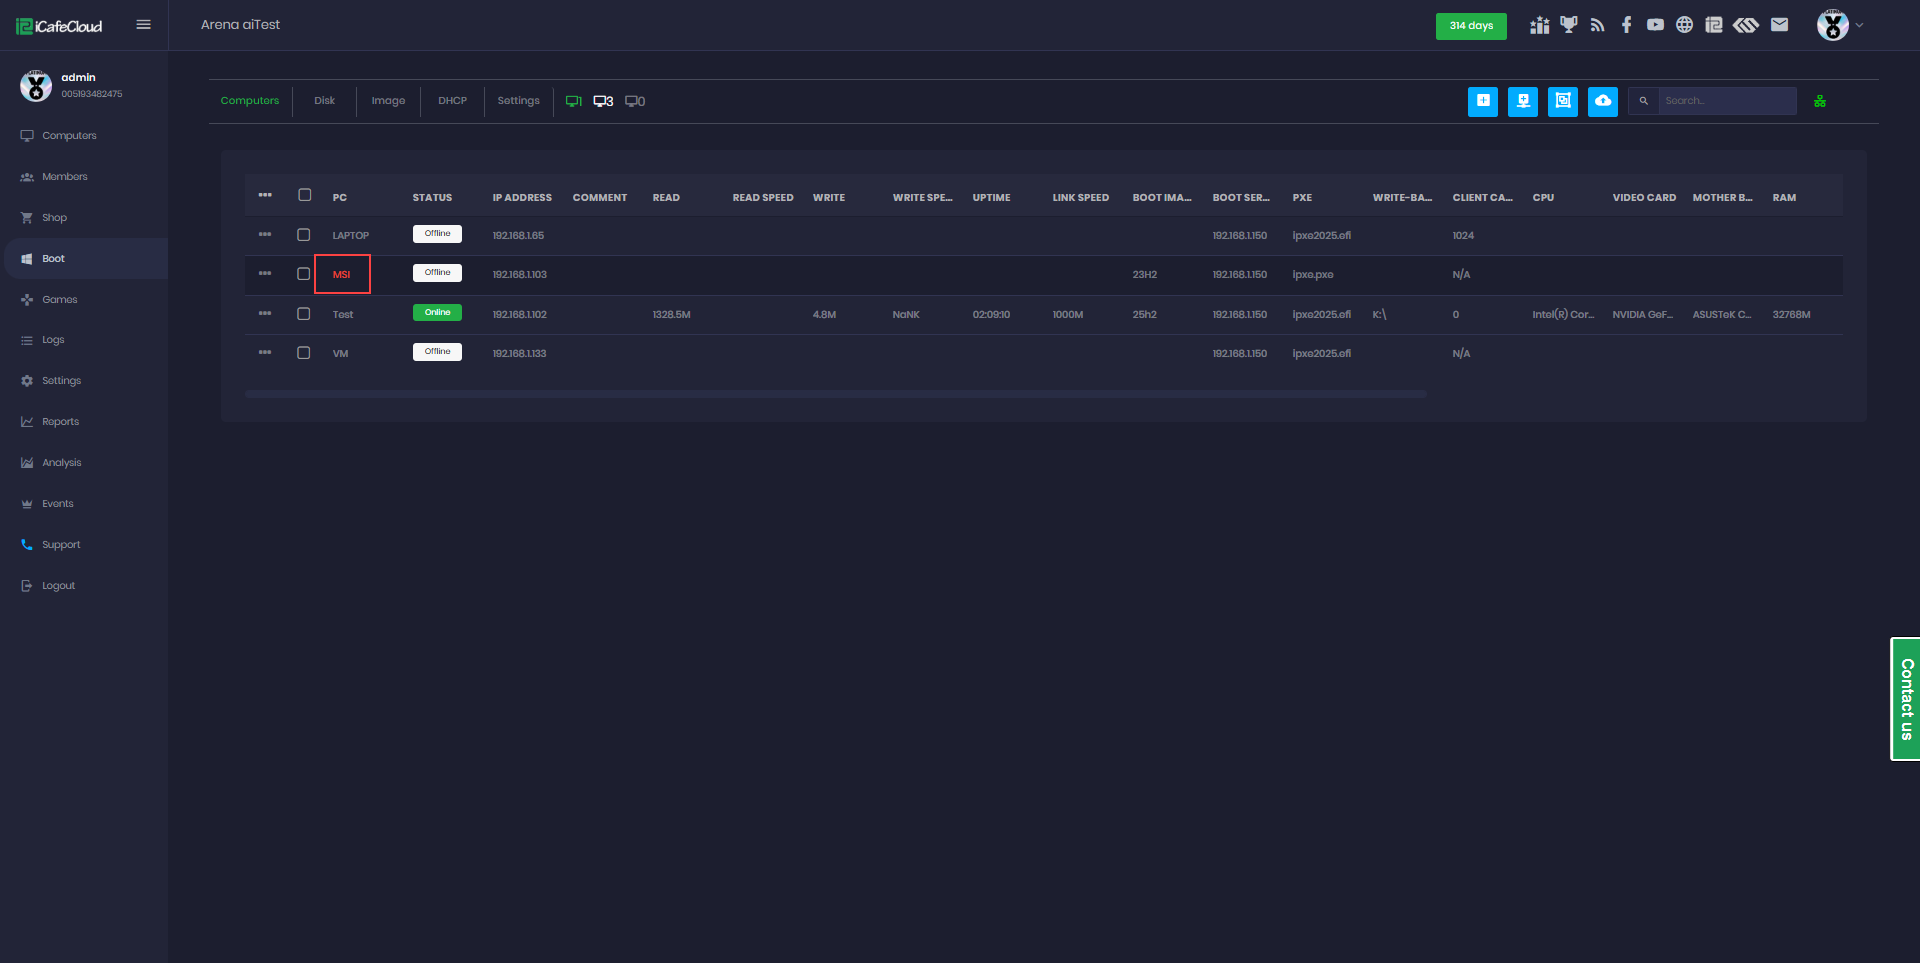
Figure 3
- Boot the client PC and proceed with your installations or updates. Once you’re done, simply shut down the client.
- Once the client PC goes offline, you can select “Disable Super Client”. (Figure 4).

Figure 4
- Click “Update the Image,” enter a short note to describe the update, and then click “OK” (Figure 5).
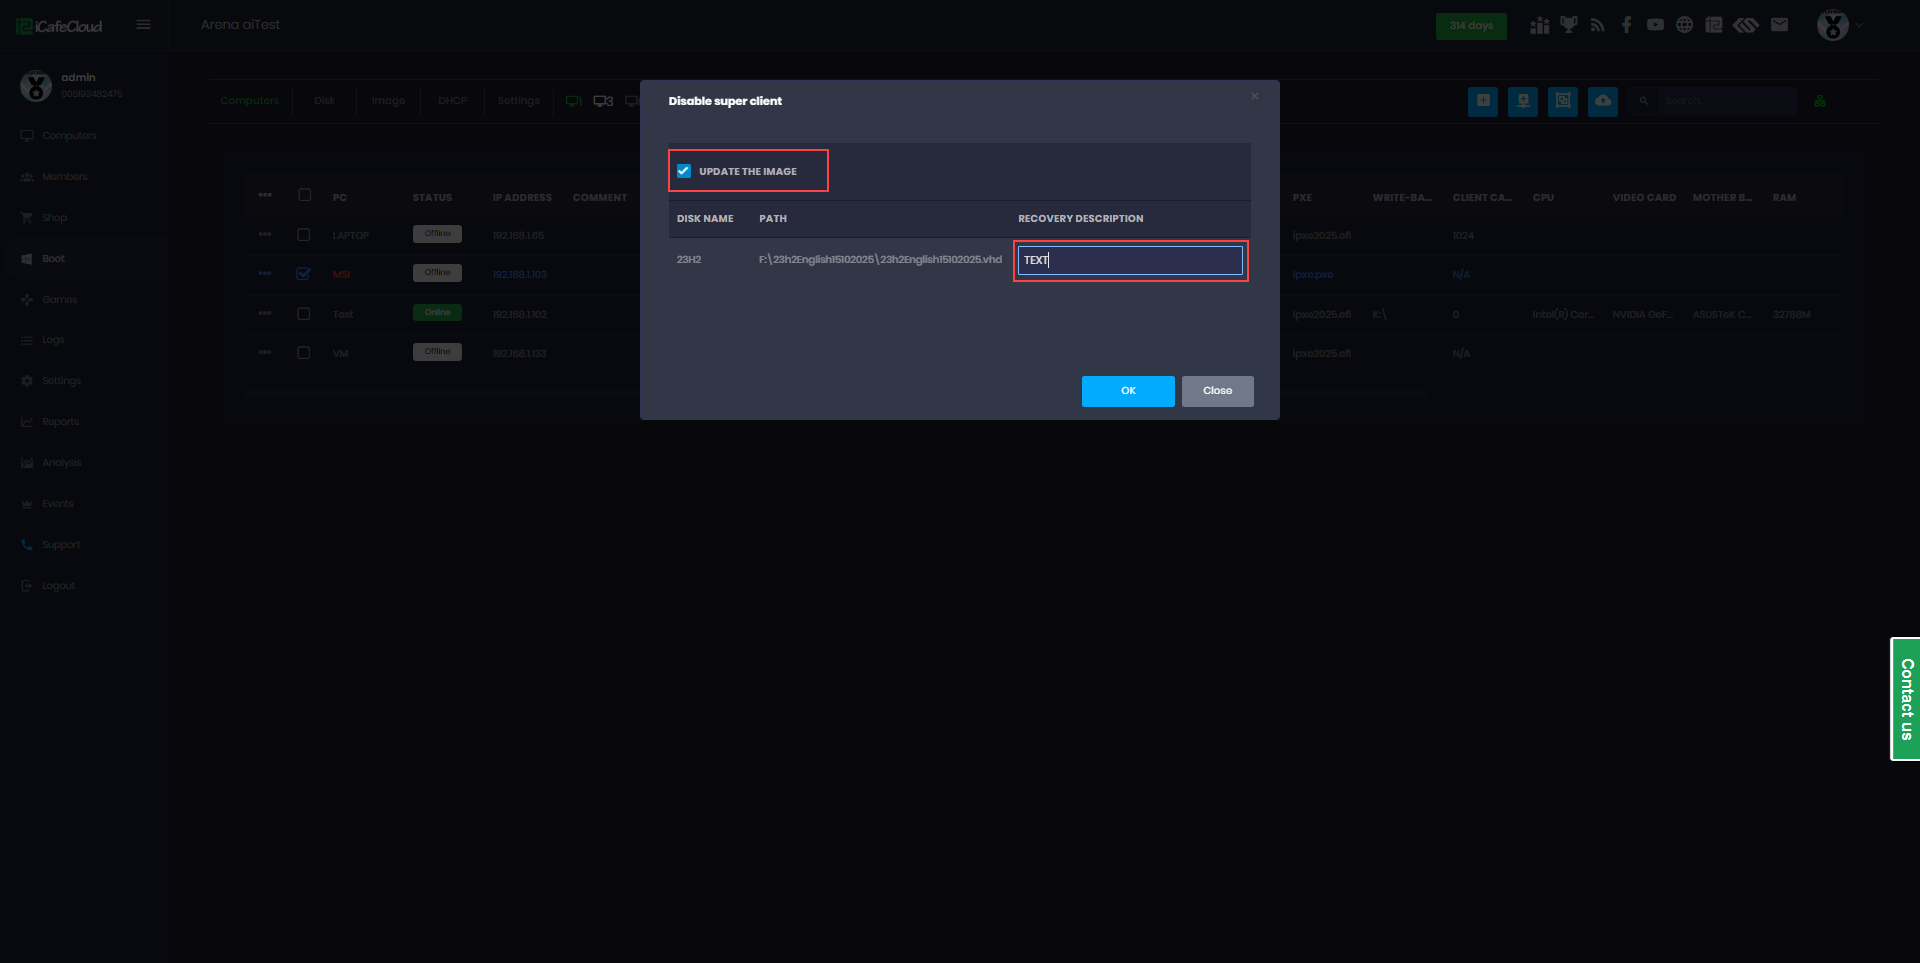
Figure 5
- If you do not want to save the update, uncheck “Update the Image” and click Save. This will skip the update process. (Figure 6)
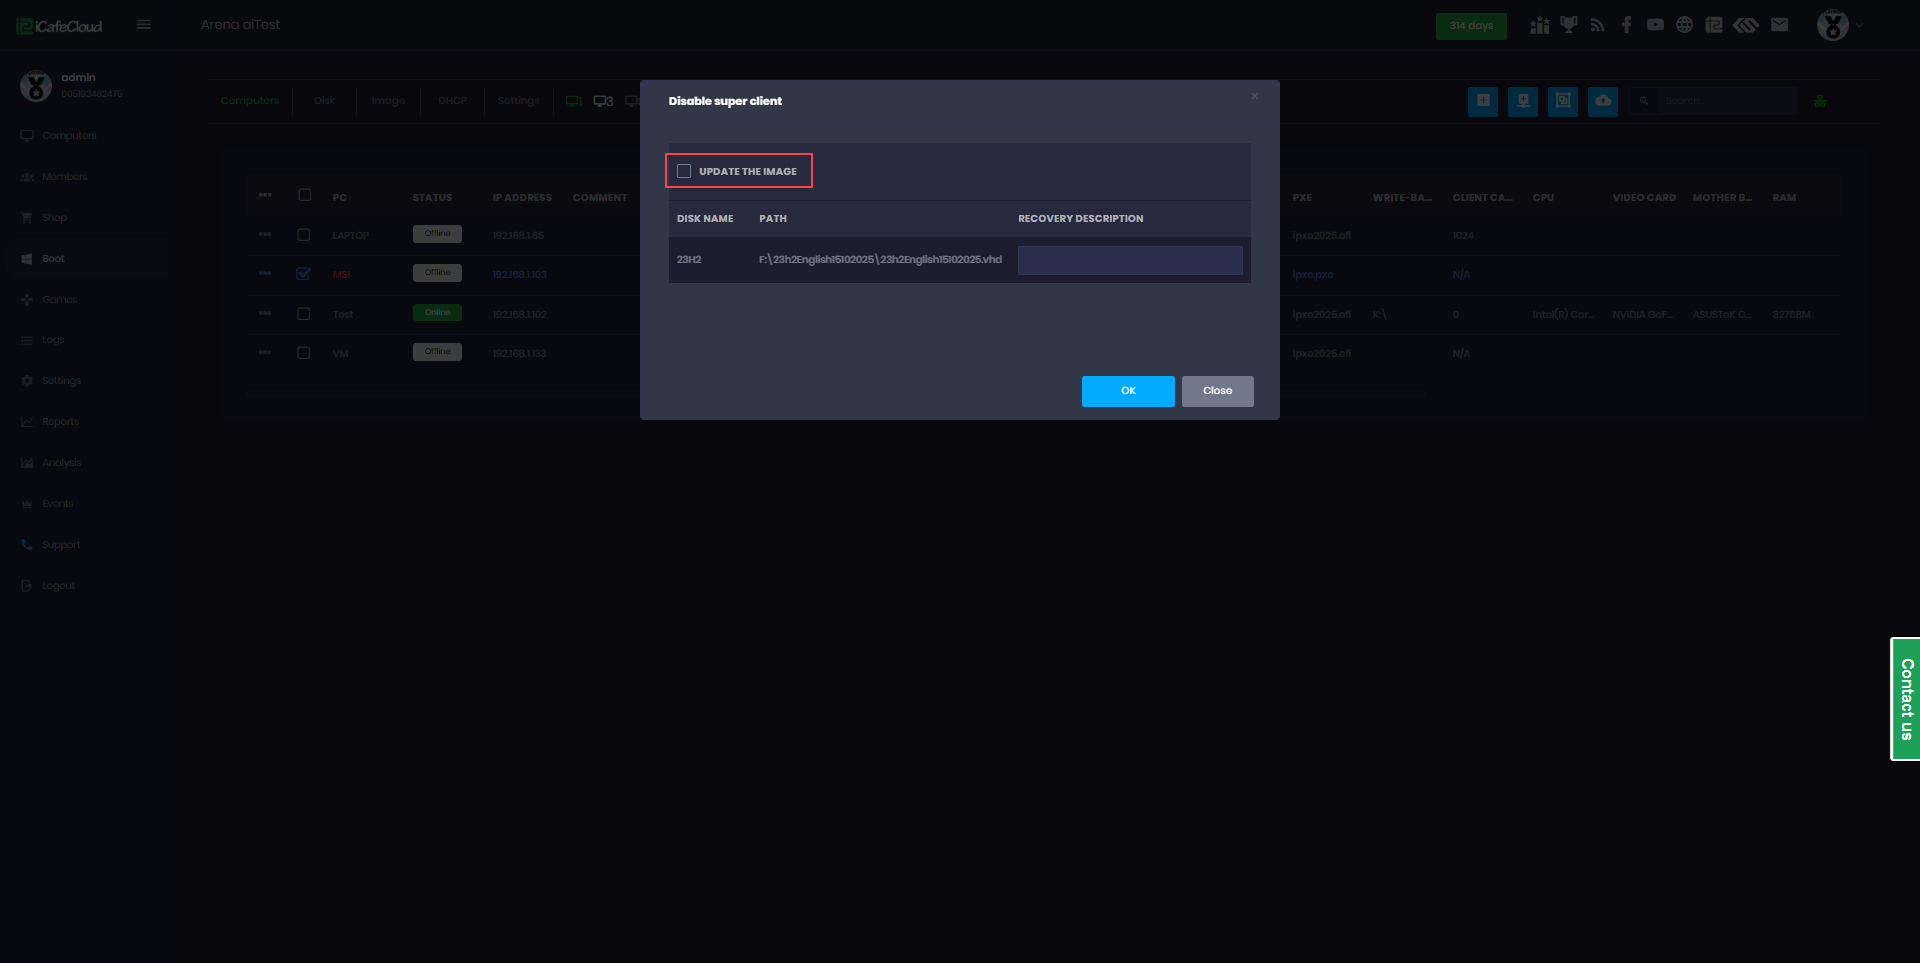
Figure 6
- The update progress is displayed at the top of the page, showing a loading percentage along with a notification popup. The popup will remain visible until you manually close it or refresh the page. (Figure 7)
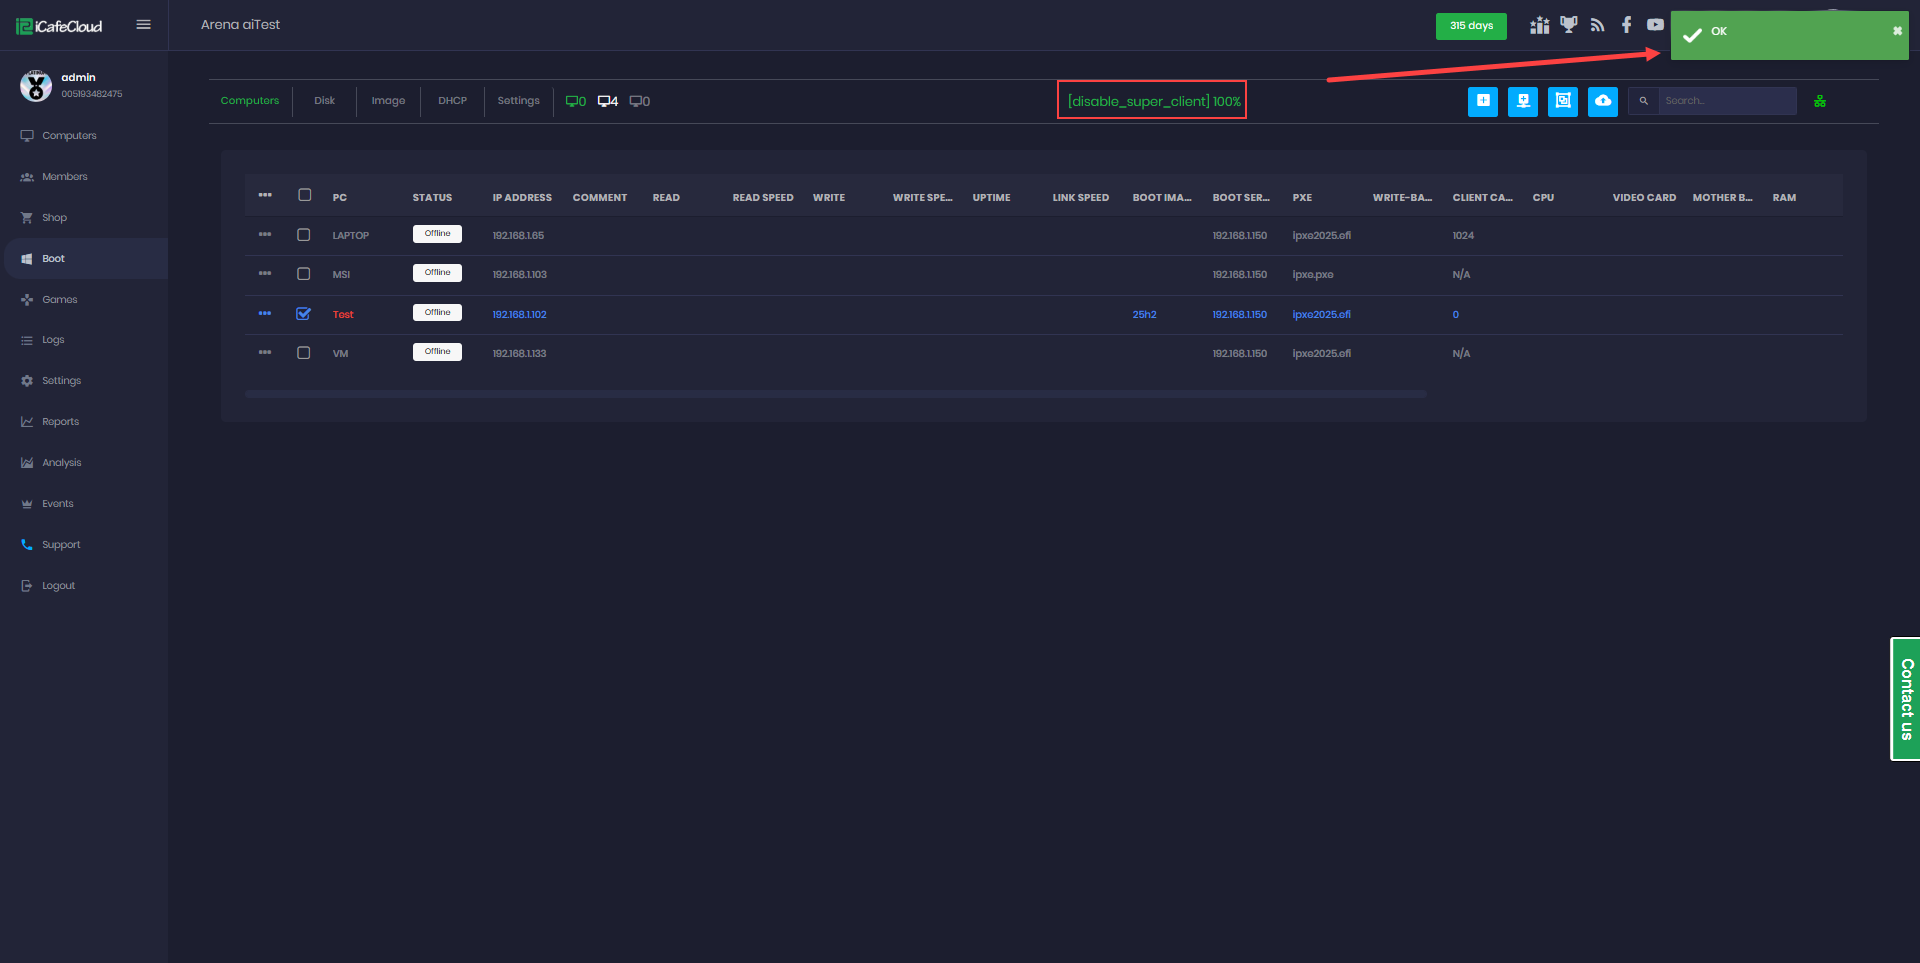
Figure 7
- Enabling Super Client on the Game Disk of client PCs is not recommended. It is better to update games directly from the server.
- If any client PC is placed in Super Client mode, other clients may experience slower game loading and increased boot times. To avoid issues, complete your tasks and disable Super Client as soon as possible.
- When a Game Disk is in Super Client mode, it is locked on the server to prevent changes, which may lead to corrupted game files. Once Super Client is disabled, the Game Disk becomes accessible on the server again.