2024-03-31
windows8, fail, boot
Before installing Windows 8 on the client, you need to do the following four steps first.
- Open command prompt with administrator privilege then type “bcdedit /debug off”
- Press Win + R
- compmgmt.msc
- In the left side of the "Computer Management" form, click the "Device Manager". Then, in the right side of the form, expand "Network adapters", right click the "Microsoft Kernel Debug Network Adapter" and select "Disable" (Figure 1).
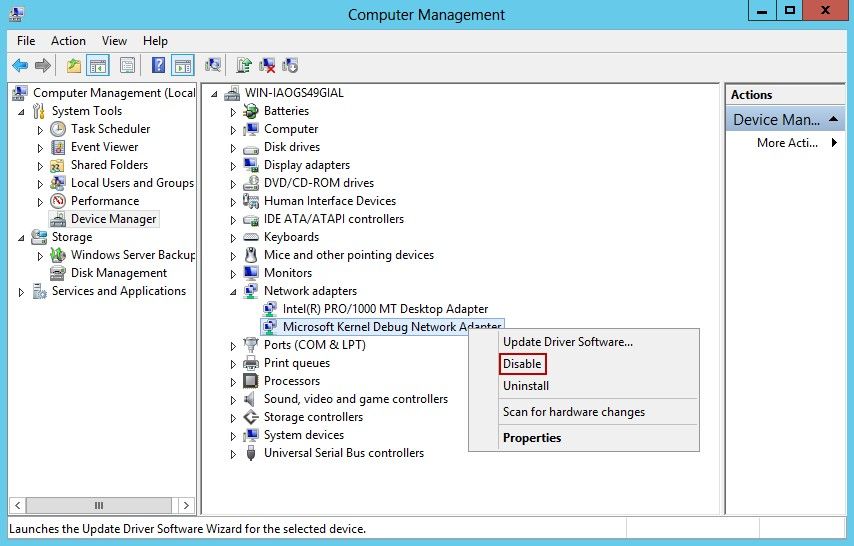
Figure 1
Sometimes, you may encounter the problem that the client with Windows 8 OS installed cannot PXE boot successfully. It is because the “bootmgr” file is stored in the hidden partition rather than C:. But you cannot simply remove the hidden partition. Instead, you have to move the bootmgr and restore it to C. The steps are as follows.
- Assign a drive letter to the hidden partition (such as e:\).
- Run cmd as administrator.
- Type reagentc /disable
- Type dir /a C:\Windows\System32\Recovery to see whether winre.wim is in the recovery folder.
- Type reg unload HKLM\BCD00000000
- Type robocopy e:\ c:\ bootmgr (Note that there is a space between c:\ and bootmgr).
- Type robocopy e:\Boot c:\Boot /s
- Type dir c:\ /ah to check if the bootmgr and Boot folder is in the C:
- Type bcdedit /store c:\boot\bcd /set {bootmgr} device partition=C:
- Type bcdedit /store c:\boot\bcd /set {memdiag} device partition=C:
- Close cmd.
- Go to diskmgmt.msc to remove the hidden partition drive letter e:\, and then mark C: as active (Note: Restart the client PC first, then delete the hidden partition).
- Run cmd as administrator.
- Type reagentc /enable
- Run diskmgmt.msc to delete the hidden partition.
- Try to restart the client PC again to see if it can boot to the desktop.
By following the procedures above, now, you can PXE boot Windows 8 successfully.