Wiki Home Create Boot Image Create image with windows 10 build 19xx for different motherboard
Create image with windows 10 build 19xx for different motherboard
2020/08/15 00:31
Notice: This wiki is for the old version CCBoot. Please click HERE to access the new version wiki
You can create the image with windows 10 build 19xx for different motherboard by following the steps mentioned below:
1.Create image on any PC, refer to : Standard Method to Create Boot Image for Legacy PCs
2. When the image is uploaded ; connect the disk in which you have installed windows to other type of motherboard and install NIC driver from NIC vendors site.
3. Collect the driver. Refer to Add New Machine into Boot Image, follow steps 1-6.
4. Add uploaded image to CCBoot. Refer to Add boot image.
5. Copy the folder "Drivers" that was created on step 3 to "C:\CCBoot" on the server side.
6.Right click on the image and click on "Add NIC driver to image".
8.Then click on "Add from local" button (Figure 1).
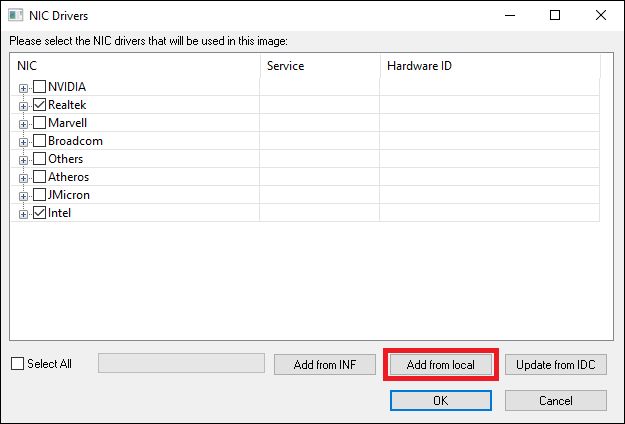
9. lastly, click on "OK" button and save changes to image.
Related:
Using super image to boot clients
Create Client Image with Dual NICs
Create windows bootable USB drive to create client image