Wiki Home Create Boot Image Using VMware to Create Boot Image
Using VMware to Create Boot Image
2019/02/28 20:08
Notice: This wiki is for the old version CCBoot. Please click HERE to access the new version wiki
VMware is a virtual machine software. You can use VMware to create CCBoot boot image.
1) Install VMware Workstation on a computer.
2) Create a virtual machine in VMware.
3) Install Windows system in the virtual machine, named it as "Windows 7 x64" and optimize the system if it’s necessary.
4) Install the CCBoot Client software and then restart.
5) Shutdown virtual machine.
6) Open the virtual machine settings, click "Hardware" tab, you can find the Disk file is "Windows 7 x64.vmdk" (Figure 1-1).
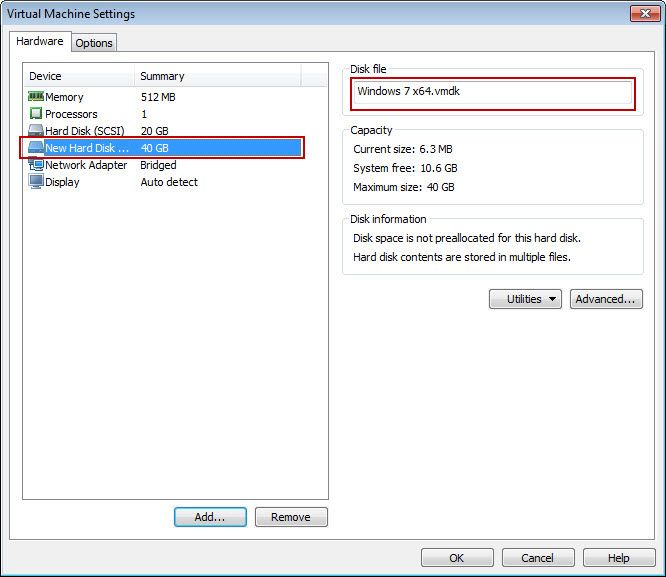
Figure 1‑1
7) Click "Options" tab, find "Working directory" is "D:\Virtual Machines\Windows 7 x64". Now you can go to "D:\Virtual Machines\Windows 7 x64" and find disk file "Windows 7 x64.vmdk" (Figure 1-2).
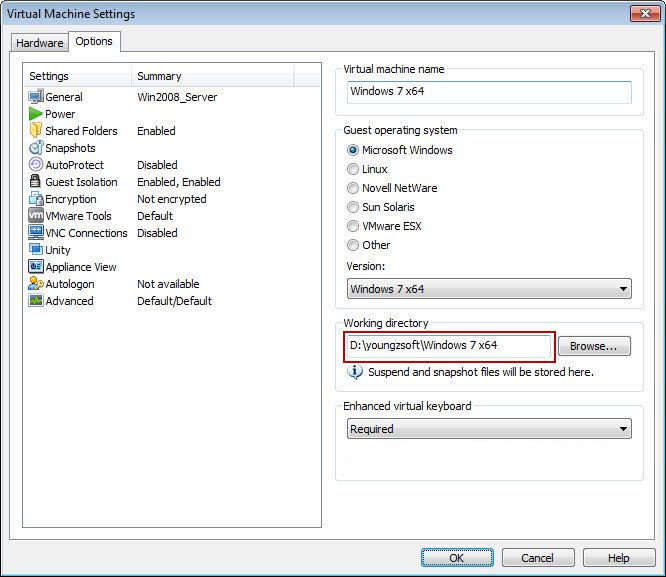
FIgure 1-2
4) Now the "D:\Virtual Machines\Windows 7 x64\Windows 7 x64.vmdk" can be used as boot image directly.
5) Normally, we recommend to use VHD file format image. You can use "VMDK2VHD" to convert vmdk to vhd file. Please refer to "Convert VMDK to VHD".
Related:
Create Client Image with Dual NICs