Wiki Home Create Boot Image Upload Windows 10 Image
Upload Windows 10 Image
2019/02/28 17:56
Notice: This wiki is for the old version CCBoot. Please click HERE to access the new version wiki
Starting from CCBoot version 20180411, we have changed the way for uploading Windows 10 image
Important: Please make sure that you have sharing enabled on client as well as server. Windows 10 upload uses shared folder to make the image thus if sharing is disabled the upload will fail.
1. Before starting share a folder on the image disk which can be access from client PC, for this tutorial, "ccbootshare" folder in the image disk is shared and accessible from client PC (Figure 1).
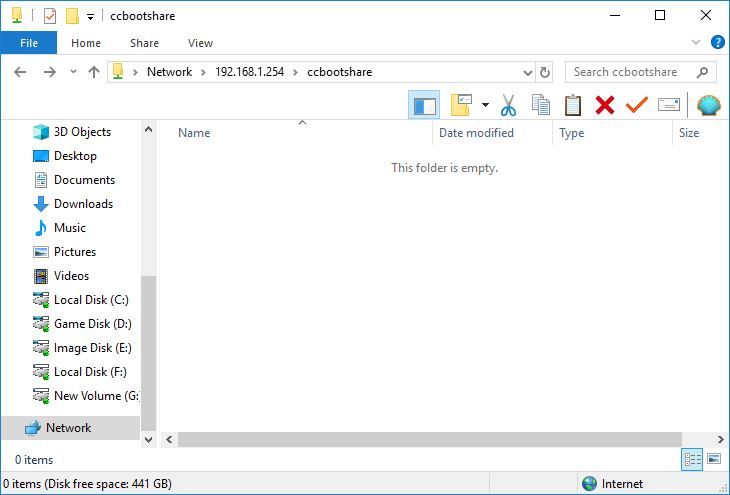
Figure 1
2. Install newest version CCBoot and then one the CCBoot Client UI, enter the "Server IP Address" and the "Image File Name" then click the "Upload Image" button (Figure 2).
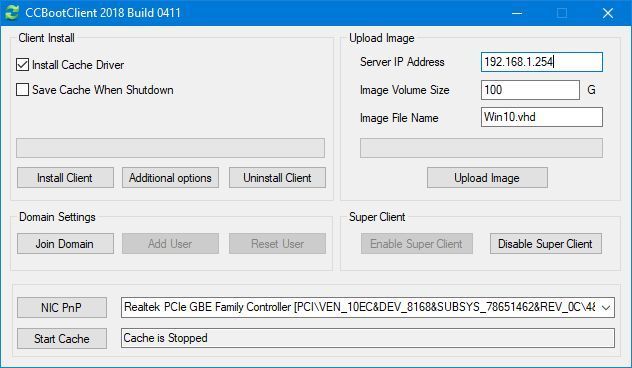
Figure 2
3. It will open "Upload Image" window, in it you will see "Target Path", in this field you will enter the shared folder path. example "\\192.168.1.254\ccbootshare" (Figure 3)
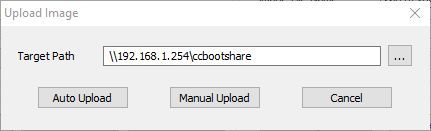
Figure 3
4. Now, if you click "Auto upload" button then it will create and image on the specified folder with the name entered earlier (Figure 4).
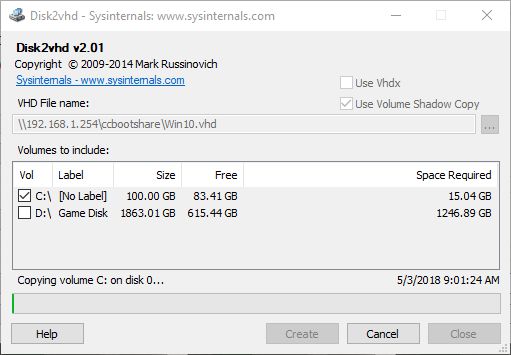
Figure 4
5. Let the upload complete, then check the shared folder, you will see your new image file (Figure 5)
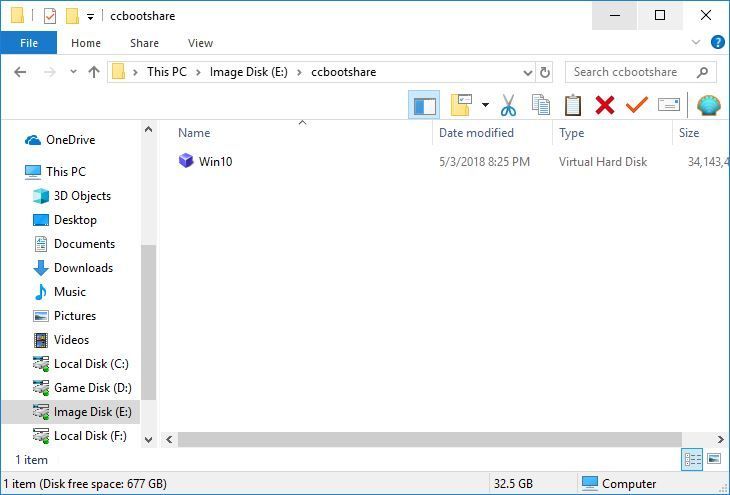
Figure 5
6. If you clicked "Manual Upload" button on step 2, then you will be able to select which partitions or drive to use while making image. Once ready click "Create" button to create the image to the shared folder (Figure 6).
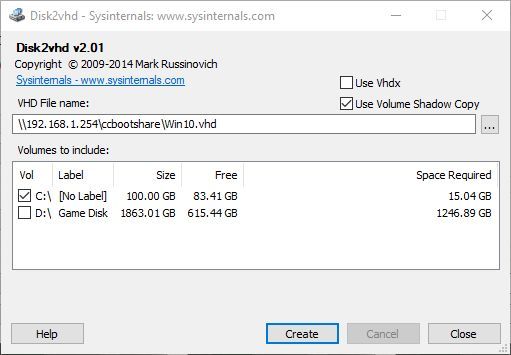
Figure 6
Note: You can choose either way to upload image.
Just make sure you can access any shared folder on server from client PC before trying to upload the image.
Related:
Solve "Getting Devices Ready" on Windows 10
Fix Windows 10 activation issue on CCBoot client
Standard Method to Create Boot Image for Legacy PCs