Wiki Home Quick Start Add boot image
Add boot image
2019/04/22 19:23
Notice: This wiki is for the old version CCBoot. Please click HERE to access the new version wiki
1. Open CCBoot UI and click on the "Image Manager" node.
2. Right click on the right pane and choose "Add Image" (Figure 1)
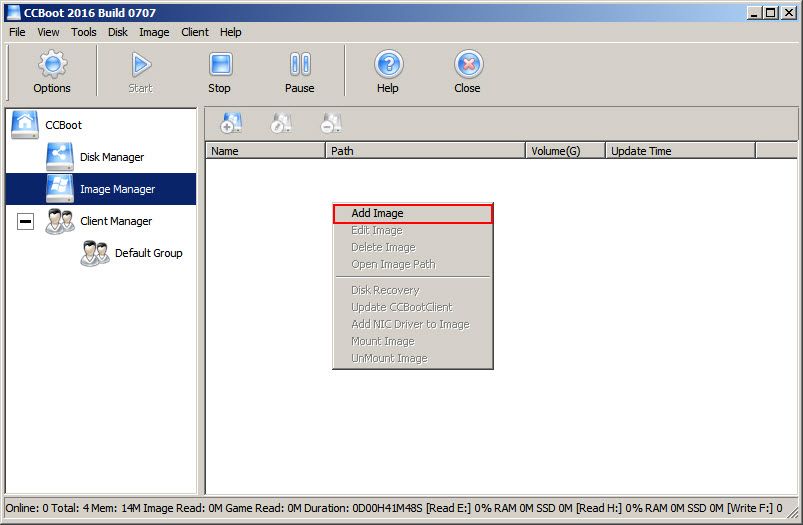
Figure 1
3. Image dialog box opens, in "Image Name" box enter the name of the image and then click browse button " ... " (Figure 2)
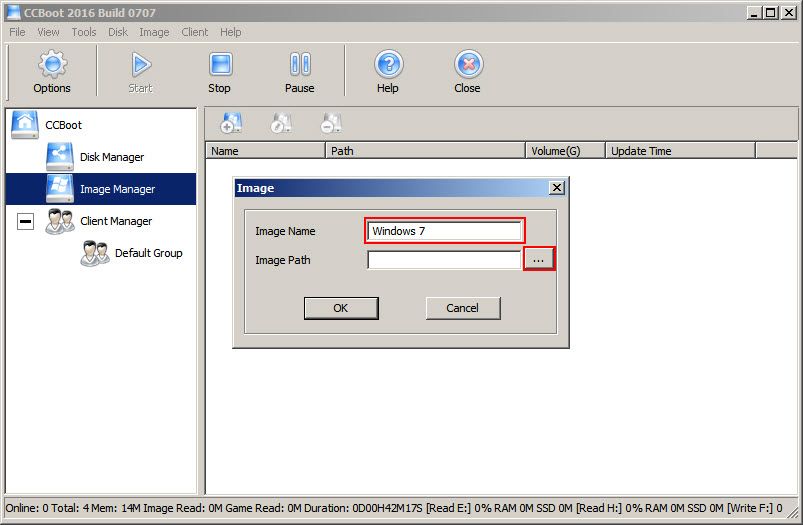
Figure 2
4. Now, browse to where you image is and select it and click "Open" button (Figure 3).
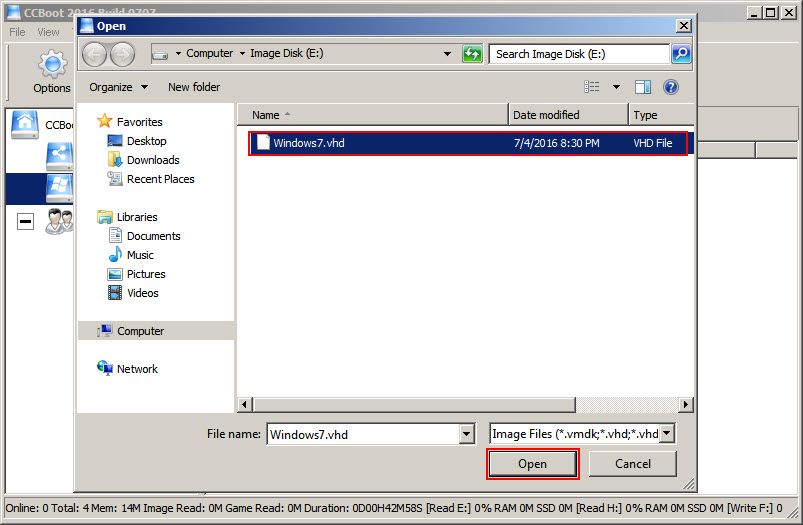
Figure 3
5. Now, in the image dialog box, you will see the "Image Path", click "OK" button to add the image (Figure 4).
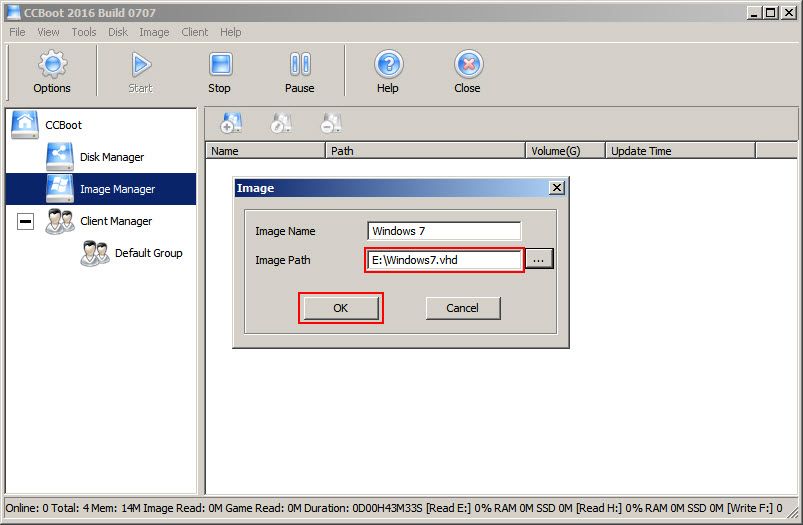
Figure 4
6. Now, in the image manager, you will see the image you just added (Figure 5).
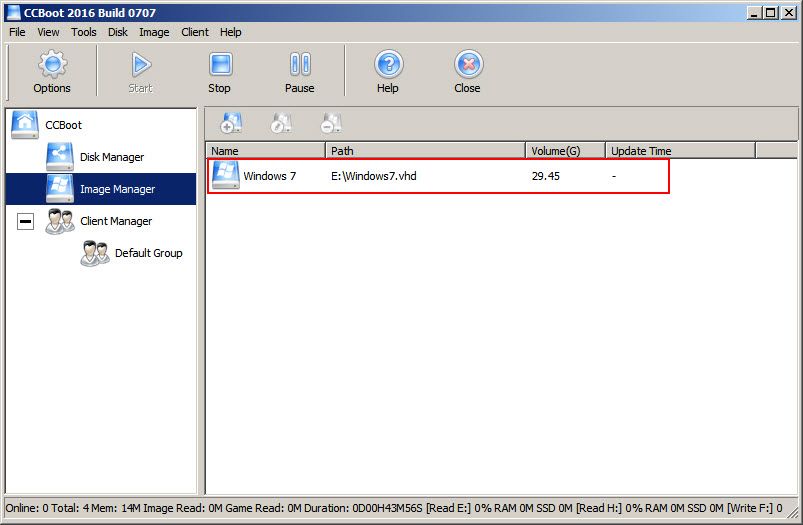
Figure 5
You can add many images in CCBoot and assign them to client.
To assign the image, double click the client and then in "Client Details" click the "Image" drop down and select your image "Windows 7" and click "OK" (Figure 6).
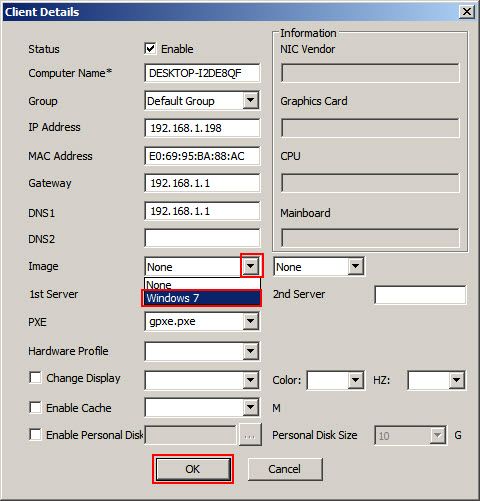
Figure 6
You can assign any image to client that you have added in the "Image Manager".
Note:
1) In some cases, if image is not located on game disk it can cause issues with booting. So please move your image to image disk.
2) Auto refresh client desktop icons when boot up.
3) Image that does not exist appear in red color in the image list (Figure 7).
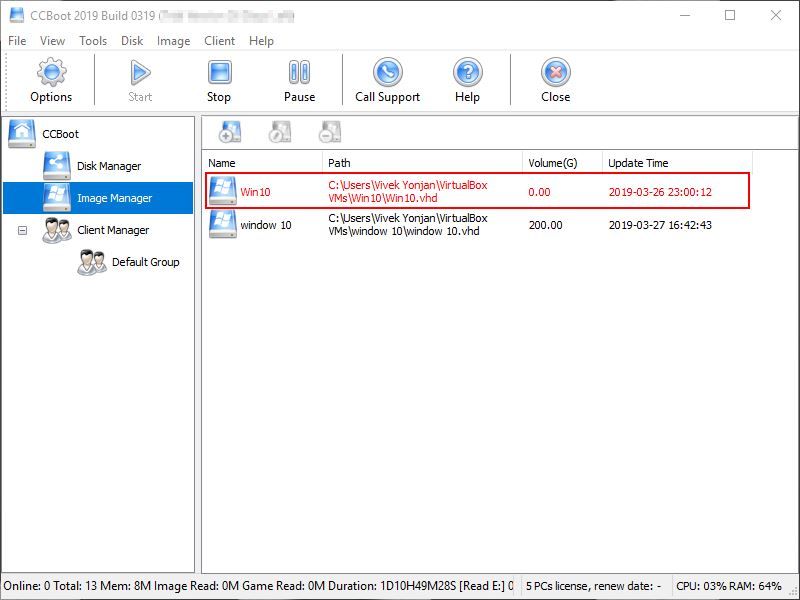
Figure 7
4) When the image disk is full or going to be full, it warns by appearing red in disk list (Figure 8).
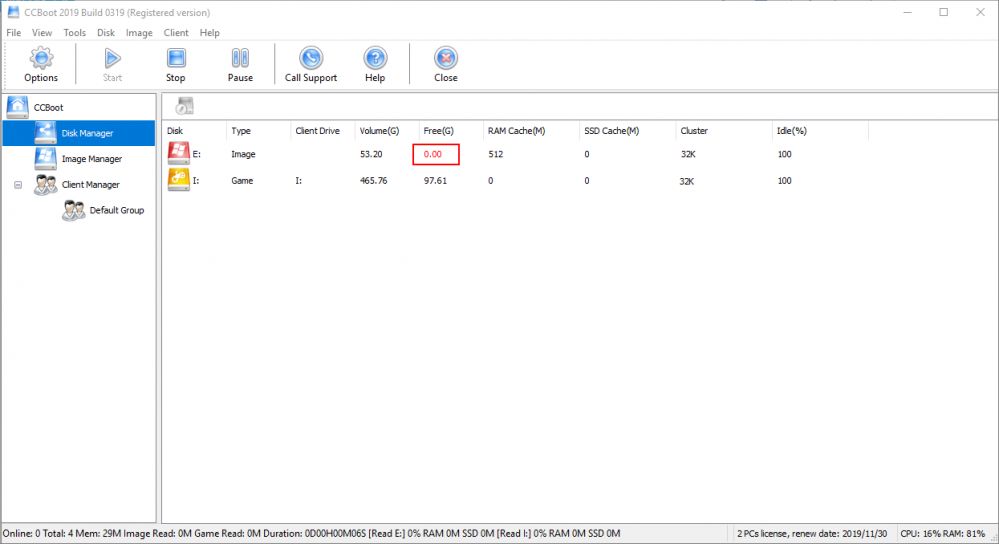
Figure 8
Related:
Using super image to boot clients
Create Client Image with Dual NICs
Create windows bootable USB drive to create client image