Wiki Home Quick Start Install CCBoot Server
Install CCBoot Server
2019/10/03 08:47
Notice: This wiki is for the old version CCBoot. Please click HERE to access the new version wiki
Download the latest version of CCBoot Setup Package from website.
Installation process takes about a minute.
Note: CCBoot trial works for 30 Days for 5 users. There are no other limitation in functions.
If you try to boot more than 5 PCs in trial then clients will not be stable and may crash. 5 PC trial is most stable, any more you want to boot, please purchase license.1. Open CCBoot setup, select “CCBoot Server installation” and click “Next” button (Figure 1).
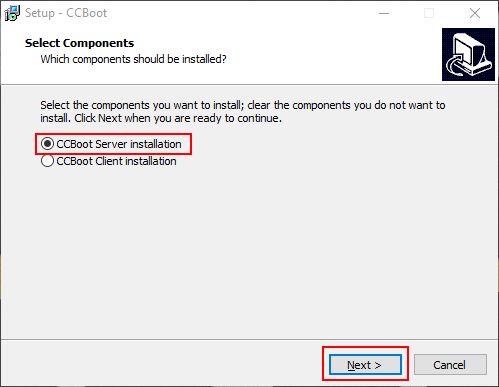
Figure 1
2. Select Destination Location and click “Next” button (Figure 2).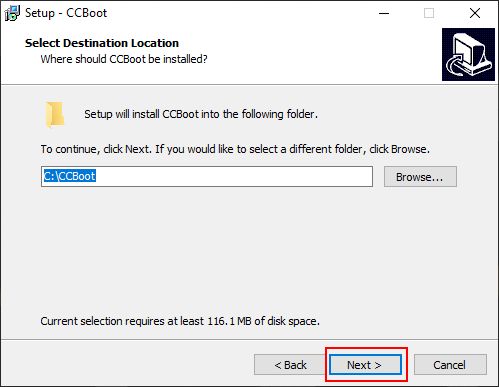
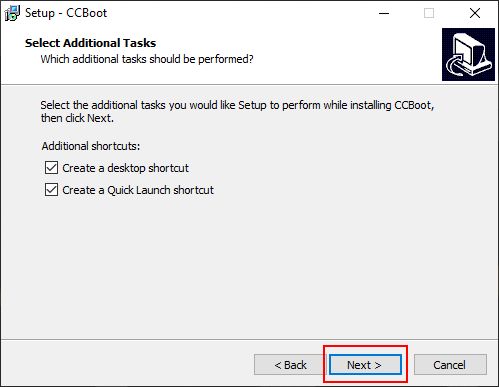
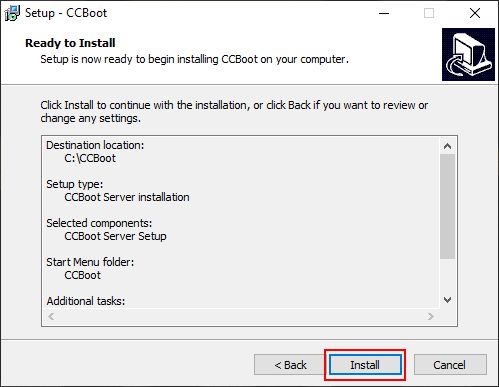
4. Check and uncheck as required and click “Next” button (Figure 4).
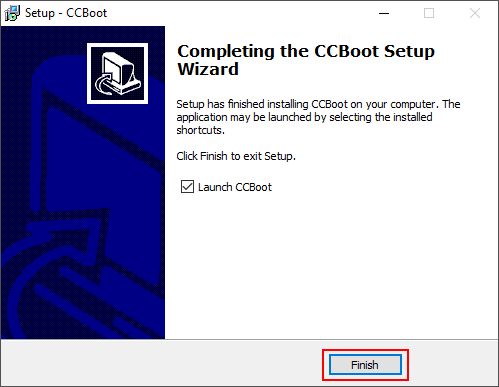
6. Once installation is complete, check the “Launch CCBoot” checkbox and click “Finish” button (Figure 6).
7. On the pop-up dialog box, click "Yes" button to reboot your server (Figure 7).
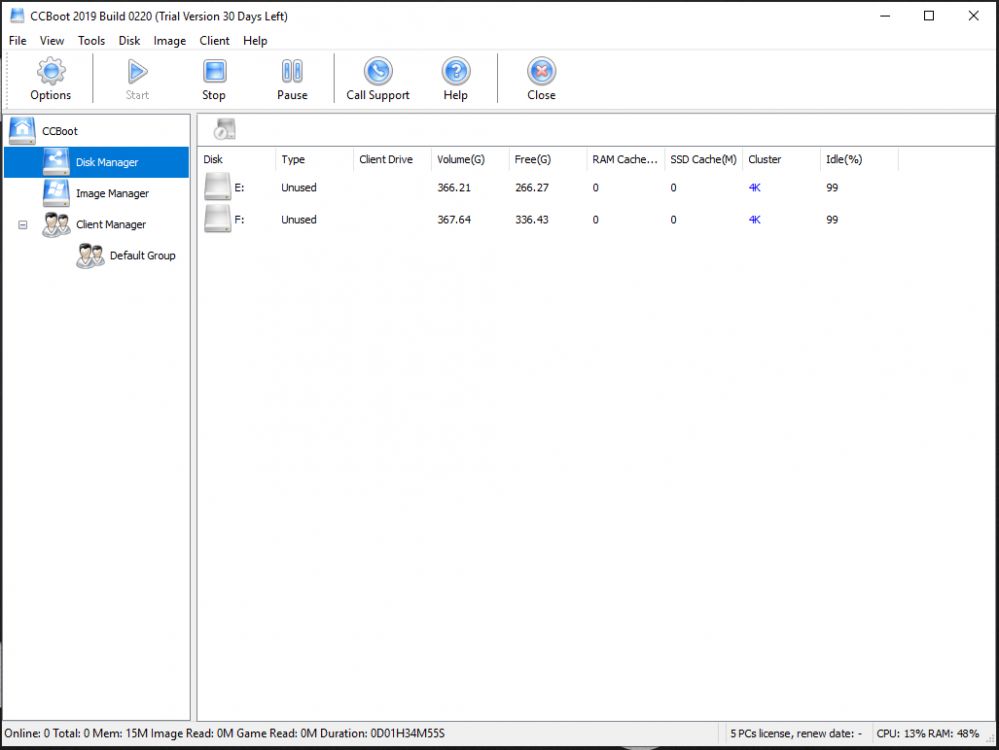
8. Once the server is rebooted, double click the CCBoot icon on the desktop to open the CCBoot main UI (Figure 8).
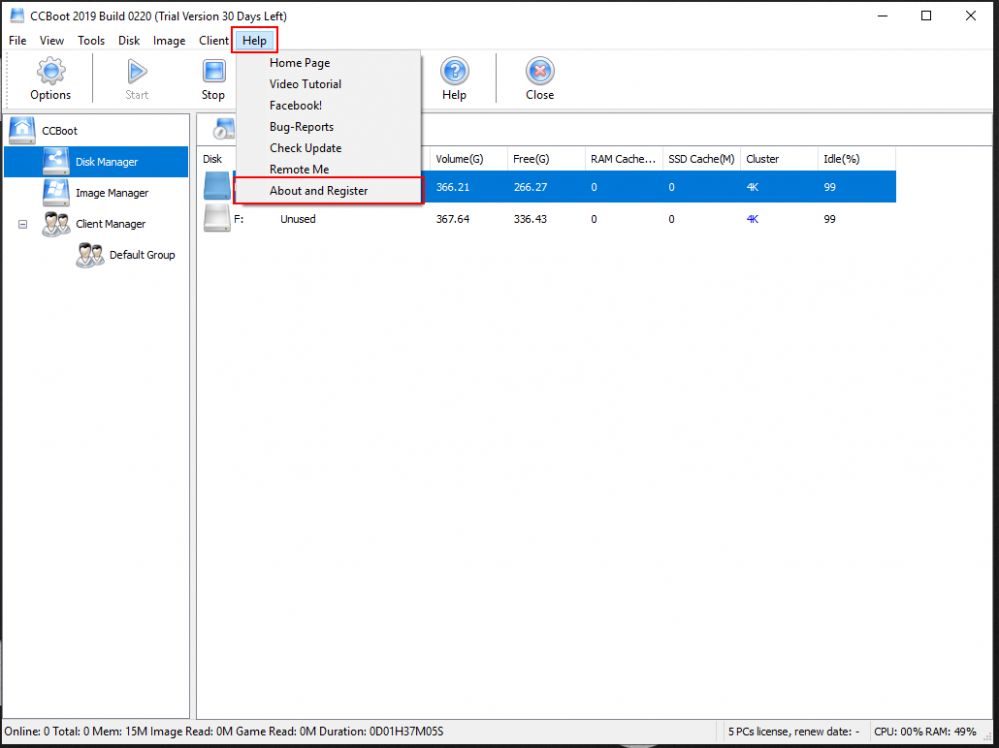
9. If you have purchased license already then lets register the license. Click "Help" menu then cboot "About and Register" option (Figure 9).
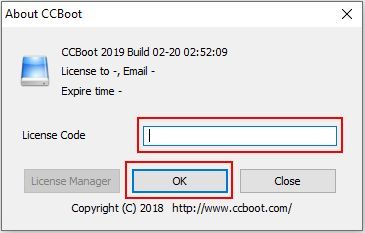
10. Now, on the "About CCBoot" dialog box, enter your license and click "Ok" (Figure 10).
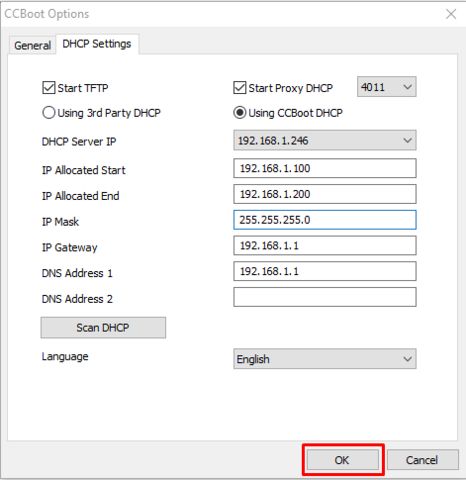
11, click on the “DHCP settings” tab in “CCBoot Options’ windows and Setup the DHCP settings as per your network configuration (Figure 11).
Note: The CCBoot Server should have static IP in the LAN. Do not set CCBoot server to get IP from DHCP.
13. To set disk, go to “Disk Manager”, right click on unused disk and select “Edit Disk” (Figure 12).
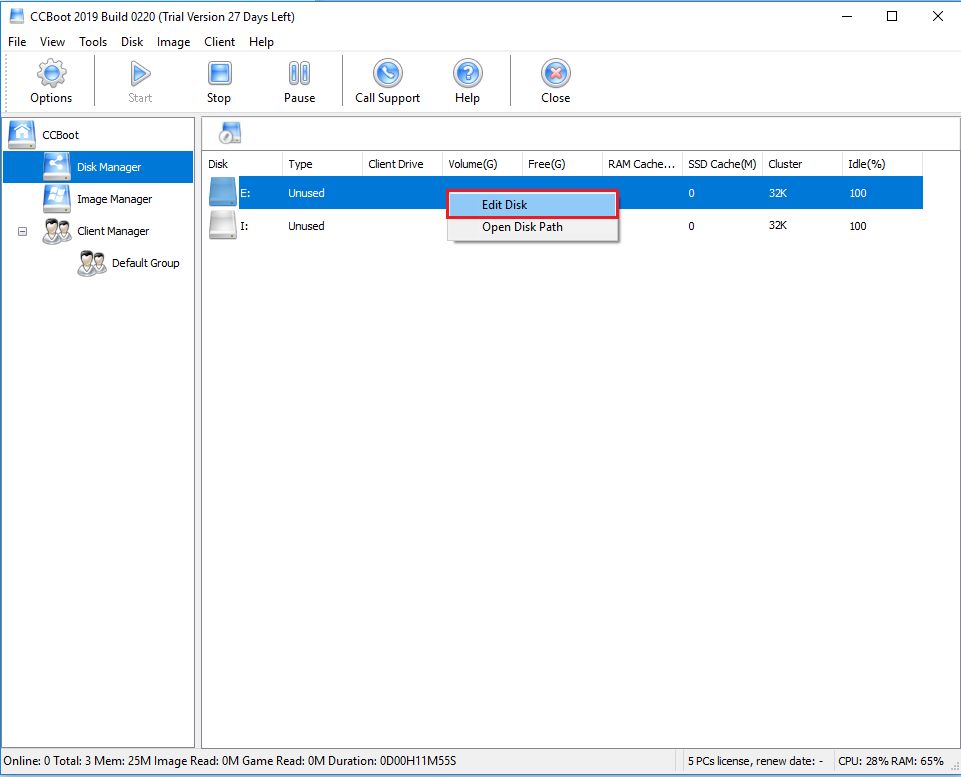
Note: Do not use for disks letters A and B, because by default Windows use drive letter A for floppy drive and drive letter B is for Zip drive, therefore, the disks will not be displayed in CCBoot.
14. Select disk type, set RAM Cache, SSD Cache and click “OK” (Figure 13).
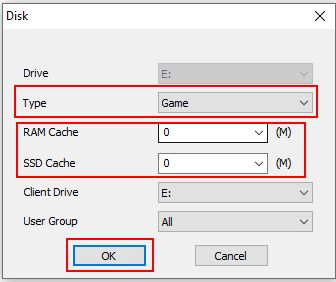
Note:
You can set game disk, image disk, writeback disk etc in a same way.
Refer to our wiki : Server Cache Settings
Also Refer to our wiki : Add boot image to set image disk for booting client
CCBoot Server Ports
CCBoot uses the following ports - 67 (DHCP), 69 (TFTP), 3260 (iSCSI), 1000 (Image Upload),8001 (Service Control). Please open these ports on the server firewall to make sure client PC can diskless boot successfully. For CCBoot v3.0, you also need to open port 66. v3.0 using port 66 as DHCP backup. And after v3.0 20130871,CCBoot use port 4011 instead of port 66 as DHCP backup.
Note: In order to make sure that client's PCs can diskless boot well, please shut down the other DHCP services on the LAN, especially the DHCP service in the router.You can be rest assured that after you disabled other DHCP services on the LAN,it will not affect other computers' connecting to the Internet, because CCBoot will provide DHCP service which could also be used by the computers which boot from HDD.
Related:
Use Net Limiter on CCBoot client
Fix Windows 10 activation issue on CCBoot client
Update CCBoot older version to new