Wiki Home Quick Start How to share folder in Windows 10
How to share folder in Windows 10
2019/09/16 22:04
Notice: This wiki is for the old version CCBoot. Please click HERE to access the new version wiki
Follow the instructions below to share folder in Windows 10:
1. Right click on the folder you want to share and click on "Properties" (Figure 1).
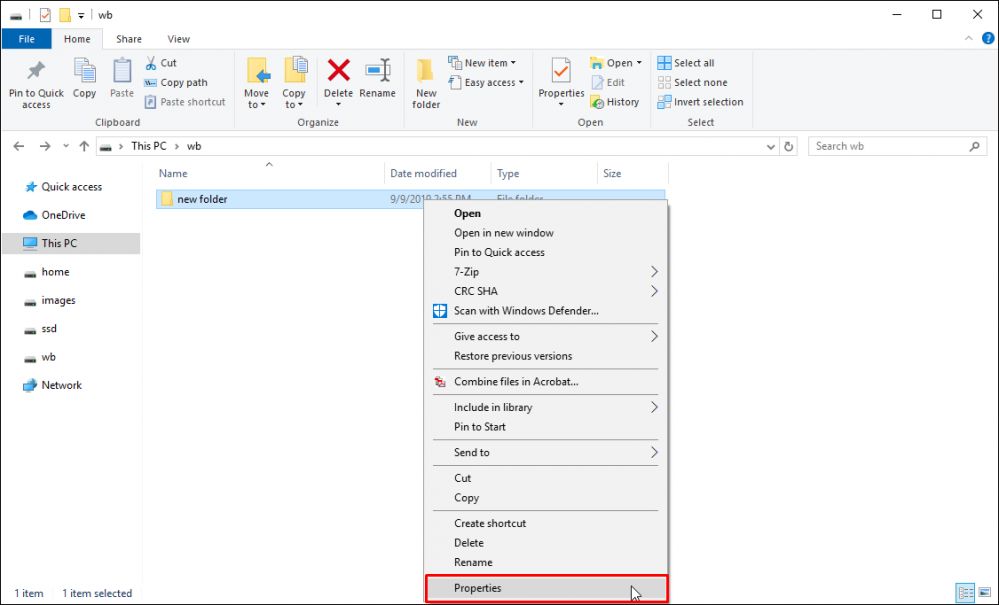
Figure 1
2. Go to "Sharing" tab and click on "Share" button (Figure 2).

Figure 2
3. Select the person to share with (Figure 3).
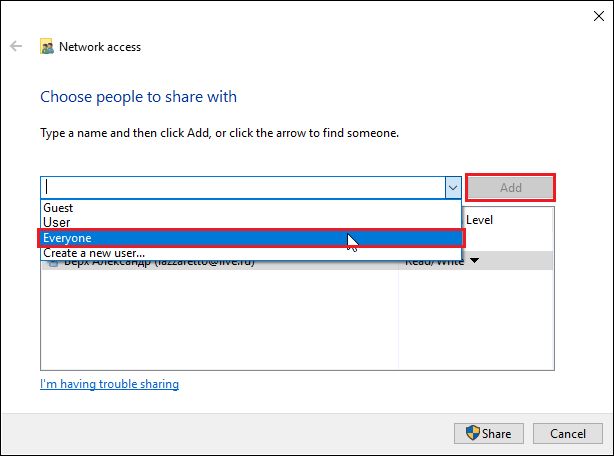
Figure 3
4. Select permission to the person you want to share such as: read, write and read/write and click on "Share" button (Figure 4).
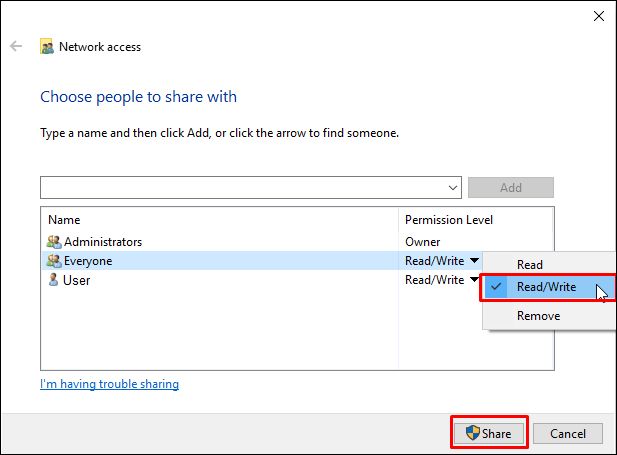
Figure 4
5. Click on "Done" Button (Figure 5).
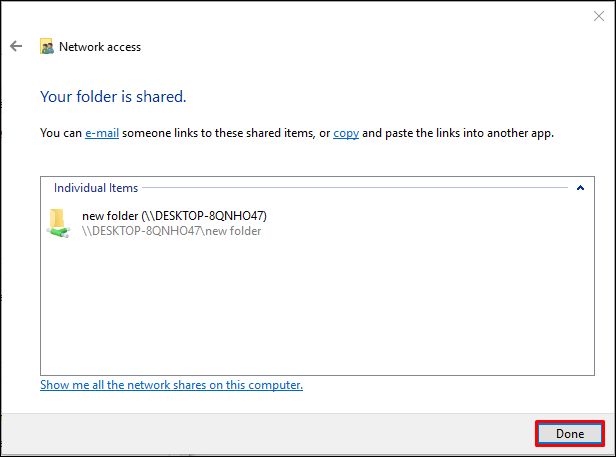
Figure 5
6. Go to "Advanced sharing settings" from control panel which path as in picture and mark the radio button as highlighted in red highlighted Figure 6.
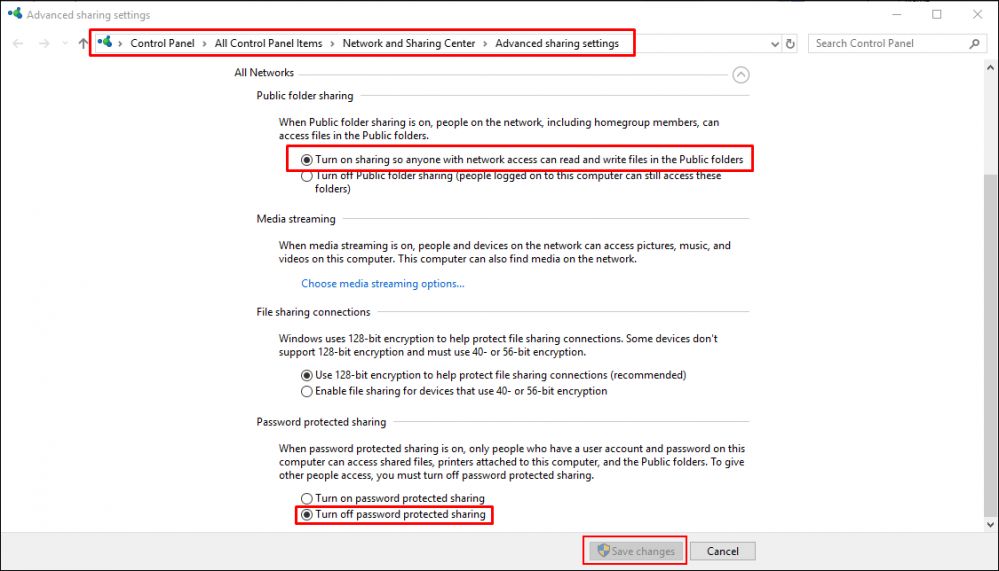
Figure 6
Note:
If you still do not have access to shared folders then please make sure that the features in red highlighted are enabled on server and client side (Figure 7).

Figure 7
Related:
Solve "Getting Devices Ready" on Windows 10
Fix Windows 10 activation issue on CCBoot client
Issues with windows 10 build 1903