Wiki Home Quick Start Diskless Boot Client
Diskless Boot Client
2019/09/16 20:35
Notice: This wiki is for the old version CCBoot. Please click HERE to access the new version wiki
1) On CCBoot server, double click PC101 to open the dialog box of master PC's properties uncheck "Enable Upload Image" and click "Save".
2) Shutdown the master PC. Remove the HDD or disable HDD in BIOS (This step is necessary especially for Windows 7). Set it firstly and boot from LAN (or network, PXE rom, or some similar settings) in BIOS settings, so that it will start diskless boot.
3) Boot the master PC, you will see the following picture (Figure 1-1).
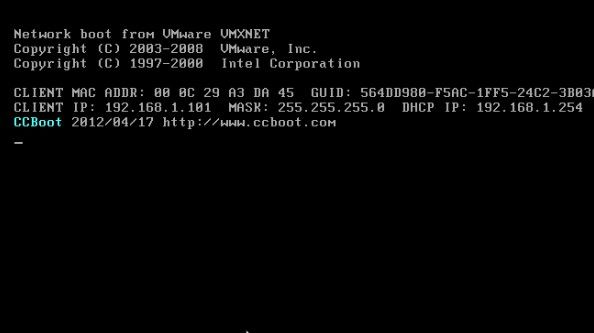
Figure 1-1
4) For the first time of diskless booting the master PC, you can modify its computer name and IP address as you wish. And then press Enter key. The client will be rebooted again (Figure 1-2).
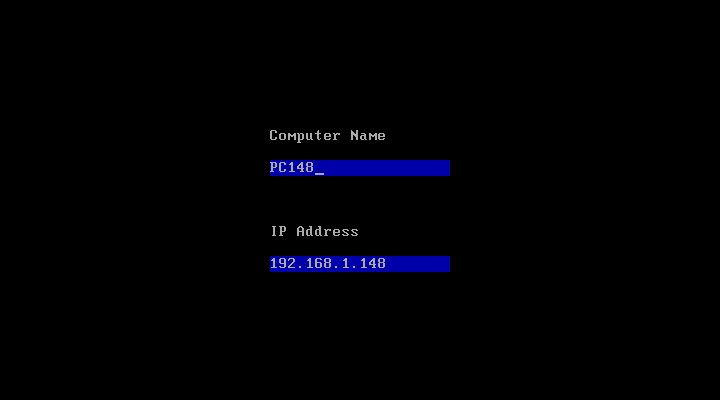
Figure 1-2
5) Now it will be diskless boot successfully (Figure 1-3).
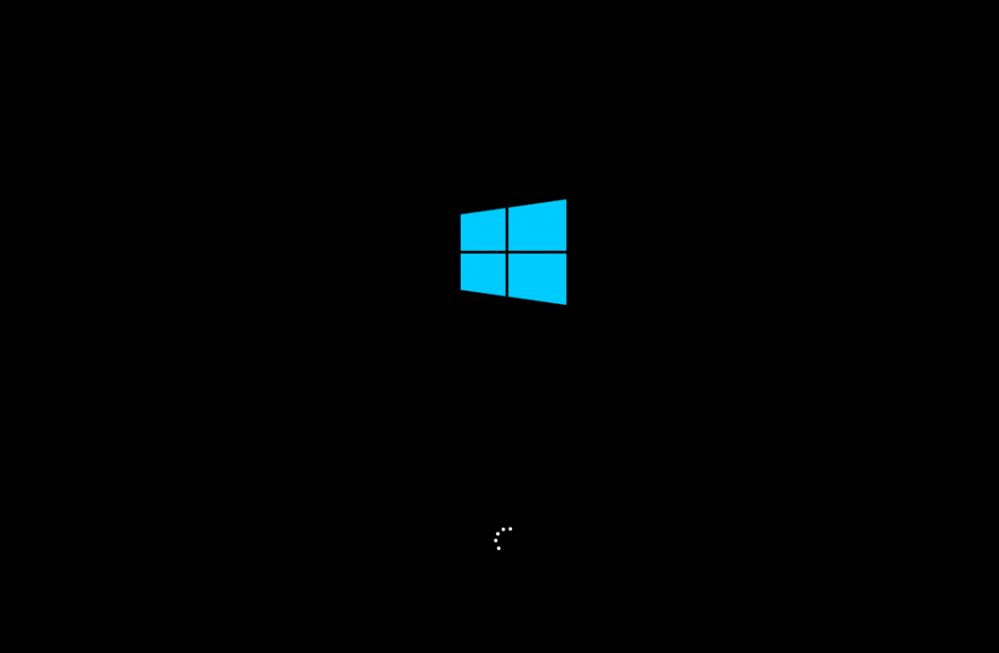
Figure 1-3
Note:
PCs always is booting in two stages, first stage is 90-140 MB in 4-10 seconds and second is 300-1100 MB in 20-40 seconds. It depends on server,network, client performance, image, program and drivers optimization.
For the first time you diskless boot Windows 7, you will get a startup list (also called "safe mode", it only happens when uploading image), normally just like not shuting down computer. That’s just because we uploaded the Windows 7 image during it’s running. Below is for how to prevent from this situation for future booting.
- On CCBoot server, double click PC101 to open the master PC’s properties dialog box, check "Keep Write-back" and click "Save". Boot the client diskless.
- Select "Start Windows 7 Normally" to boot.
- When this client boot is OK, shut it down.
- On the CCBoot server, double click PC101, press "Save to Image" in this client's properties and uncheck "Keep Write-back".
Now, clients can boot Windows 7 from this image normally.
Additional Instruction
If the image you have uploaded from the master PC can be used to diskless boot Windows XP/7 for all the other client PCs, please install other drivers (display, sound etc), Windows updates, and various application level of software’s image by updating image.
If you want to diskless boot Windows XP with a single image for client's computers with different hardware specifications, you need to implement PnP. Please refer to this article for more details - Create a Single Image for All Specifications.
If the diskless booting stops at the Windows Logo for a long time and report BSOD error code such as 0x0000007b at last, please refer to Client Diskless Boot Failed.