2023-12-20
image, update, pnp, inf, local
The following provides instructions on updating and optimizing NIC drivers in CCBootCloud, covering methods such as updating drivers via Plug and Play (PNP), INF files, and from local
Edit NIC drivers
This option permits, enables or disables some NIC drivers on the image. Follow these steps to do it.
- Before updating the PNP, ensure you update the CCBootClient to include the latest NIC drivers in the list.
- Right click on the image and click on “Update image by PNP”.(Figure 1).
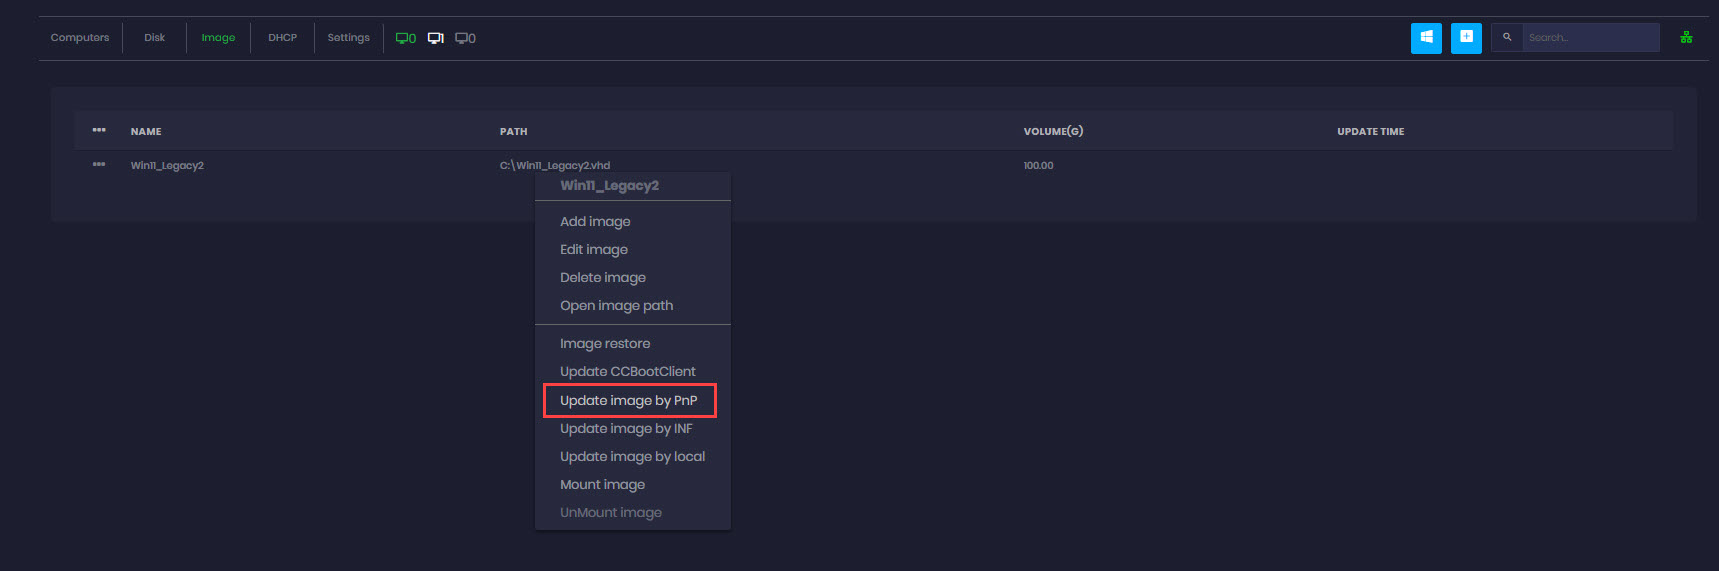
Figure 1
- Select the NIC driver by hardware ID and click on the “Ok” button (Figure 2).
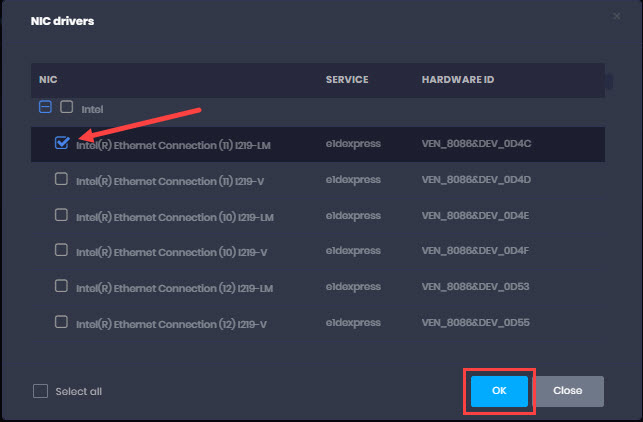
Figure 2
- You may choose either a single NIC or multiple NICs together, especially if you're uncertain about the exact revision.
Add from inf
This function is used to add NIC drivers from the INF file to the image directly, which is more convenient. Download the latest NIC driver from the official NIC vendor site and unzip it on the server.
- Right click on the image and click on “Update image by INF” (Figure 1).
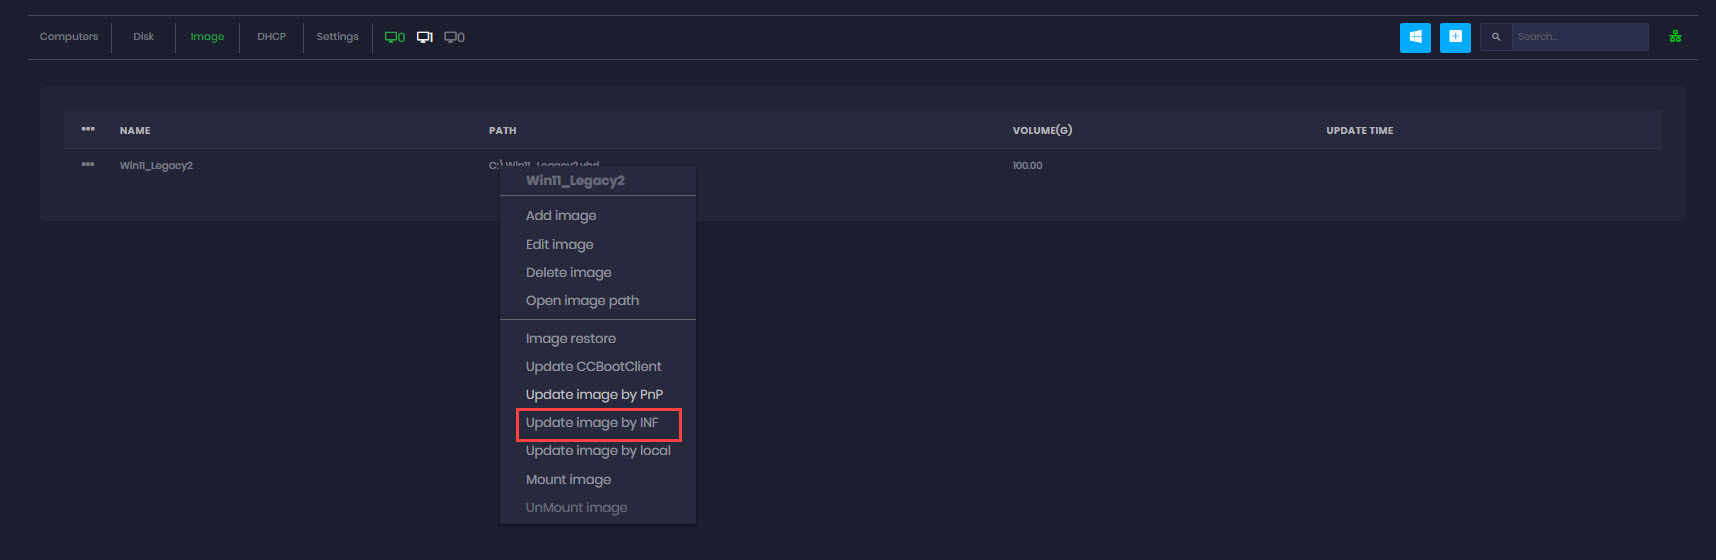
Figure 1
- Select the inf file you have and click on the “Select” button (Figure 2).
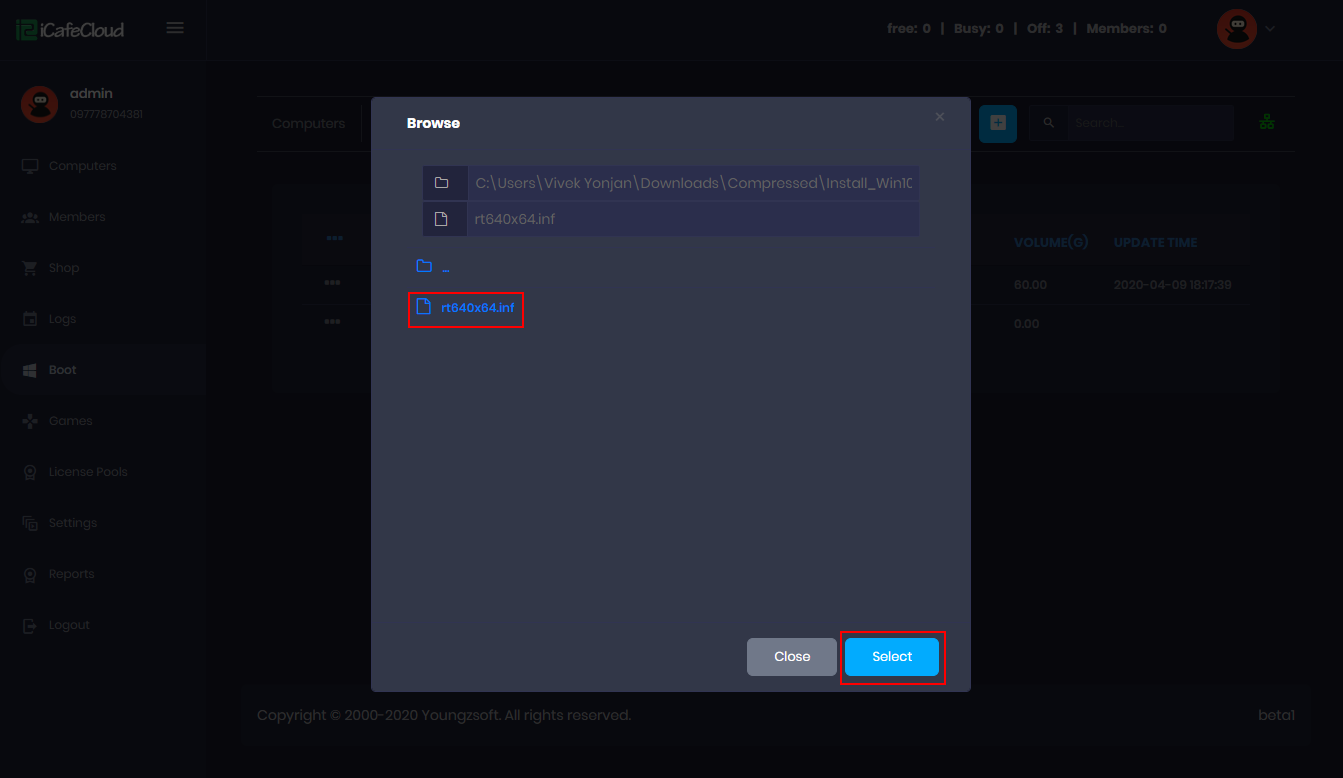
Figure 2
- Check the drivers needed and click on the “Ok” button (Figure 3).

Figure 3
- Once completed, a prompt with a success message will appear. Close it by clicking the “Ok” button (Figure 4).
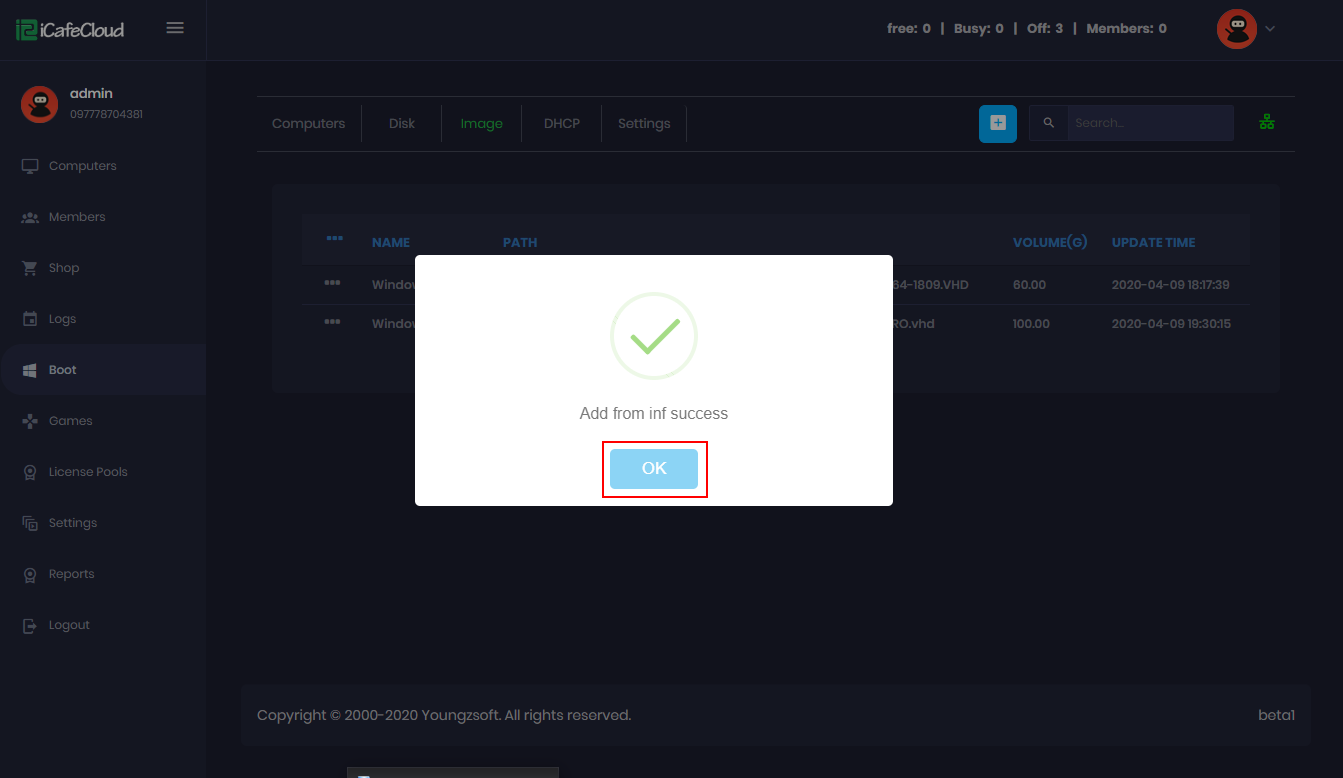
Figure 4