Wiki Home Performance Optimization Client Power Options Optimization
Client Power Options Optimization
2014/08/25 16:17
Click "Start" -> "Control Panel" -> "Power Options" (Figure 1-1).
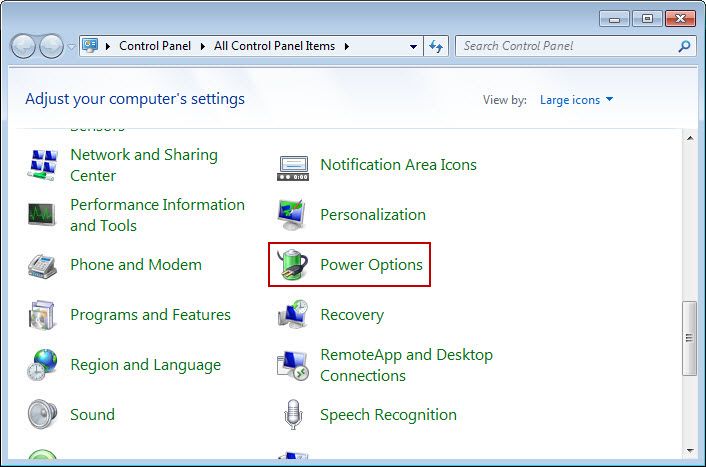
Figure 1‑1
In the pop-up window, click "Change plan settings" (Figure 1-2).
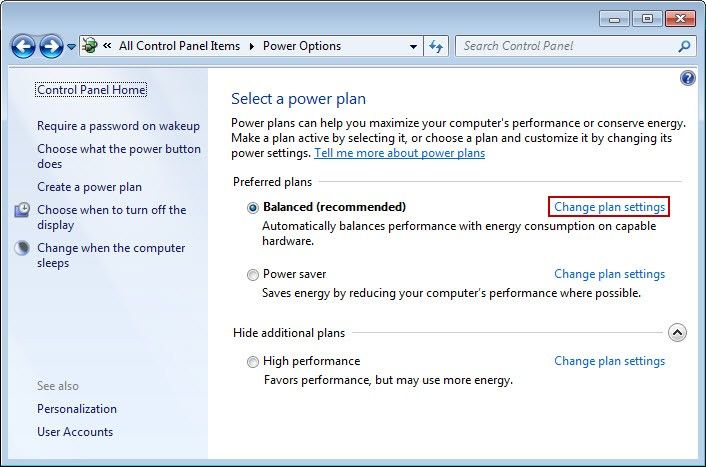
Figure 1-2
It will pop-up "Chang settings for the plan" window, in the "Turn off the display" combo box, select "Never". In the "Put the computer to sleep" combo box, select "Never" (Figure 1-3).
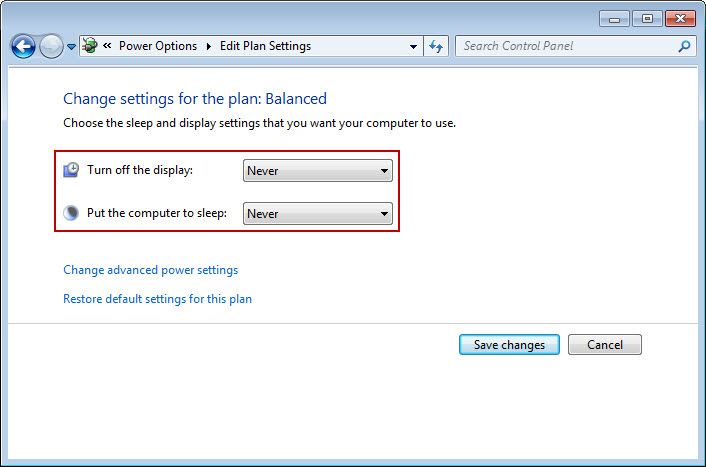
Figure 1‑3
Click "Change advanced power settings" (Figure 1-4).
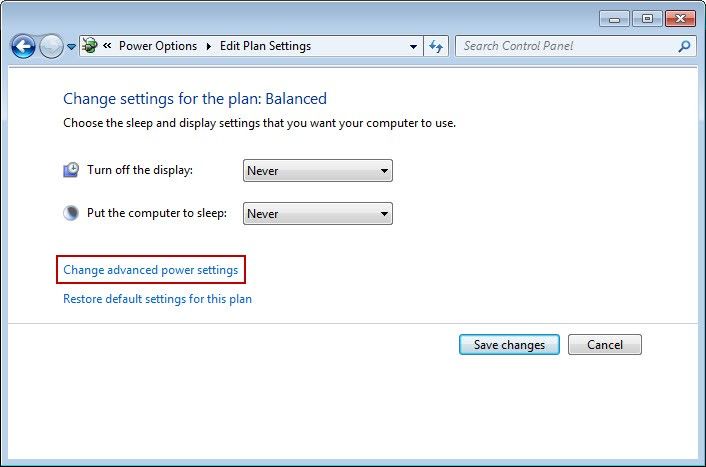
Figure 1-4
In the pop-up "Power Options" dialogue box, set "Require a password on wakeup" to "No"; set the "Turn off hard disk after" to "Never". Set the "Slide show" to "Paused" (Figure 1-5).

Figure 1‑5
Set the "Sleep after" to "Never"; set "Allow wake timers" to "Disable" (Figure 1-6).
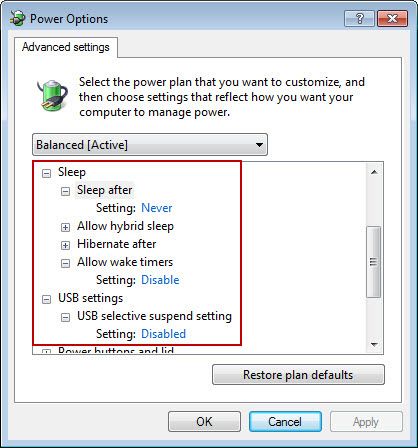
Figure 1‑6
"Processor power management" is set to the default value (Figure 1-7).
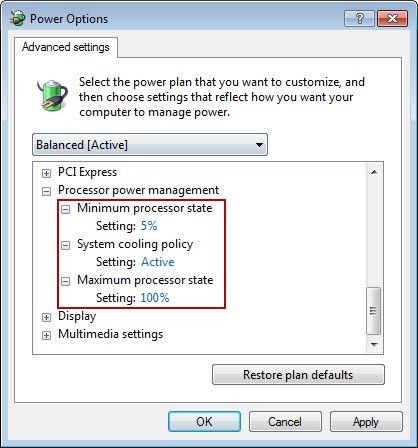
Figure 1‑7
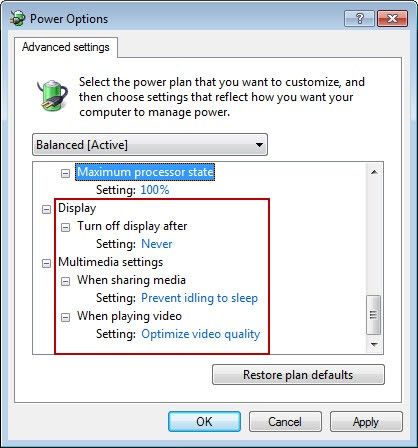
Set the "Turn off display after" to "Never"; "Multimedia settings" is set to the default value; and then click "OK" button (Figure 1-8).
Related:
Client WIN7 System Optimization