Wiki Home Create Boot Image Decrease boot time for windows 7 clients
Decrease boot time for windows 7 clients
2020/08/15 00:29
Notice: This wiki is for the old version CCBoot. Please click HERE to access the new version wiki
On the internet we found 2 files that can be replaced on Windows 7 clients to boot them faster. Learn how to do that here.
Before doing the following steps, we recommend making a back of your current image. The file replacement is better done in fresh image with just drivers installed.
1. Download the Win7-boot-speed.zip from our site and keep in desktop or any other location, for now we have it on desktop (Figure 1).
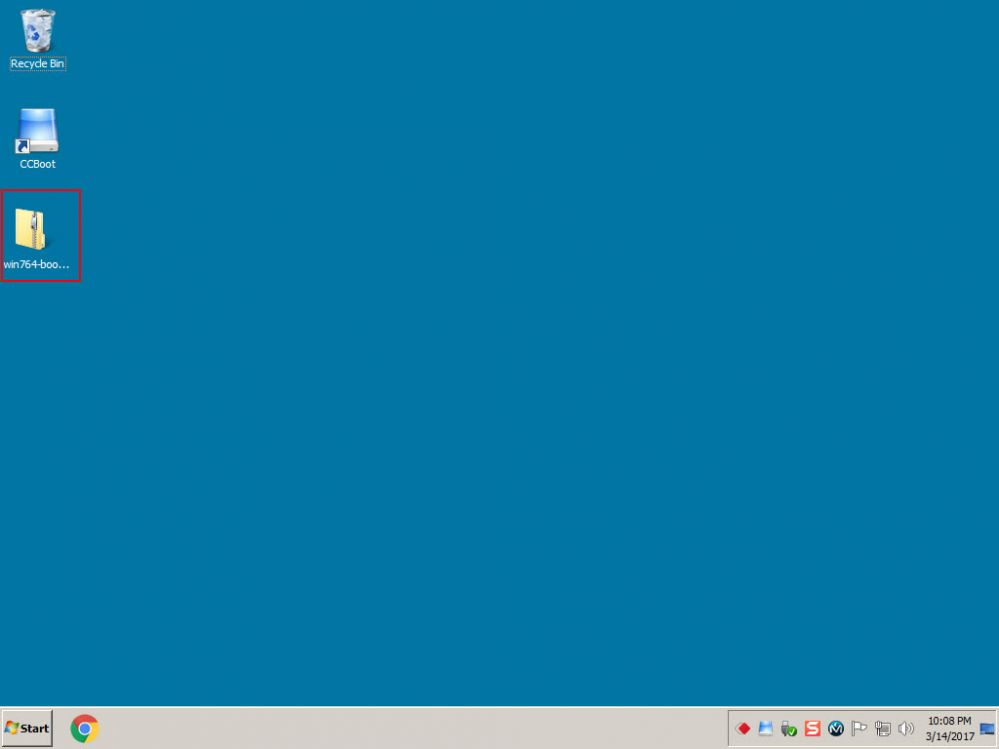
Figure 1
2. Extract it on desktop, it will have two files "bootmgr" and "winload.exe" (Figure 2).
Note: the "bootmgr" file is hidden, so you need to show hidden system files to see the "bootmgr" file after extracted.

Figure 2
3. Now, mount your Windows 7 image from CCBoot (Figure 3) (For more information check Mount and Unmount Images Wiki).
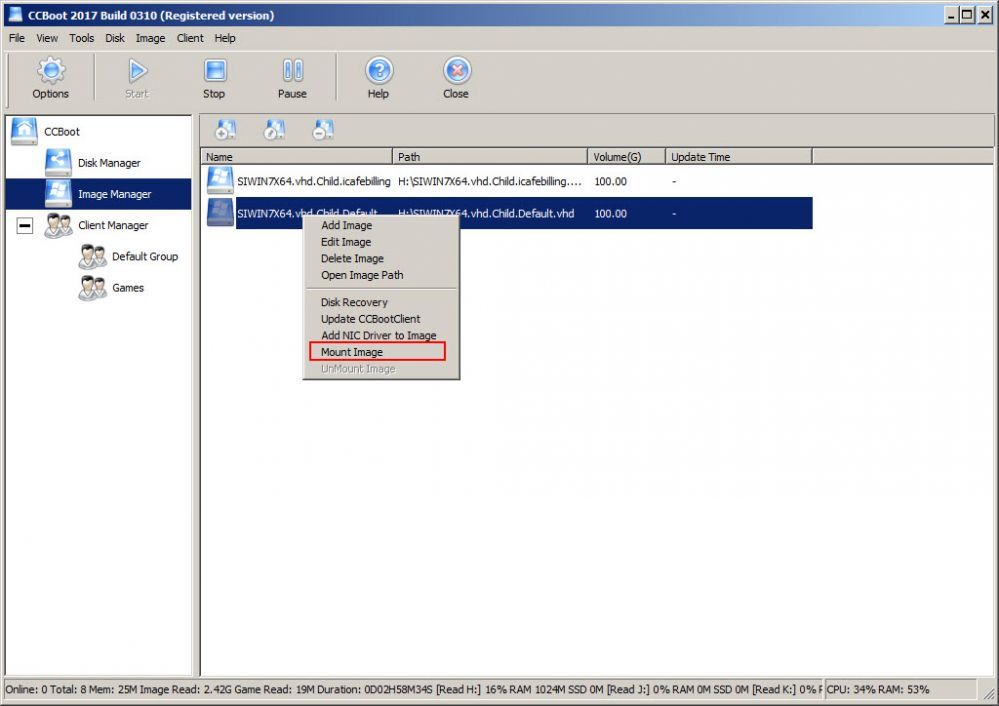
Figure 3
4. Now, open the mounted disk and the extracted folder side by side, then copy the bootmgr file from desktop extracted folder to the mounted disk (root partition) (Figure 4).
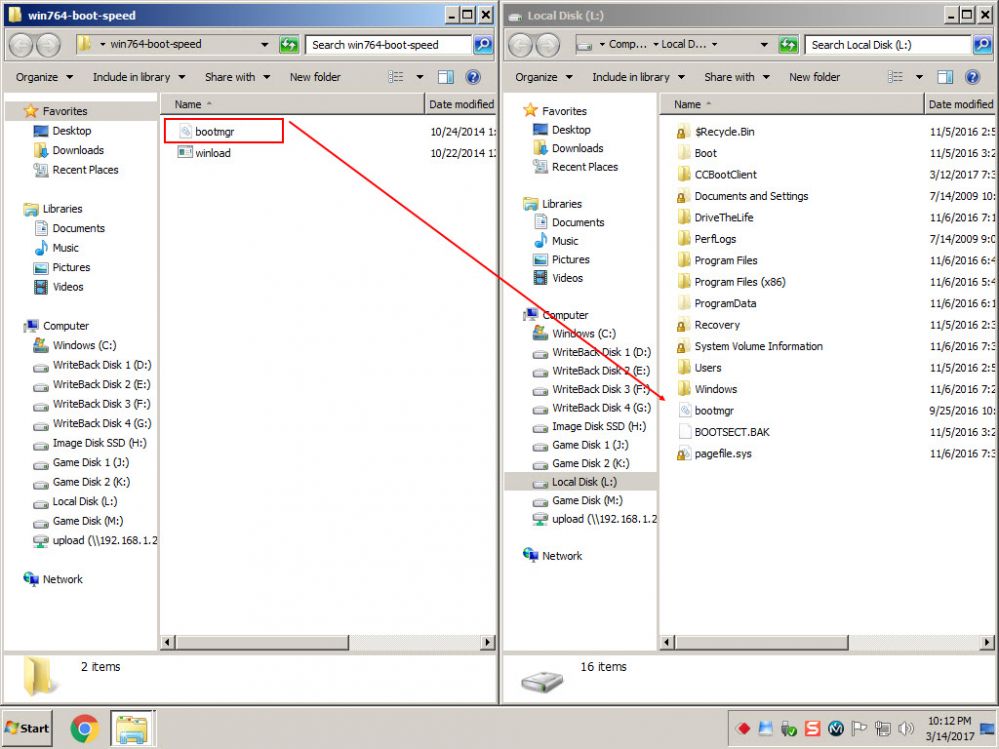
Figure 4
5. Choose "Copy and Replace" when it prompts you (Figure 5)

Figure 5
6. Now, copy the "winload" file to the mounted disk "\Windows\System32" folder (Figure 6)
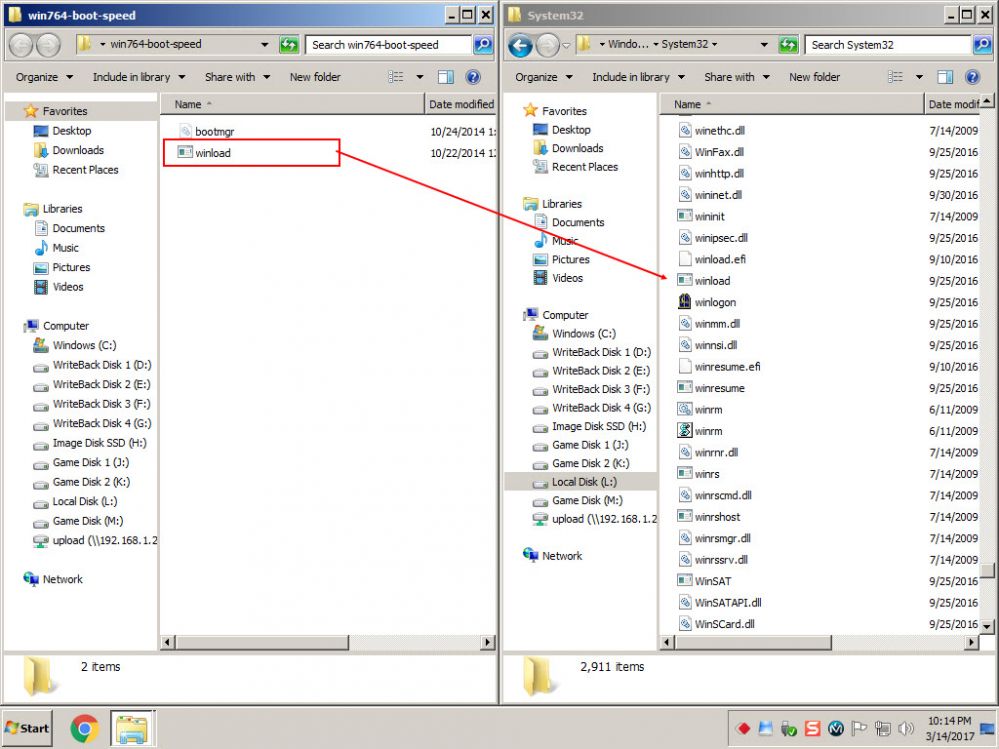
Figure 6
7. Choose "Copy and Replace" when it prompts you (Figure 7)
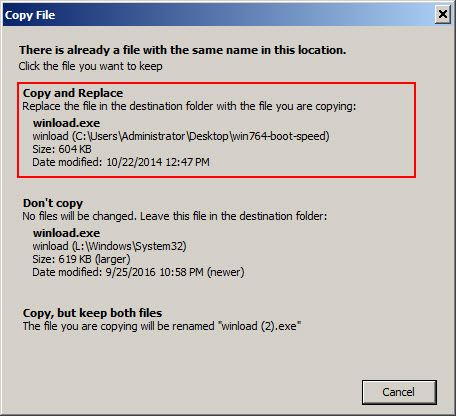
Figure 7
8. Once the files are copied and replaced with the extracted one, unmount the image (Figure 8)
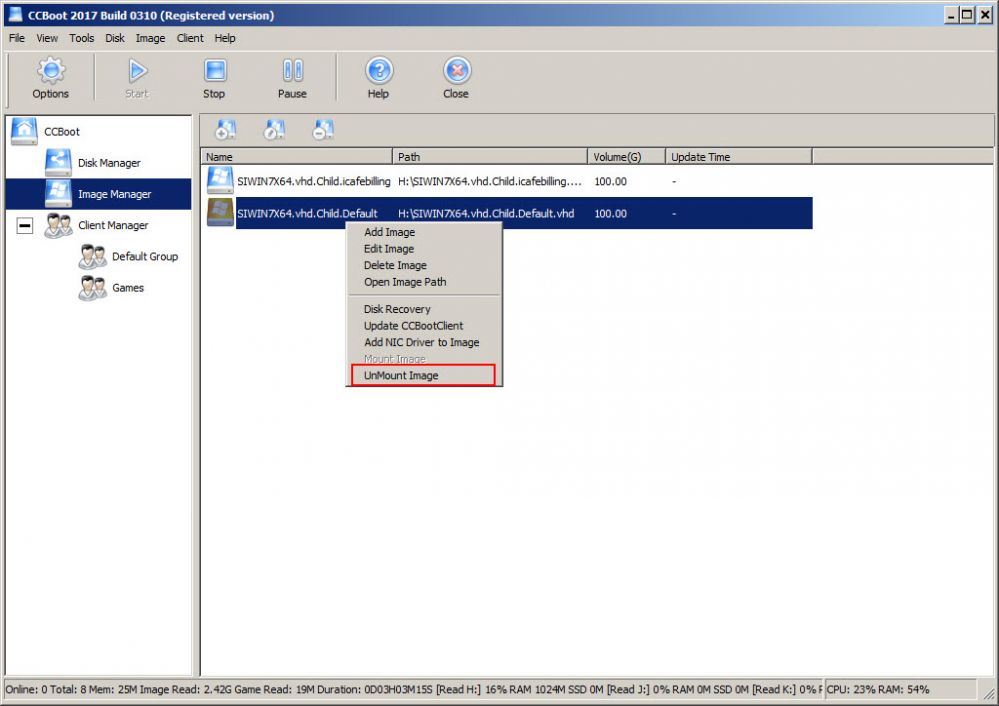
Figure 8
9. When it ask to save the image, click "Yes" button (Figure 9)
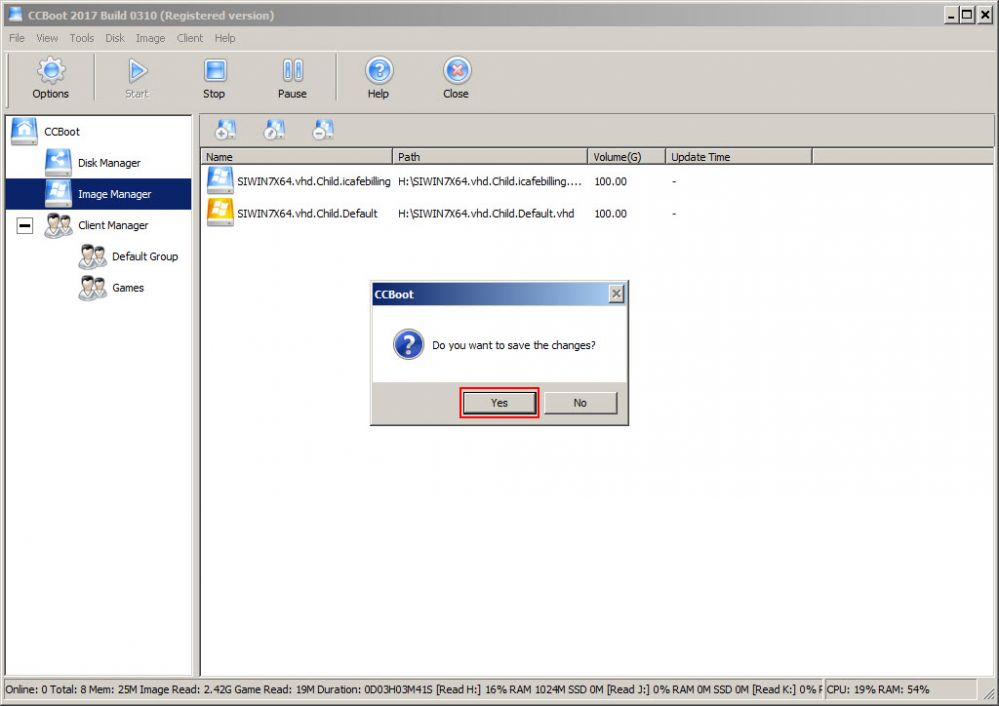
Figure 9
10. Once, the image is unmounted successfully, boot your clients from the updated image (Figure 10).
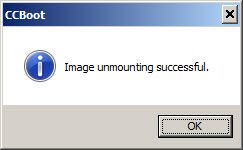
Figure 10
11. You will notice it boots 5-10 seconds faster than before.
Note: When copy files from the extracted folder to the image, it may tell you that you do not have permission.
If it says that then you need to take ownership of the file (bootmgr) and folder (system32) to copy and replace the files in the respective folders