Wiki Home Create Boot Image Expand the Boot Image Disk Size
Expand the Boot Image Disk Size
2014/07/19 16:28
Notice: This wiki is for the old version CCBoot. Please click HERE to access the new version wiki
When we create boot image file with vhd file, we need to set a VHD disk size or just upload it from a small partition. If we want to expand the image disk size later, how to do? This section will introduce a method to expand the VHD disk.
1. Stop CCBoot service to release the vhd file accessing.
2. Download VhdResize.zip from http://www.CCBoot.com/download/vhdtools/ and extract it and install.
3. Click "Start" -> "Vhd Resizer" (Figure 1‑1).
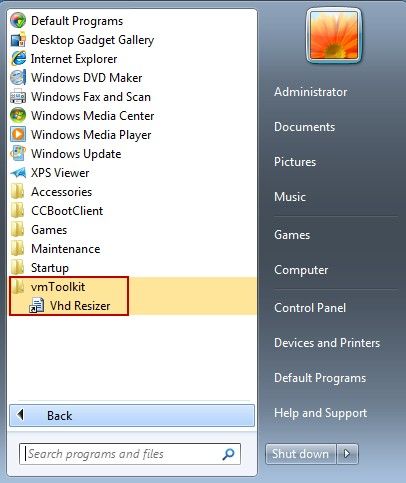
Figure 1‑1
4. Click "open" button to locate the old vhd file path, click "save as" to locate the new vhd file path, input new vhd disk size in "New Size" and click "resize" button to finish (Figure 1‑2).
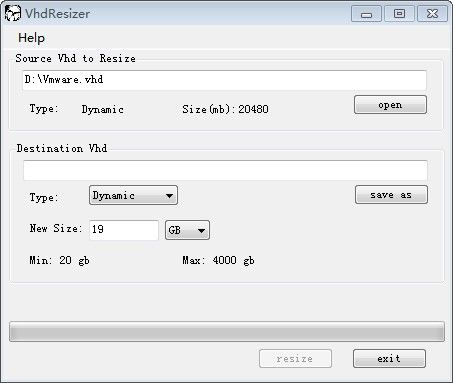
Figure 1‑2
5. When done, right click "My Computer", select "Manage".
6. Select "Disk Management" node in the left tree, right click on the "Disk Management", select "Attach VHD".
7. Locate the new vhd file, and then you will see a new disk in the disk list (Figure 1‑3, the vhd disk icon is bright blue).
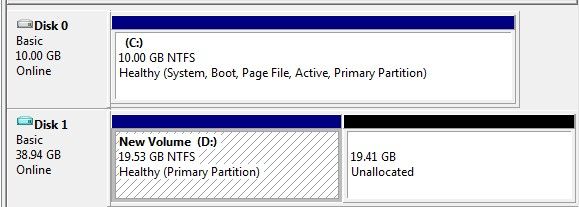
Figure 1‑3
8. Right click "New Volume (D:)", select "Expand Volume" (Figure 1‑4).
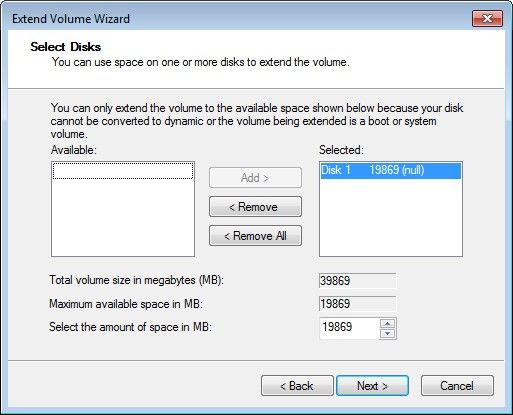
Figure 1‑4
9. Click "Next" button (Figure 1‑5).
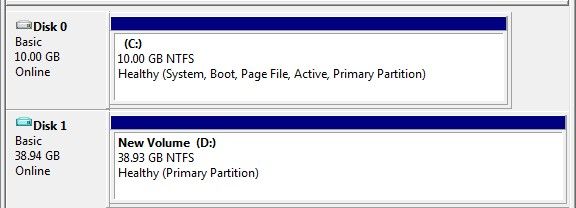
Figure 1‑5
10. Right click on "Disk 1", select "Detach VHD" and Click "OK". Notice: DO NOT select "Delete File" (Figure 1‑6).
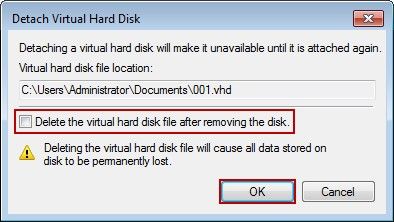
Figure 1‑6
11. Now you can add the new vhd file to CCBoot. After you boot with this VHD image, you will see the C: drive is already expanded.