Wiki Home Update Image and Game Install driver for client in superclient mode
Install driver for client in superclient mode
2019/02/14 13:55
Notice: This wiki is for the old version CCBoot. Please click HERE to access the new version wiki
When you add new client or have clients that have different driver than the one you used to create the image, then you have to install the driver for it. You need to install drivers in superclient mode. Here is how you do it.
1. Right click the client you want to install driver for, then choose "Enable Superclient" (Figure 1).

Figure 1
2. Once "CCBoot Select Disk" windows, check the "Image" check box in the windows and click "OK" button (Figure 2).
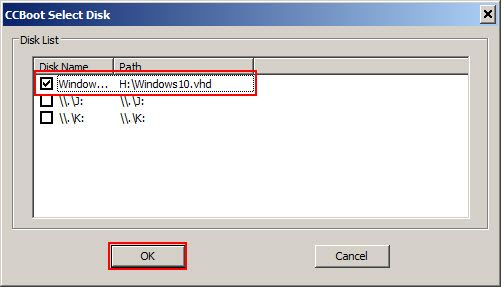
Figure 2
3. Now, turn on the client and boot from lan (Figure 3).
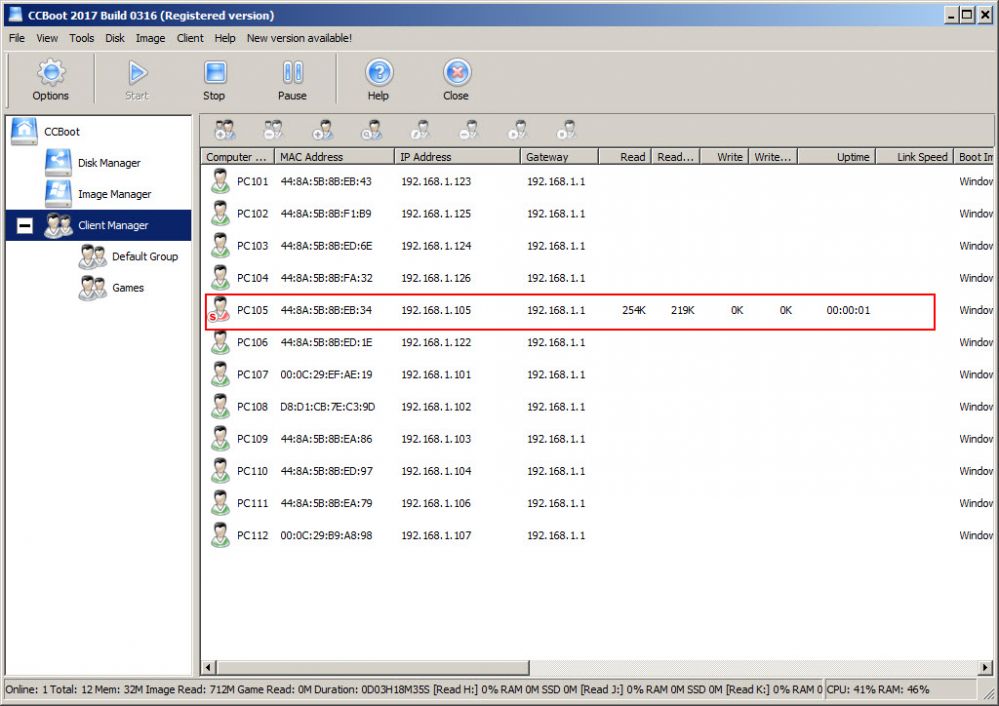
Figure 3
4. You will see in "Device Manager" that the client's graphics and few other drivers need to be installed (Figure 4).

Figure 4
5. Install driver using installer or use Drive The Life tool.
6. After all the drivers are installed, the "Device Manager" will look like this (Figure 5).
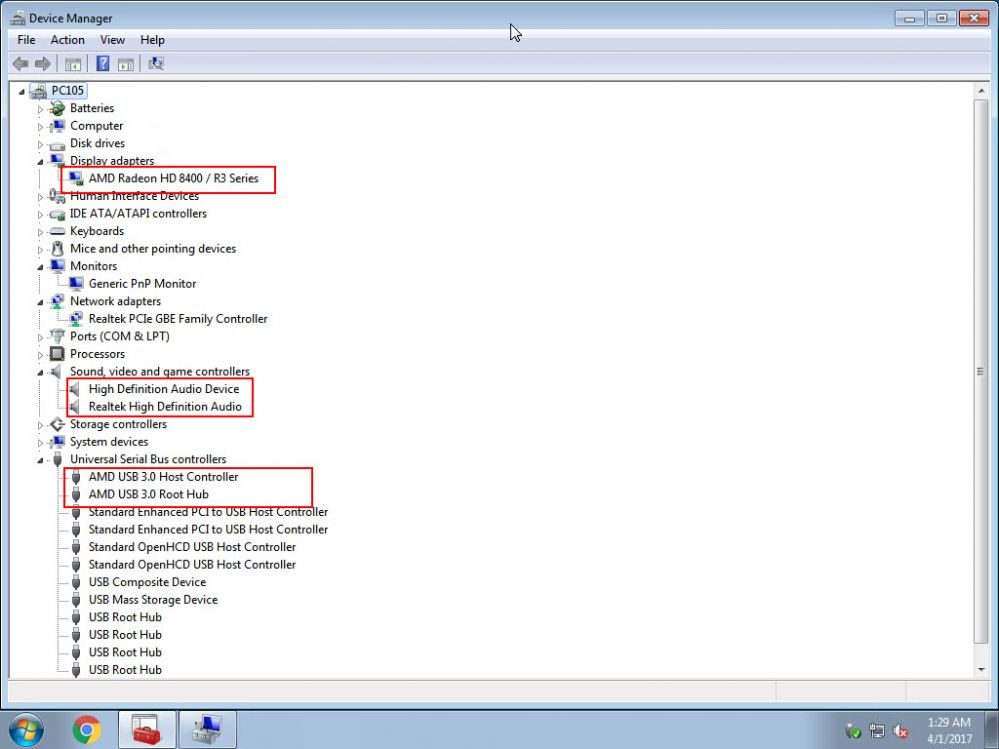
Figure 5
Note: You can install/update all drivers but do not update LAN/Ethernet drivers, as updating it will break the diskless boot.
7. Now, turn off the client and then "Disable Superclient" (Figure 6)
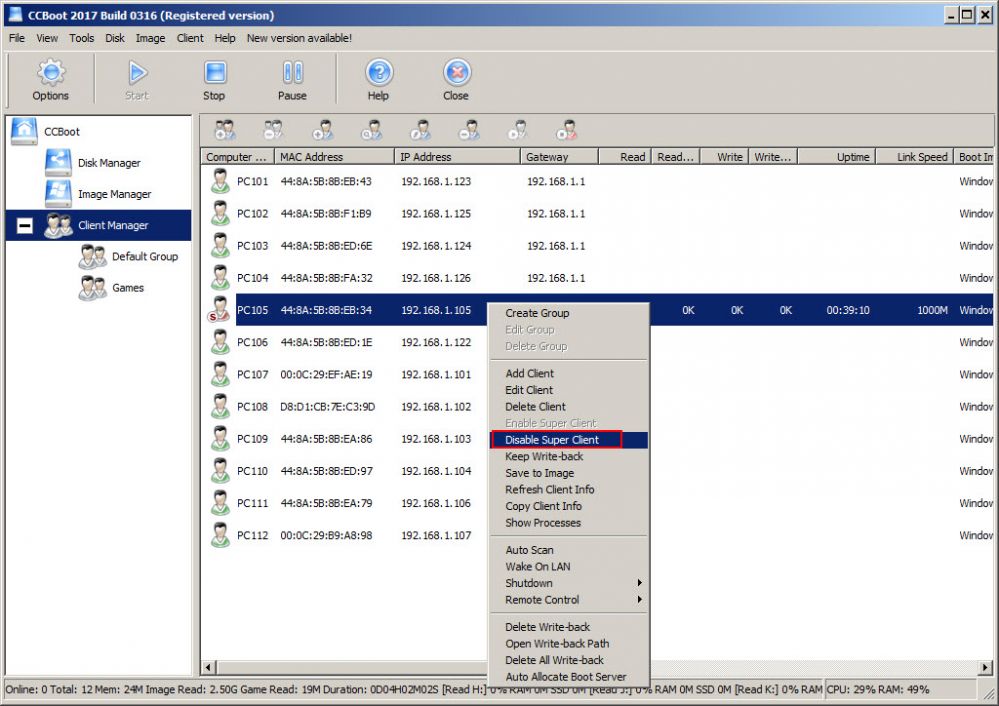
Figure 6
8. Choose to save the image and create recovery point, just in case you want to go back to driverless image (Figure 7).
Figure 7
9. Once done, now your clients will have the drivers and work like should.