Have you ever needed to install Windows on five different laptops, only to realize you have just one working USB flash drive? Waiting for each machine to finish before moving to the next turns a quick project into a frustrating, hours-long marathon. Imagine if you could simply plug those computers into your router, press their power buttons, and watch an installation menu instantly appear on all five screens at once. That seamless magic completely bypasses the physical limitation of needing a separate disk for every device.
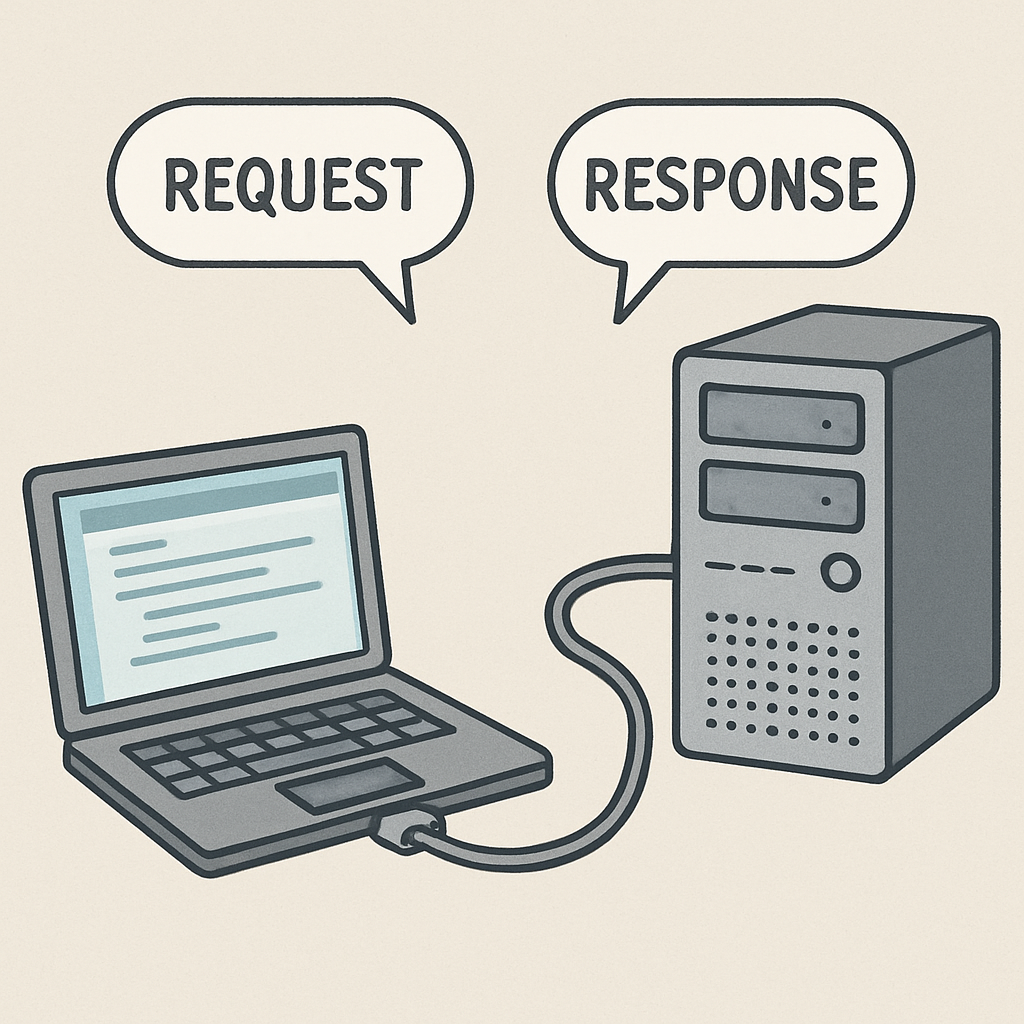
Behind this convenience is a technology known as PXE (Preboot Execution Environment), which essentially turns your home network into a giant delivery system for operating systems. Think of your computer's built-in network card as an internal telephone. Long before the PC even knows what Windows or Linux is, this card calls out to a central server—acting like a digital library—and asks for startup instructions. Consequently, a machine does not actually need a functional local hard drive just to load an interface.
In practice, eliminating physical boot media creates massive efficiency gains for both casual home-lab hobbyists and professional technicians. Industry data reveals that running a network installation simultaneously across multiple machines cuts deployment time significantly compared to manual, one-by-one setups. Instead of hunting down lost flash drives or constantly buying new ones, you just update one file on your server to provide the newest software to every connected device. This centralized approach drastically reduces the hidden costs and physical clutter of managing hardware.
If you’re building PXE boot to support diskless workstations or LAN-center-style deployments, platforms like CCBoot package PXE boot, image management, and client provisioning into a purpose-built workflow—useful when you want repeatable, at-scale deployments rather than one-off installs.
Encountering a "No Bootable Device Found" error usually feels like a dead end, but PXE turns that frustrating obstacle into an open doorway. By configuring a lightweight network boot program, you can effortlessly revive an old laptop or build out a home lab without ever writing another ISO file to a thumb drive. Taking control of this process demonstrates that delivering an operating system to a bare computer can be as effortless as streaming a video across your living room.
The Secret Handshake: How the PXE Boot Process Works Step-by-Step
When a computer powers on without a hard drive, its network card acts like a built-in phone broadcasting to your local area network. The PXE boot process begins with this initial cry for help. The empty PC asks the network if anyone can provide an identity and boot instructions.
Your router usually answers by assigning an IP address through a standard DHCP handshake, but network boots require extra details. Instead of just handing out an address, the DHCP server acts like a librarian pointing the computer toward a dedicated pxe server. This secondary machine is the warehouse holding your actual operating system files.
Connecting to this new file provider, the computer uses the TFTP (Trivial File Transfer Protocol) to download its first crucial piece of data. Because TFTP is incredibly lightweight, it perfectly suits a bare-bones motherboard lacking complex networking capabilities. The requested file is the NBP (Network Boot Program), a tiny instruction manual that tells the PC how to load the main installation menu.
Once this initial program executes, your blank monitor transforms into a functional interface offering your chosen operating systems. Grasping this digital handshake is the primary hurdle, but setting it up is highly accessible for any home lab.
Essential Ingredients: What You Need to Build Your First PXE Environment
Before transforming your network into an OS delivery service, you must verify your hardware has the right built-in tools. Your target computer—the "client"—must have a Network Interface Card (NIC) supporting preboot execution. Because this early startup phase lacks the complex drivers required for wireless internet, a physical cable connection is absolutely mandatory. You can confirm your motherboard supports this capability by checking if you can enable pxe boot in the bios settings menu, which is typically located under the "Boot" or "Advanced" tabs.
Gathering the right materials is the next step to making a network boot functional. To successfully build your environment, assemble these four essential components:
- A client PC featuring a PXE-capable NIC.
- An Ethernet cable (Cat5e or Cat6) linking the client to your router.
- A dedicated pxe server running lightweight management software, like TinyPXE.
- An ISO image acting as the digital blueprint for your operating system.
In production environments where you routinely boot and re-image many PCs, you’ll often pair PXE with centralized image tooling. For example, CCBoot is used in diskless setups to help manage boot images and client boot workflows from a central console.
Together, these pieces form a classic server-client architecture, where a prepared host actively feeds data to an empty receiver. Once physically linked, your client will blindly accept the startup files the server provides. However, modern motherboards expect these instructions to be formatted differently than older hardware.
UEFI vs. Legacy PXE Booting: Why Speaking the Right Language Matters
A fundamental hardware language barrier separates older and newer machines when it comes to booting. Older computers typically speak "Legacy BIOS," while modern machines communicate using the Unified Extensible Firmware Interface (UEFI). If your server hands a modern laptop instructions written for Legacy BIOS, the machine will simply refuse to boot.
To bridge this communication gap, your server delivers a specific startup file, officially known as a network boot program (NBP). This tiny file provides the initial spark that gets your operating system loading across the network. Legacy machines expect this file to end with a .0 or .com extension, whereas modern UEFI systems strictly require .efi files to function.
Fortunately, you never have to guess which format your target machine requires. During the initial network handshake, the client computer broadcasts a specialized code called an Architecture Flag. This invisible broadcast tells your server exactly what firmware the client runs, allowing a properly configured system to automatically serve the right file extension every time.
Grasping this background translation process saves you from the most frustrating early boot failures. Now that you know how your computer asks for the correct files, you need a system ready to answer those requests.
Setting Up a Simple PXE Server on Windows 10
Turning your everyday computer into a network delivery hub is surprisingly approachable on Windows 10. Instead of installing heavy enterprise software, you can use a lightweight PXE Server Daemon—a background program listening for network requests—called TinyPXE. This portable tool acts as an all-in-one librarian, handling the network handshake without permanently altering your system.
Before launching the software, you must lock your computer's address in place through Static IP mapping. If your router assigns your server a different IP every time it restarts, client computers will knock on the wrong digital door. Setting a fixed IP in your network settings guarantees a reliable, unchanging destination for all future boot requests.
Next, you need a designated space for your operating system files, known as a Root Directory. Think of this as your server's loading dock; it is a specific folder on your hard drive where you place your network boot programs so the server knows exactly where to grab them during an installation request.
With those foundational pieces ready, completing your pxe server setup requires just a few clicks. Follow this sequence to prepare your environment:
- Download and extract TinyPXE to your desktop.
- Set a Static IP on your Windows 10 machine.
- Select your newly created Root Directory folder.
- Configure the DHCP settings to point to your IP.
- Press "Online" to activate the daemon.
Clicking that final button triggers your server to broadcast its availability across your home lab. However, simply being online isn't quite enough to guide a lost, diskless computer directly to your files. To ensure clients know exactly how to navigate there, your network needs proper routing instructions.
Configuring DHCP Options 66 and 67: The Network's GPS
Getting an IP address from your standard router is only the first half of a successful network boot. When a diskless computer wakes up, it also needs directions to your pxe server and the exact name of the startup file. Option 66 and 67 DHCP settings function as a simple GPS system for your bare-metal machines.
Think of Option 66 as the street address of your network loading dock, telling the client exactly which machine holds the installation media. Once the computer arrives at that IP address, Option 67 provides the boot file location, handing over the specific name of the bootloader—like undionly.kpxe—needed to start the engine. Without both pieces of information working together, the client connects to the network but ultimately stares blankly at a missing file error.
Adding these custom parameters usually requires logging into your home router's advanced LAN menu or using a dedicated network manager. After entering the server's static IP into the 66 field and your bootloader filename into the 67 field, your entire network becomes an automated launchpad.
In diskless deployments, these same options are often what point clients to the correct boot program and bootstrap environment managed by a central platform (for example, CCBoot), which can simplify maintaining consistent boot settings across many endpoints.
Deploying Windows 11 Over the Network Using WDS
Clicking through the exact same setup screens on multiple PCs consumes valuable time. When deploying Windows 11 over the network, stepping up to Windows Deployment Services (WDS) turns your basic Windows Server into an automated assembly line. Instead of simply handing over a blank installer, WDS delivers fully pre-configured operating systems directly to any machine on your network.
This automated system relies on two distinct files: the Boot Image and the Install Image. Think of the Boot Image as your network-based Windows Recovery Environment—a temporary, lightweight toolkit loaded directly into the computer's RAM to prepare the empty hard drive. Once the machine is prepped, WDS pushes the Install Image, which contains the heavy, actual operating system. By feeding WDS automated answer scripts, you can entirely bypass the manual "Product Key" and "User Creation" steps.
Creating this seamless experience means you can configure a perfect desktop once, capture a custom Windows 11 image for network broadcast, and clone it endlessly across your hardware. The core workflow for setting up WDS relies on these four sequential steps:
- Install Role: Add the WDS feature via Server Manager.
- Add Install Image: Import the main install.wim file from your media.
- Add Boot Image: Load the lighter boot.wim installation toolkit.
- Start Service: Activate the server to listen for incoming client requests.
Your home network is now a professional-grade software distribution hub. To seamlessly mix and match different operating systems from a single custom menu, you can upgrade to an advanced scriptable bootloader.
Going Advanced with iPXE: The Scriptable Bootloader
Standard network booting feels magical until you sit through a massive file transfer. While standard PXE relies on decades-old technology, modern home-lab enthusiasts eventually crave a faster, more flexible system. Enter iPXE: an open-source firmware upgrade that acts like a brain transplant for your network card, unlocking modern internet capabilities before any operating system even loads.
The most dramatic difference you will notice when comparing iPXE to standard PXE features is the sheer speed of delivery. Traditional setups use TFTP, which behaves like a slow dial-up connection sending data one tiny piece at a time. By upgrading, your system downloads files using standard HTTP protocols. Grabbing massive operating system images over HTTP delivers 10x faster boot speeds, turning a frustrating twenty-minute waiting game into a rapid deployment.
Beyond pure speed, this enhanced network boot program fundamentally changes how you organize your digital toolkit. Because iPXE understands the modern web, you are not restricted to a local server sitting in your closet; you can boot directly from a URL hosted anywhere. It also supports advanced scripting, allowing you to create custom graphical boot menus to easily select between different operating systems the moment your computer turns on.
Taking advantage of these internet-era superpowers requires a slightly different backend than basic Windows deployment tools.
Setting Up a Linux PXE Server with Dnsmasq
Building a network deployment center doesn't require enterprise hardware; a spare Raspberry Pi or an old laptop is perfect for configuring a Linux PXE server with Dnsmasq. Instead of juggling separate, complicated programs for IP assignment and file delivery, Dnsmasq rolls both DHCP (the address giver) and TFTP (the file sender) into one lightweight package.
You might worry that adding a new address-giver will break your home router. Fortunately, Dnsmasq uses a clever feature called ProxyDHCP. Think of it as a polite assistant: it only chimes in when a PC specifically asks for a network boot, leaving normal internet traffic untouched. Consequently, creating a reliable PXE server environment means just opening the nano text editor to edit one single configuration file.
Inside that text file, you will establish the rules that allow you to host Ubuntu or Debian installation images for the whole house. The setup relies on four essential parameters to function:
- interface: Identifies which network card your server should listen on (usually eth0).
- dhcp-range: Activates the ProxyDHCP mode to cooperate safely with your existing router.
- pxe-service: Defines the actual boot menu text shown on the client computer.
- enable-tftp: Turns on the local file delivery system to send the initial bootloader.
After saving these changes and starting the service, your digital library is ready. Sometimes, though, client computers still stubbornly refuse to connect over the network, requiring physical troubleshooting.
The 'PXE-E61 Media Test Failure' Survival Guide
Staring at a black screen displaying the classic "PXE-E61: Media test failure, check cable" error is a frustrating rite of passage when troubleshooting network boots. This intimidating message usually just means your computer's network card couldn't hear a digital dial tone. Before requesting an operating system, the PC performs link negotiation—a physical hardware handshake confirming its connection to an active switch. If that connection fails, the boot process halts immediately.
Isolating this roadblock means verifying the physical environment before rewriting your server configurations. Start with a basic "loopback" test: plug the machine directly into another active computer's network port to see if the lights illuminate, proving the hardware actually functions. Once verified, run through this baseline checklist:
- Check the Ethernet link light on the port for a solid or blinking glow.
- Test the cable with another working device to rule out hidden wire damage.
- Verify the BIOS boot order prioritizes the network adapter properly.
- Check for a 'PXE enable' toggle in the advanced NIC settings.
Modern motherboards sometimes boot so rapidly that they give up before the router finishes waking up the port. Adding a brief "Boot Delay" in your BIOS gives the card crucial time to initialize. Once your physical connections are verified, you must ensure your software configurations are properly communicating.
Troubleshooting DHCP Timeouts and TFTP Errors
Watching your screen freeze after a successful physical connection means your computer is calling out without a response. When troubleshooting DHCP timeout errors, you face a breakdown in the order-delivery process. The PC requests an IP address, but multiple servers might talk over each other. This happens if your router and server fight to answer simultaneously.
To resolve this IP address conflict, you must clear the airwaves. Requests travel through UDP ports 67 and 68, acting as dedicated frequencies for network assignment. If two devices broadcast here, the booting machine gives up. Fix this by disabling the DHCP feature on your PXE software, ensuring only your main router hands out directions.
The actual boot file transfer utilizes the TFTP protocol. Since TFTP uses UDP port 69 without modern security checks, Windows Firewall automatically blocks it. You must explicitly whitelist UDP port 69 in your firewall rules to allow transmission. Without this exact exception, your client PC gets stopped by an invisible bouncer.
A simple pre-flight check before rebooting saves immense frustration. Run a standard 'TFTP Client' on a separate laptop to confirm the file is actually downloadable across your network. Once that transfer succeeds, your delivery system is fully operational.
Diskless Workstations: The Pros, Cons, and Future of No-Drive Computing
Imagine firing up a laptop missing its hard drive and instantly loading your desktop. By combining PXE with iSCSI (Internet Small Computer Systems Interface)—a protocol that tricks your computer into treating a network share like a physical disk—you create completely diskless machines. Running a virtual drive changes the game from simple installations to daily operation.
Operating without local storage shifts the performance burden directly to your home network infrastructure. A standard 1Gbps connection works fine for basic tasks, but high-performance environments demand 10Gbps speeds to prevent lag. This architecture forces you to weigh a "Single Point of Management" against a "Single Point of Failure":
- Pro: Centralized updates and zero hardware cost for drives.
- Con: Vulnerability to network congestion and no offline use.
The true value of these diskless workstations lies in centralized image management. Instead of upgrading five different laptops individually, you simply maintain one master operating system file on your server.
At that point, using a dedicated diskless management platform (such as CCBoot) can help standardize PXE boot + disk image operations, particularly when you need to keep many client machines aligned on the same base image.
Your Network Deployment Roadmap: Mastery and Next Steps
You no longer need to hunt for physical drives to load an operating system. By mastering the core DHCP and TFTP handshake—where a router assigns an address and the server delivers the boot files—you have unlocked a powerful new capability. You now have the power to turn a simple network cable into a gateway for any OS.
Commit to a "No-USB" challenge for your next network installation. Instead of wrestling with complex enterprise software right away, simply download a lightweight tool like TinyPXE to run your first PXE server.
Build your confidence with one operating system before attempting heavier setups like Windows WDS. Follow this path to put this workflow into action:
- Set up TinyPXE.
- Boot a live Linux ISO.
- Try a multi-OS menu.
- Experiment with iPXE scripts.
Once you witness that first successful boot screen, you will never look at a blank hard drive the same way again. Your home network is now a dynamic delivery system, ready to revive or upgrade any machine on demand.
If your goal goes beyond occasional installs—such as provisioning and maintaining diskless endpoints at scale—review CCBoot for a platform approach to PXE boot and centralized client management.