Wiki Home Single Image for Multiple Specs How to use new multi hardware profile function
How to use new multi hardware profile function
2020/08/15 00:32
Notice: This wiki is for the old version CCBoot. Please click HERE to access the new version wiki
It is really difficult when you have multiple images for your computers at your cafe. However, with Windows XP, you could use “Hardware Profile” function to make single image for multiple specification computer.So, we are now introducing an updated “Hardware Profile” function to address this on CCBoot Build 20160727, this methods supports Windows 7 and above Operating systems.
Note: This method is for situations where installing graphics driver for one client overwrites the driver of the other, and it shows installing drivers in first client when booted.
Creating hardware profiles
1. Open “CCBoot UI” and click on ‘Tools->Hardware Profile” (Figure 1).

Figure 1
Here we take examples of GT 780Ti card and newer GT 980 graphics card.
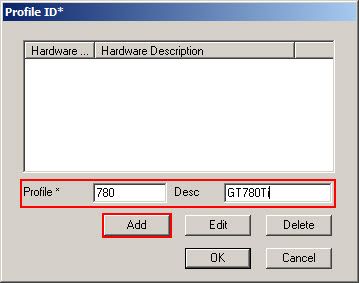
Figure 2
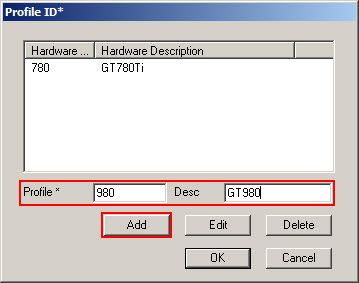
Figure 3
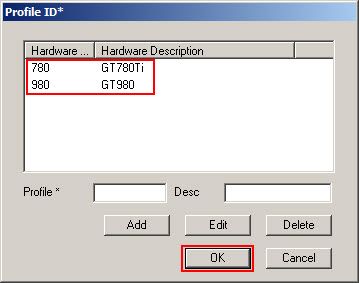
Figure 4

Figure 5
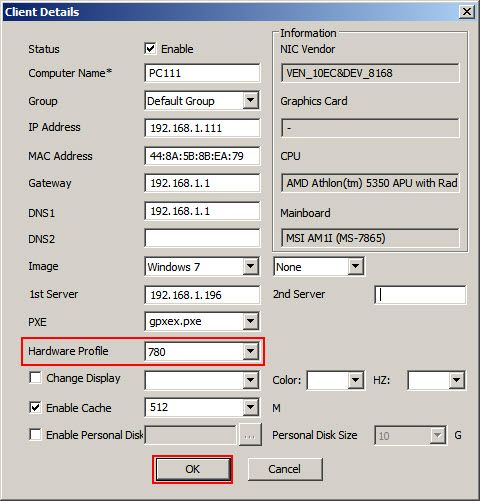
Figure 6
Note: Please make sure that you have assigned the hardware profile to the client before you enable superclient. If you enable superclient with default profile it will not activate the hardware profile function.
The hardware profiles are located at C:\Windows\Sustem32\CCBootPNP\ so if you want to delete unused profiles, you can delete the profile folder from this path.
Enabling superclient
7. Right click the same client and choose “Enable Superclient” (Figure 7).
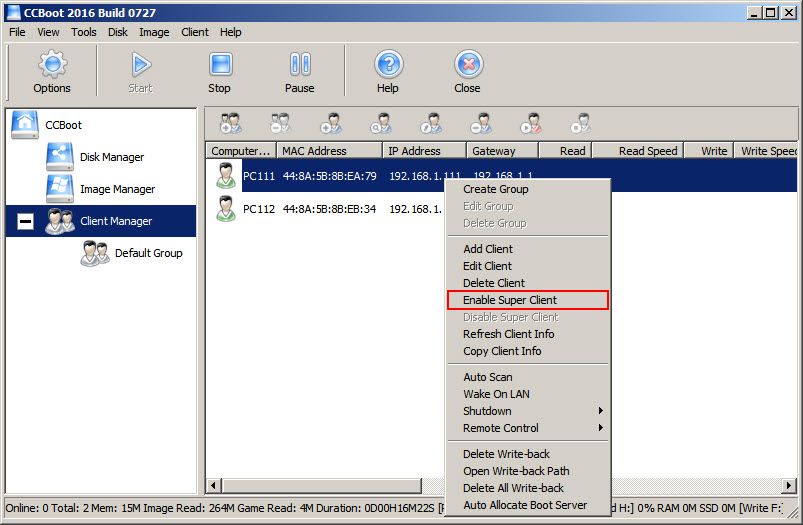
Figure 7
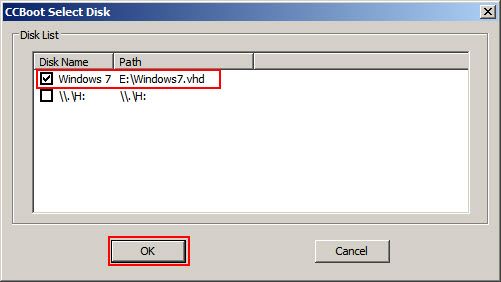
Figure 8
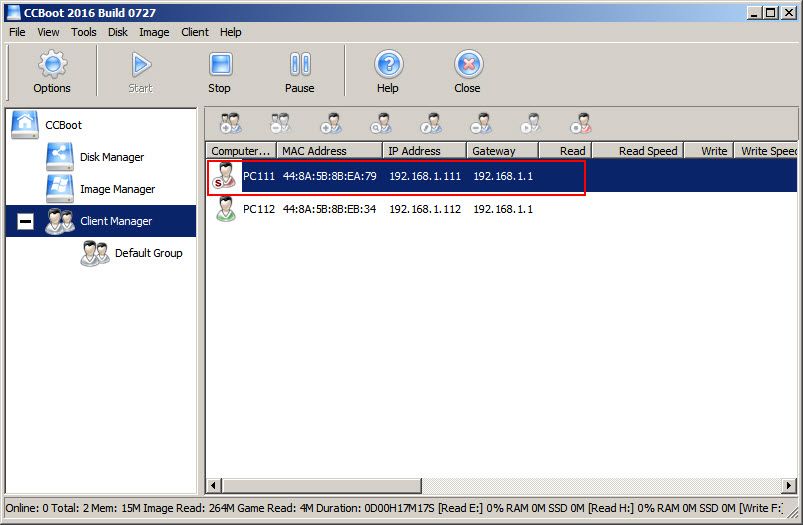
Figure 9
10. Boot your client and install the graphics and other drivers specific to this client pc specification.
Important: After driver installation is done, you have to restart the client PC once and check if any driver issue.
11. Once done, restart your client PC once, then check driver. If everything is ok then, turn off the client pc.
Disabling superclient and saving image
12. On the server, right click the client pc and choose “Disable Super Client” (Figure 10).
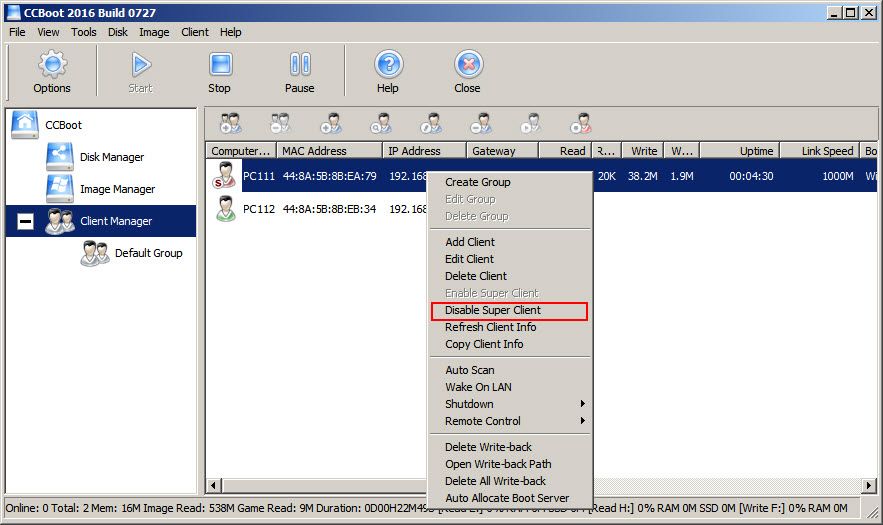
Figure 10
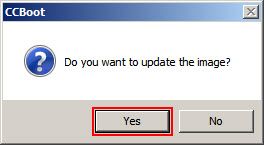
Figure 11
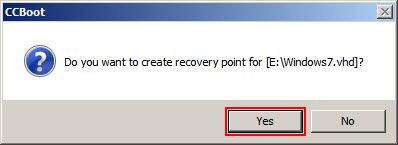
Figure 12
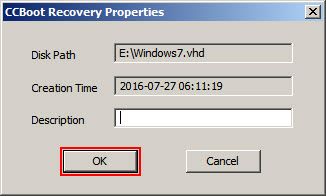
Figure 13

Figure 14
18. On another client with different hardware specification, double click and open “Client Details” and click “Hardware Profile” drop down like in step 5 (Figure 15).
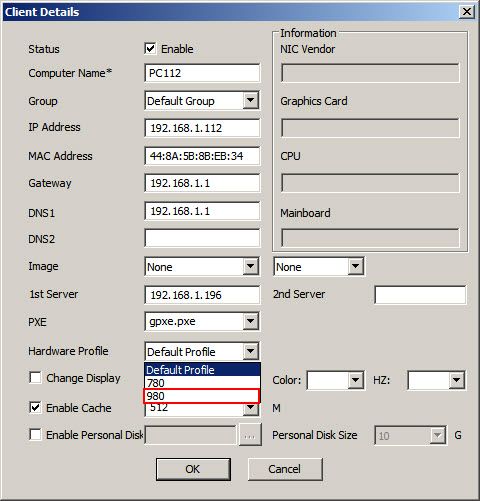
Figure 15
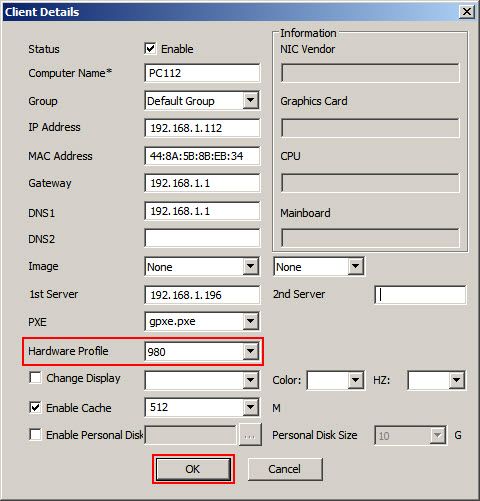
Figure 16
21. Once, you have done this, now boot both client PC. You will now see that both PCs boot without any installing driver notification (Windows 7) or getting devices ready (Windows 8 and above).
Notes:
- Please keep in mind that since hardware profile stores drivers in separate folder for each profile the boot time for different specs clients will be different and not always same. Some may take longer than normal image to boot.
- If after using hardware profile you are experiencing Blue screen issue and driver installing again and again, then we recommend in using separate images for the clients. Also, if you are using Windows 7, then please consider upgrading to Windows 10 as it has better hardware support for new boards and computer specs then on Windows 7.
- If your PCs config have similar type of motherboards and Graphics cards like : GTX 750, GTX 1060, GTX 1070 etc. In this case you can try using one image without profiles. So please follow the steps below:
- Install Graphics card driver on PC with GTX 750, reboot it and save changes.
- Enable superclient for any PC with GTX 1060 and turn it on, reboot it once and check if Graphics card driver is installed, if everything is fine, save changes.
- Enable superclient for any PC with GTX 1070 and turn it on, reboot it once and check if Graphics card driver is installed, if everything is fine, save changes.