Wiki Home Advanced Diskless Boot Client How to Set Graphic Boot Menu
How to Set Graphic Boot Menu
2020/08/09 01:21
Notice: This wiki is for the old version CCBoot. Please click HERE to access the new version wiki
In newer version of CCBoot setting up Graphics Boot Menu has been made simple.
Follow the steps below to enable Graphics Boot Menu.
1) Select and open “Edit Client” Dialog box for the client you want to setup Graphics Boot Menu. Then open the “PXE” drop down menu and choose “graphics”.
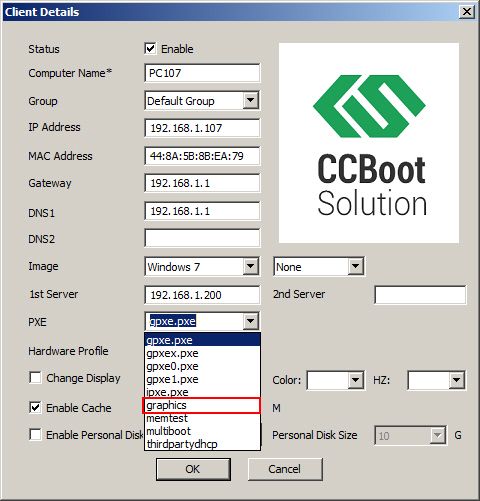
Figure 1‑1
2) Once it is selected, click “OK” to save the settings.

Figure 1‑2
3) After you diskless boot the client, you will see the below.
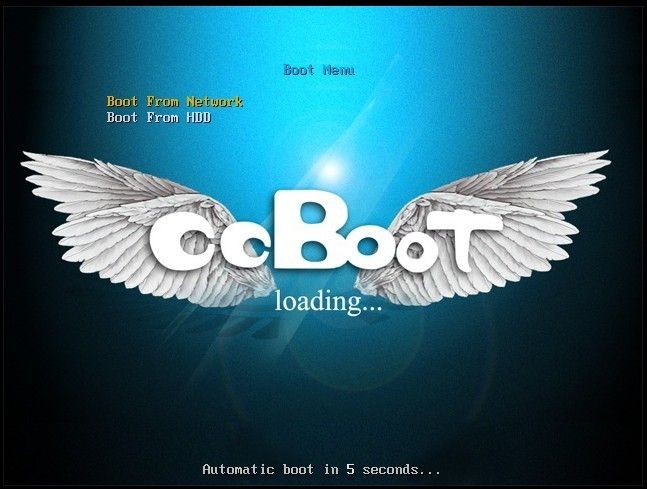
Figure 1‑3
4) You can change the background of the Graphics Boot Menu. Just rename your image file to 'logo.jpg and replace the file in the ‘tftp\graphics’ folder inside the CCBoot installation directory (as shown in Figure 1-4).
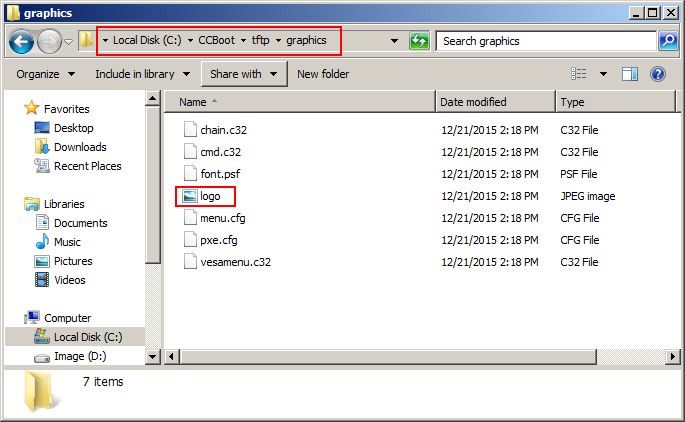
Figure 1‑4
Notes: If you have activated your Windows 7 with third party activators then the graphics boot may fail.
To fix this, please use a different activator to activate your client image.