Wiki Home Mining Mining configuration
Mining configuration
- CCBootCloud has a mining function with various options for the centers.
- The purpose of this function is to help gaming centers get some extra revenue from the hardwares they already have without much knowledge on the mining field.The setup of mining is just a few clicks as we will show below.
- Go to the “Mining” page and click the “Configure mining” button (Figure 1).
Figure 1
- Mining feature in CCbootCloud is disabled by default.If you want to enable it then you need to contact our support team to activate the mining feature on your CCBootCloud license. Otherwise you cannot start mining (Figure 2).
Figure 2
- Create a USDT wallet in Binance and send the wallet id to our support staff.
(ex: 0xb5348527b64598ff454e787987aa0b989445f1 ) - Make sure the wallet is USDT and send it correctly as there is no refund option in crypto wallets
Steps to create the binance account and create wallet can be found here
Once the mining has been activated follow the steps mentioned below:
- Make sure your CCBootcloud client is updated to the latest version.
- Afterwards, go to the “Mining” page and click the “Mining configure” button at the top right (Figure 3).
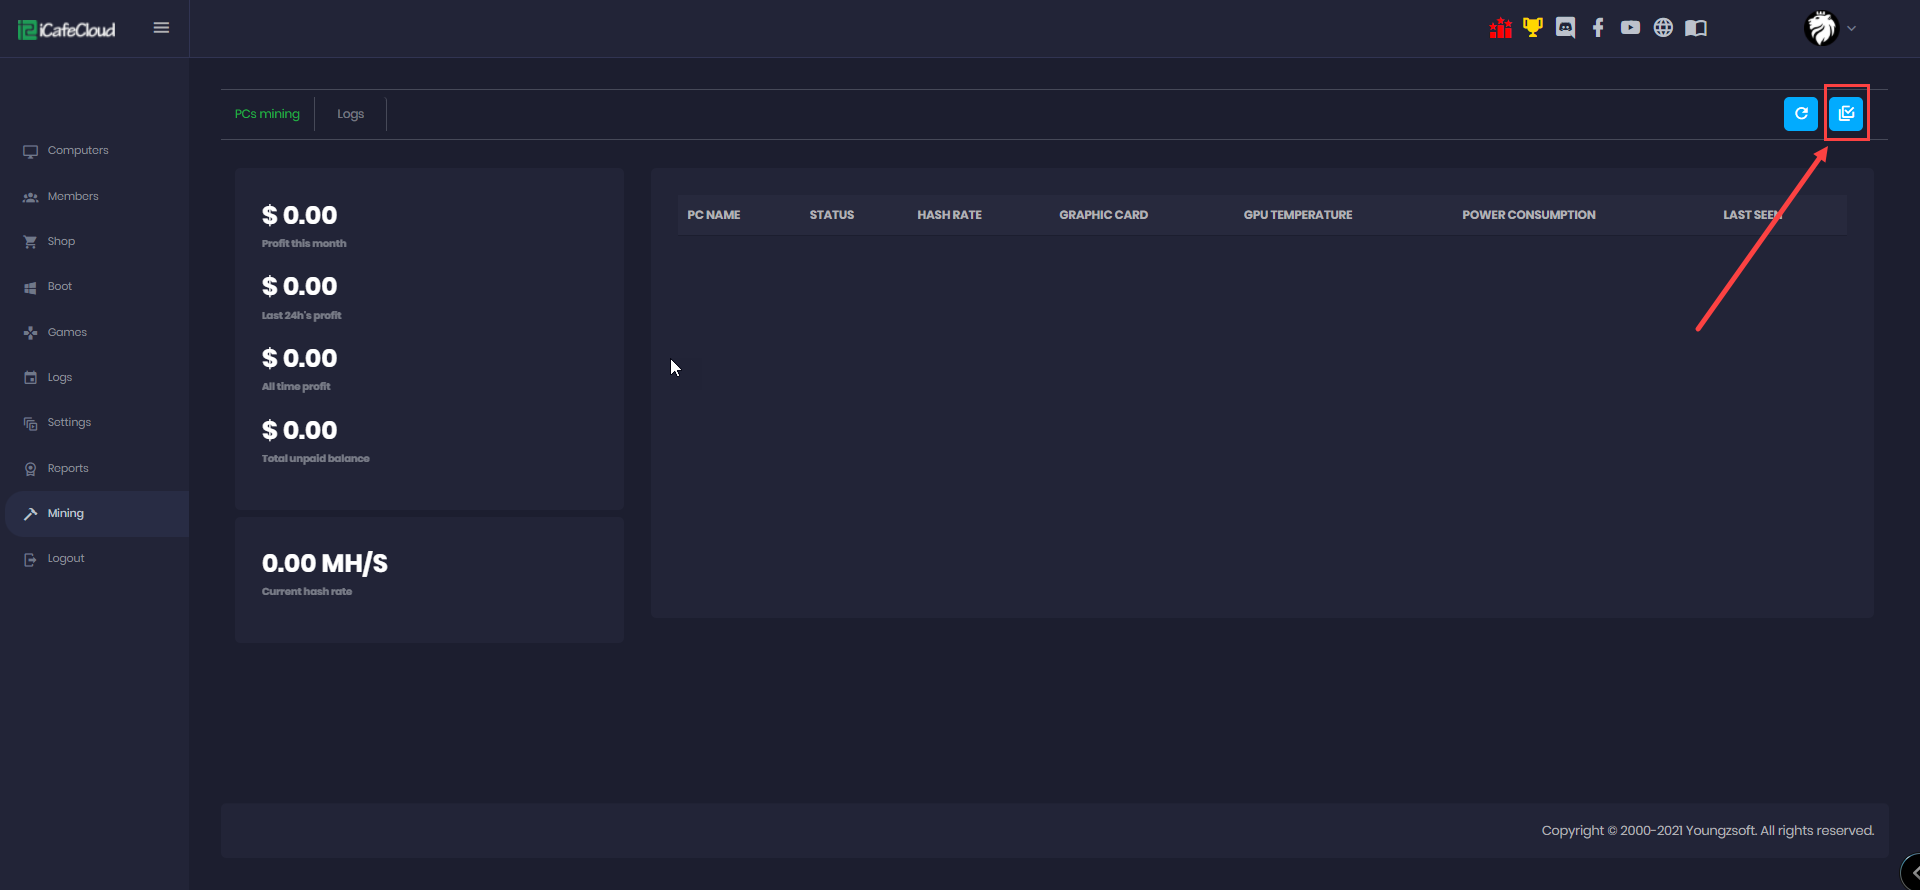
Figure 3
- Select the PCs that you want to enable for mining and check the mining tool. Available options for miners are Quickminer ,NBminer and Gminer (Figure 4).
- Quickminer is used for Nvidia GPUs only with more than 6gb vram and mining Ethereum.
- NBminer is used for both Nvidia LHR and AMD, can support GPUs with 4+gb vram and will auto-mine the most profitable crypto at that time based on GPUs performance.(ETH,RVN,etc)
- “We suggest using the NBminer auto mining if your cards are LHR (Lock hashrate) if not better use the Quickminer”
- Gminer is used also for Nvidia, Amd and LHR,can support 4+gb GPUs and will auto-mine the most profitable crypto at that time. The different from NBimer is that you can use parameters to overclock manually your GPUs (This option is suggested for more advanced users)
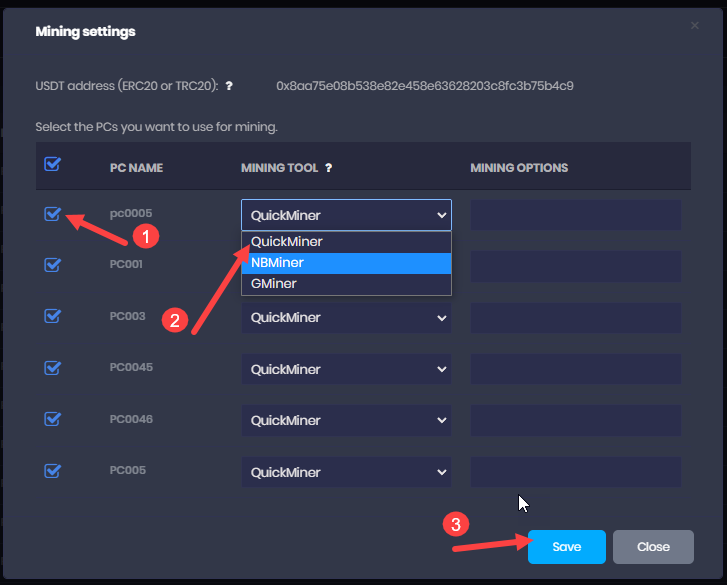
Figure 4
- After that, restart or boot the PCs and the mining function will be activated.
- PCs start mining automatically only if they are IDLE for 5 minutes or more and stop mining automatically once the mouse is moved or a user starts playing games.
- The mining will resume again after the user stop playing games and is idle for more than 5 minutes.
Note :
The miner can only work with WIN10 and Driver version newer than 461.33
Once the PCs start mining, you can see the details of mining from the “Mining” page as shown below (Figure 5).
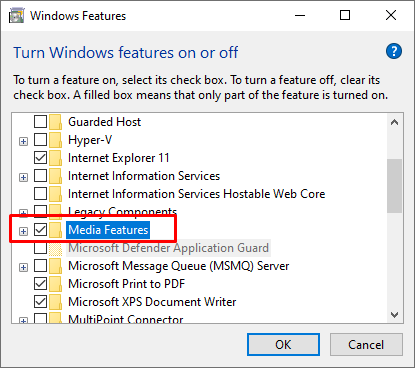
Figure 5
- USD amount as profit of this month.
- USD amount as profit in the last 24 hours.
- USD amount as all time profit which is profit till date.
- USD amount of unpaid balance
- Hash rate of total pcs in current time.
- List of the pcs showing hash rate, GPU model, temp, power,mining option and last time used in mining.