Wiki Home Boot image Create legacy boot image
Create legacy boot image
2023-07-16
create, legacy, boot, image
Important: We recommend using clean windows ISO, use of images from Microsoft site is better because images have modifications on patches made by third-party so they can cause lags and issues in future on diskless PC.
Before starting: Latest intel NIC doesnt support legacy boot ,it have to be uefi boot.
More info on the article below:
https://www.intel.com/content/dam/support/us/en/documents/intel-nuc/Legacy-BIOS-Boot-Support-Removal-for-Intel-Platforms.pdf
- Choose one of the client PCs as a master PC and connect the HDD. If you have many different motherboards/specifications PCs, then choose the newest one. For example, the motherboard that was released recently.
Note: Before installing Windows to your client PC's hard disk, make sure the BIOS is set to Legacy (or Legacy + UEFI) mode and is not set in UEFI boot mode (Figure 1).
Figure 1
- When you create a USB bootable drive to Install OS use the Media creation tool.
- Install the client OS system and Install the latest patches of Windows as well as the service packs if available.
- Install the motherboard chipset drivers and NIC driver. With only a chipset and NIC driver installed the image will be compatible with most specifications. If you install all device drivers, the image may have graphics and other driver conflicts with different specifications. We can install other device drivers once the client has successfully booted and is placed in super client mode.
- Set static ip (Figure 2).

Figure 2
Note: Static ip depends on your network.
- Install the latest patches of Windows as well as the service packs if available. And optimize the system. Refer to Client OS system optimization.
- Also Install the motherboard chipset drivers and NIC driver. Only with a chipset and NIC driver installed, the image will be compatible with most of the specifications. If you install all device drivers, the image may have graphics and other driver conflicts with different specifications.
- Download and install the NIC drivers from the vendor's site (Realtek or Intel).
- Optimize the NIC Driver (Server and client network optimization).
- Install CCBoot Client.
- Run the CCBoot setup file and select the “CCBoot Client Installation” and click “Next” button(Figure 1).
Figure 1
- Continue with the installation till you reach the last dialog, check the “Launch CCBoot” checkbox and click the “Finish” button (Figure 2).
Figure 2
- Once the "Finish" button is clicked. Disable UAC and click on the "OK" button (Figure 3).
Figure 3
- Once UAC is disabled, select NIC from the dropdown and click on the "OK" button (Figure 4).
Figure 4
- DO NOT check any checkbox in the “NIC Drivers” and click on the "OK" button (Figure 5).
Figure 5
- Click the “OK” button once installation is completed. You need to reboot the system once.
Note (only for multi specs clients): If you have more than one board model then repeat the following steps
- Disconnect the disk from the PC and connect it to the different board PC,
- Once booted install its NIC drivers
- Set the static IP for the nic (If not set already).
- Open CCBootclient application and click the “Install Client” button
- Click the “OK” button in the “NIC Drivers” window and finish installing.
- Once the installation is done, turn off
- Repeat steps I through VI, if you have any other different boards.
- Once ccboot client installation is done, upload the image by clicking the “Upload Image” button.
Figure 4
You can choose any of the following options to upload the image.
Important: Please make sure that you have sharing enabled on the client as well as the server. Windows 10 upload uses a shared folder to make the image thus if sharing is disabled the upload will fail.
Auto Upload :
- Before starting, share a folder on the image disk which can be accessed from the client PC. For this tutorial, "CCBootShare" folder in the writeback disk is shared and accessible from the client PC (Figure 5).
Figure 5
- Once Upload Image button is clicked, Fill the shared folder path like "\\192.168.1.254\ccbootshare" and click on the Auto Upload button (Figure 6).
Figure 6
- Then the image will be uploaded to the specified folder i.e. CCBootShare (You can find this folder on the writeback disk and is called “SteamData” on the server).
Manual Upload :
- After clicking on the upload image button and click on the manual upload button (Figure 7).
Figure 3
- Choose all hidden partitions and uncheck "Use vhdx" in this case will create a .vhd image. Then choose the path where the image will be uploaded and press the "Create" button (Figure 7).
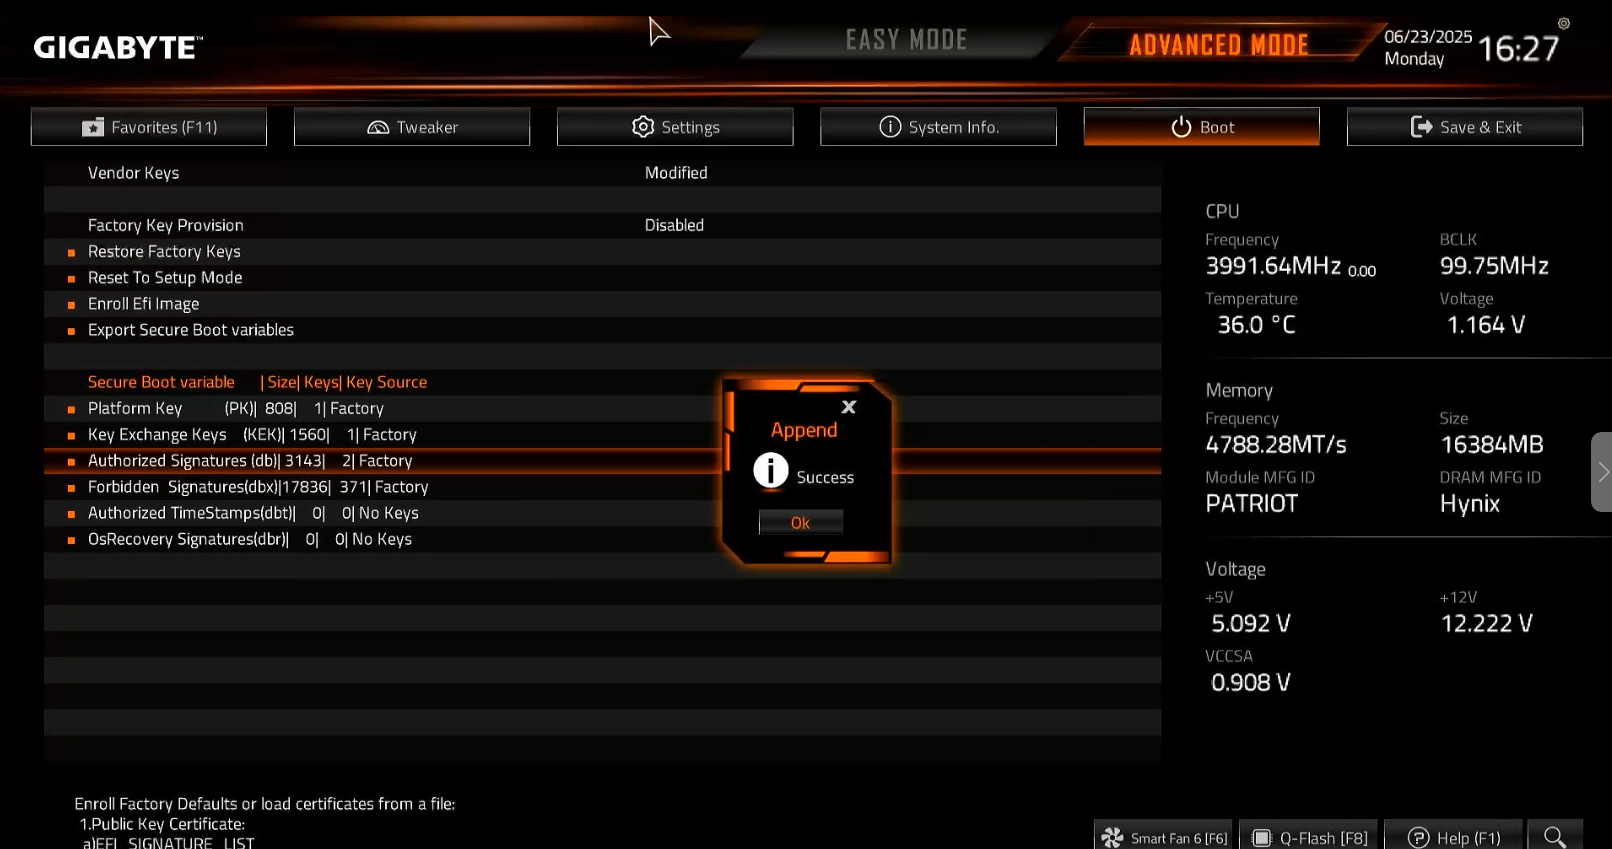
Figure 7
- Then the image will be uploaded to the shared folder.
Note: For Windows 10 image Upload, please make sure that sharing is working between client and server.