Wiki Home Create Boot Image Using Ghost to Create Boot Image
Using Ghost to Create Boot Image
2020/08/15 00:26
1) Install Windows system on the master PC that installed HDD.
2) Install CCBootClient.
3) Using DOS version of Ghost to backup the drive C: of the master PC to image.gho. (You can use WinPE boot the client to run Ghost or other method to run Ghost)
4) Copy the image.gho file to the Windows 2008 server.
5) Right click on "My Computer" and select "Manage".
6) In the pop-up "Server Manager" window, expand the "Storage" node, click "Disk Management" in the "Action" menu, click the "Create VHD" (Figure 1‑1).
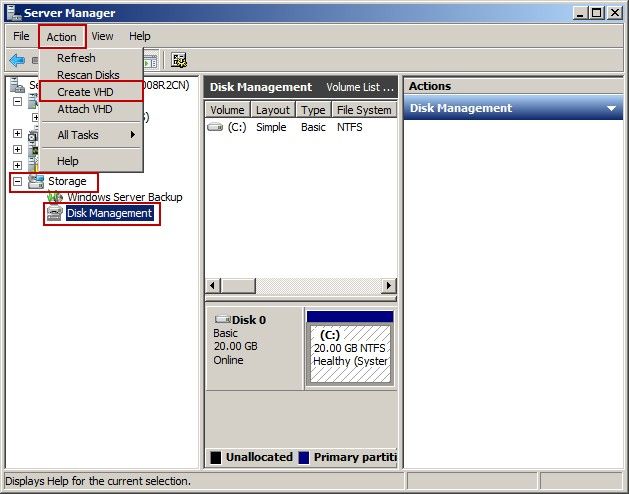
Figure 1‑1
7) In the pop-up "Create and attach Virtual Hard Disk" dialog box create a VHD according to their own needs, you can also create a different capacity of VHD packages (Figure 1‑2).
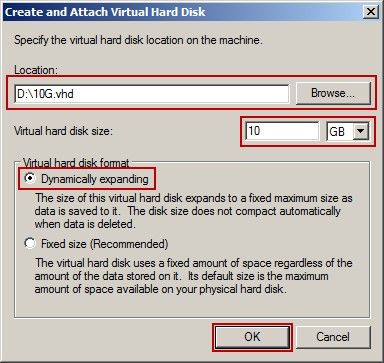
Figure 1‑2
8) If the disk creation is success, initialize the disk and create a simple volume on this disk and then format (Figure 1‑3).
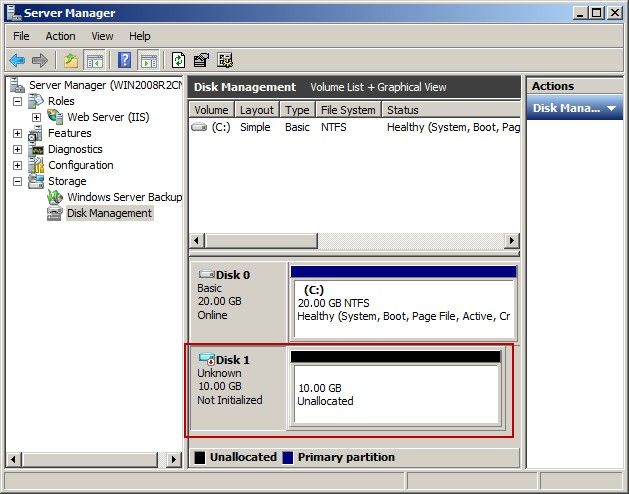
Figure 1‑3
9) Set the created VHD disk as "Activated partition".
10) Now use Ghost to restore the image.gho to the created VHD disk. (Using partition to partition method).
11) When down, Right-click the created VHD disk in the disk management and then select "Detach VHD" disk operation (Figure 1‑4).
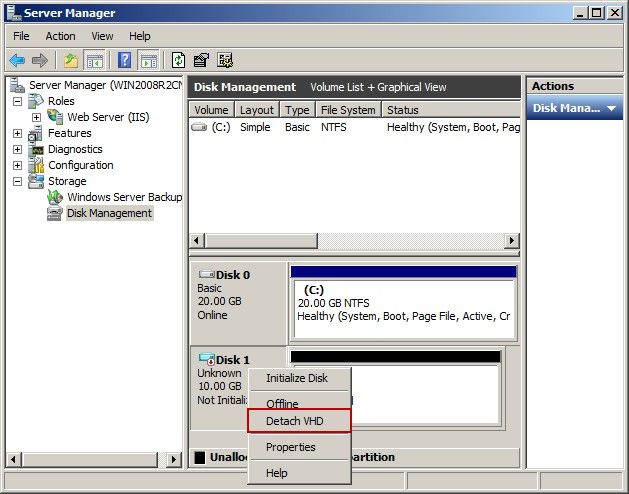
Figure 1‑4
12) In the pop-up dialog box of "Detach Virtual Hard Disk" click the "OK" button (Note: detach the VHD without selecting the "Delete the Virtual Hard Disk file after removing the disk" check box)(Figure 1‑5).
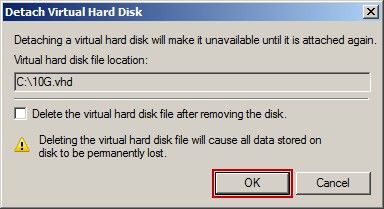
Figure 1‑5
13) Now the vhd file can be used as boot image.
Related:
Create Client Image with Dual NICs
Standard Method to Create Boot Image for Legacy PCs