Wiki Home Server Settings Tools Menu
Tools Menu
2017/08/15 13:50
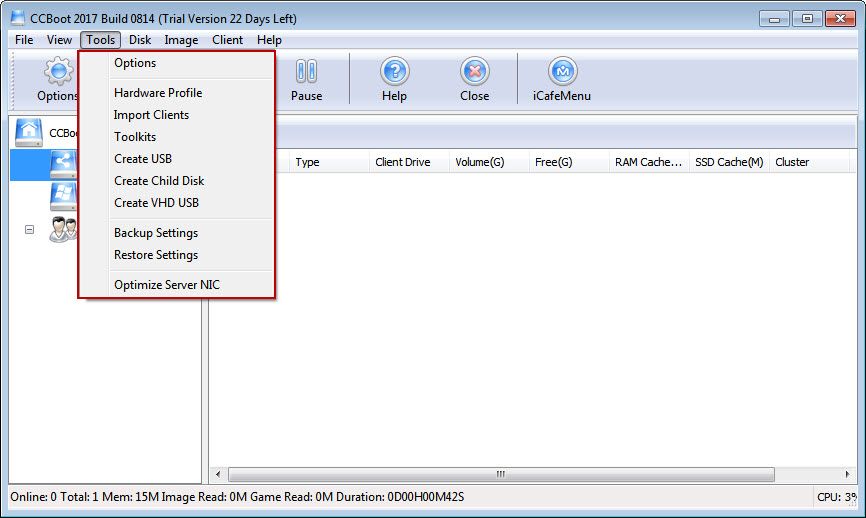
Figure 1
Options: Open the Server Settings dialog box.
Hardware Profile: You can add or hardware profile items here.
Import Clients: Importing the clients from a CSV file. One client data per line. The first column is computer name, the second column is IP address, the third column is MAC address (12 letters) and each column divided by comma(,).
Toolkits: Open toolkit folder with few tools make administrating CCBoot easier (VHD resize, VHD mount, Disk2VHD, etc.)
Create USB: Make USB startup disk (for the NIC that without PXE chipset).
How to create USB for diskless booting client?
Sometimes, the client's NIC doesn't have PXE chipset but we still want to diskless boot with that NIC. We can use USB to boot the client, load the PXE code from USB and then diskless boot from the server.
1) Insert a USB in the server machine.
2) Click "File" menu.
3) Select "Create USB". It will popup "Create Bootable USB" dialog box.
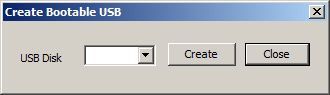
Figure 2
4) You can select the USB drive letter and click the "Create" button.
Notes: Because most of the up-to-date onboard NICs support PXE boot, we DO NOT recommend using this method for diskless booting. For this method, it only supports several old network cards, such as some earlier Realtek NIC.
Create Child Disk: You can use this function to create a child disk (differencing vhd) for your parent image (main image).
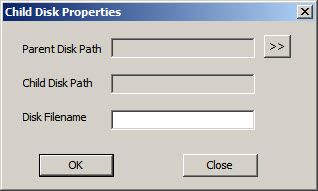
Figure 3
1. Click the " >> " button to select your parent disk (main image).
2. Enter the desired name for you child disk in "Disk Filename"
3. Press "OK" to create child disk.
4. Now, you can add the image in CCBoot like a normal image and boot client from it (Please refer Add boot image to add image to CCBoot)
Create VHD USB: Make Windows To Go USB driver which you can use to make image for the client PC.

Figure 4
How to create Windows To GO USB?
1) Insert a USB in the server machine.
2) Click "Tools" menu.
3) Select "Create VHD USB". It will popup "CCVHDUSB" dialog box.
4) Click the browse button and select ‘Install.wim’ or "install.esd" file for your choice of Windows. ("esd" files support is available from 20160707 version only)
5) Click the Windows edition drop down and select your desired Windows.
6) Target USB disk, needs to you your USB drive.
7) Click “Create” to start the bootable Windows To Go USB drive.
Notes: You can use this tool to make hard disk bootable with Windows OS as well. To to that,choose your hard disk partition as Target USB disk.
Added: Optimize Server Nic for server nic optimization