Wiki Home Active Directory Install Windows Domain Service
Install Windows Domain Service
2014/11/04 17:01
Installation steps are as follows:
1) Select a computer as the server. Install Windows 2008 R2 system.
2) Assign a static IP. (Click on the "Start" - > "Control Panel" - > "Network and Internet" - > "Network and Sharing Center" - > "Local Area Connection"; in the pop-up dialog box, click "Properties"; in the pop-up dialog box, double-click the "Internet Protocol Version 4 (TCP/IPV4)", an "Internet Protocol Version 4 (TCP/IPV4) Properties" dialog box will pop up) (Figure 1‑1).
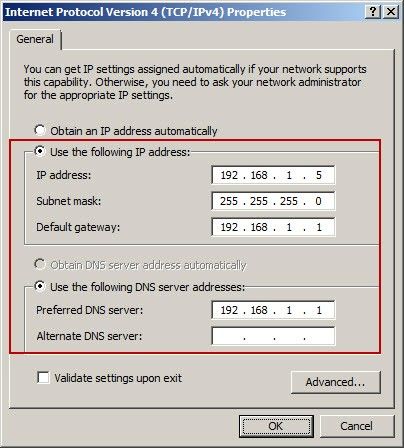
Figure 1‑1
3) In the command line window, run "net user administrator /passwordreq:yes" (Figure 1‑2).
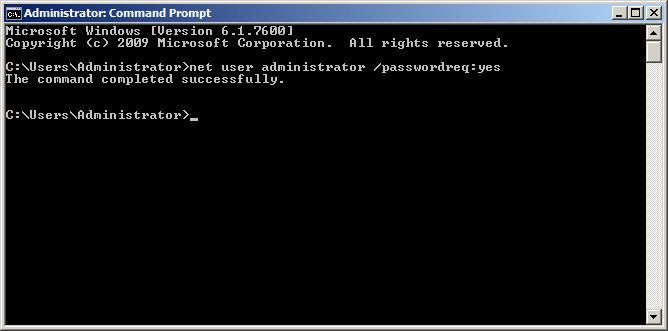
Figure 1‑2
4) Set up a complex password for Administrator: the password must be "digital + capital and small letters + special symbols", such as "123qweASD @#!", and the password length must be longer than 8.
5) Click on the "Start", type "dcpromo" in the "Run" edit box, press enter (Figure 1‑3).
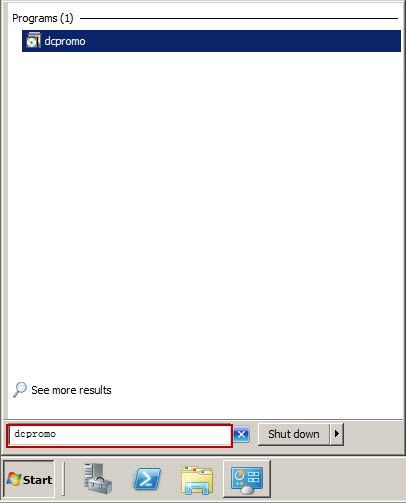
Figure 1‑3
6) Wait for the "Active Directory Domain Services" installation wizard (Figure 1‑4).
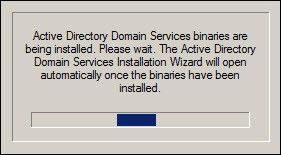
Figure 1‑4
7) In the pop-up "Active Directory Domain Services Installation Wizard" dialog box, click "Next" button (Figure 1‑5).
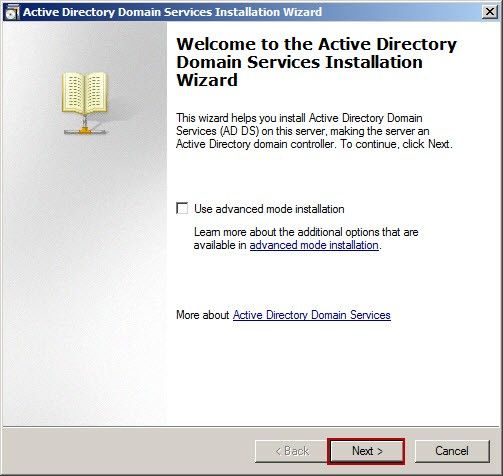
Figure 1‑5
8) In the "Choose a Deployment Configuration" dialog box, select the "Create a new domain in a new forest" radio button (Figure 1‑6).

Figure 1‑6
9) In the "Name the Forest Root Domian" dialog box, after typing Domain Name, click "Next" button (Figure 1‑7).
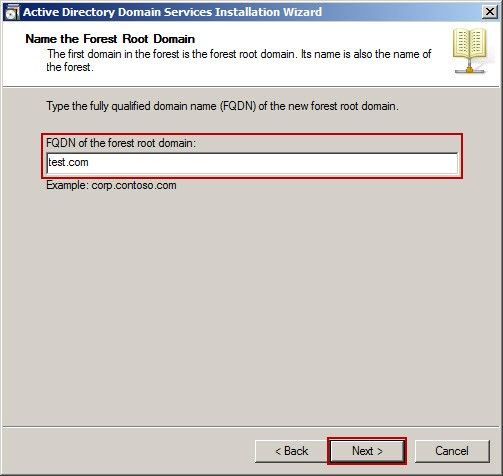
Figure 1‑7
10) In the "Domain NetBIOS Name" dialog box, click the "Next" button (Figure 1‑8).

Figure 1‑8
11) In the "Set Forest Functional Level" dialog box, leave the default settings, click "Next" button (Figure 1‑9).
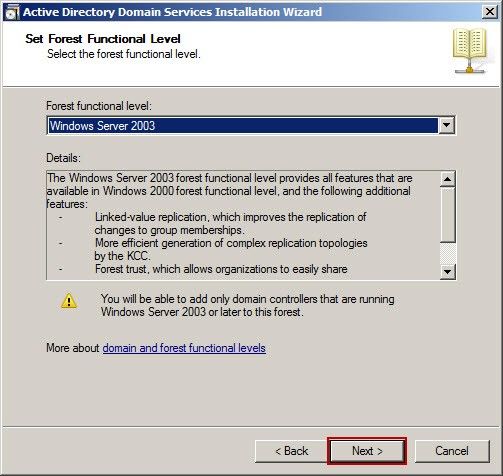
Figure 1‑9
12) In the "Additional Domain Controller Options" dialog box, select the "DNS server" check box, and click the "Next" button (Figure 1‑10).
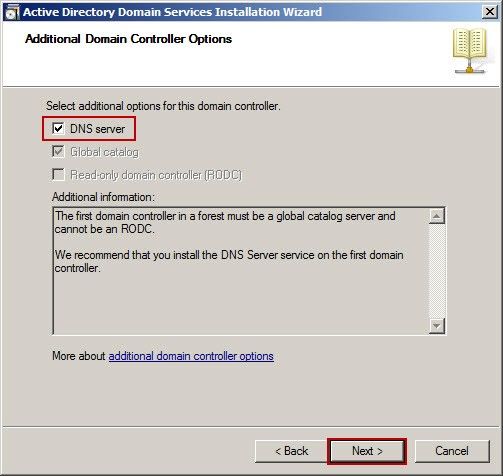
Figure 1‑10
13) In the pop-up "Active Directory Domain Services Installation Wizard" dialog box, click the "Yes" button (Figure 1‑11).
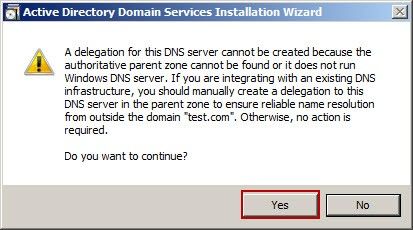
Figure 1‑11
14) In the "Location for Database.Log Files.and SYSVOL" dialog box, leave the default settings, click "Next" button (Figure 1‑12).
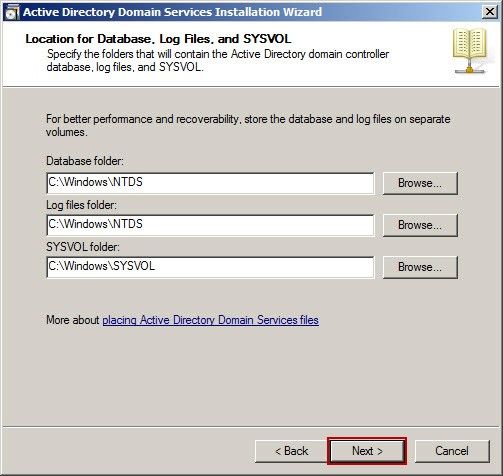
Figure 1‑12
15) In the "Directory Services Restore Mode Administrator Password" dialog box, type the password, click the "Next" button (Figure 1‑13).
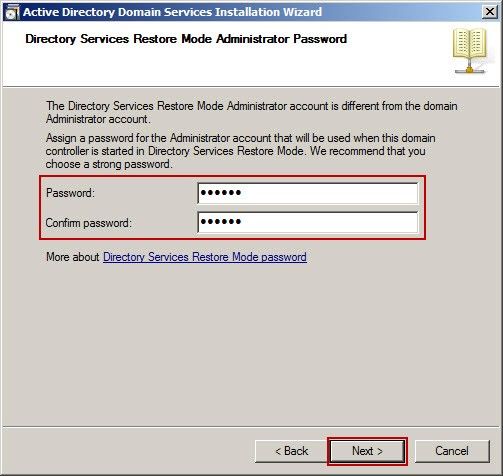
Figure 1‑13
16) Wait for the installation process (Figure 1‑14).
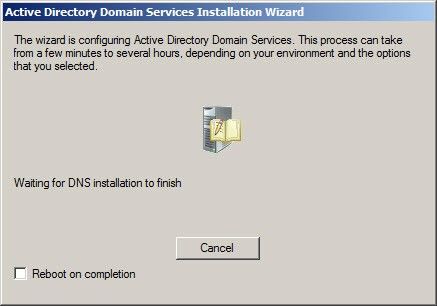
Figure 1‑14
17) After the installation is finished, click "Finish" button (Figure 1‑15).
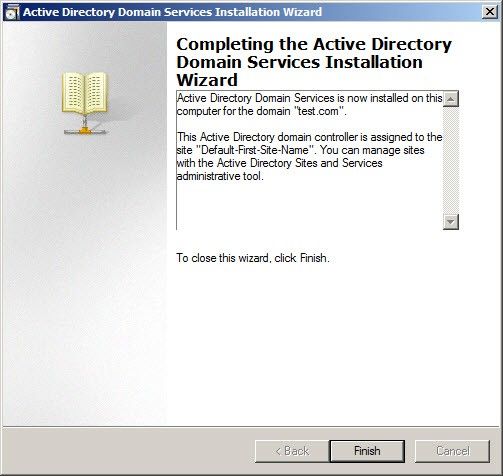
Figure 1‑15
18) Reboot the computer.
19) Click on the "Start", type "gpmc.msc" in the "Run" edit box, press enter.
20) In the pop-up "Group Policy Management" window, after unfolding the "Forest", you can see the test.com domain, which also shows the successful installation (Figure 1‑16).
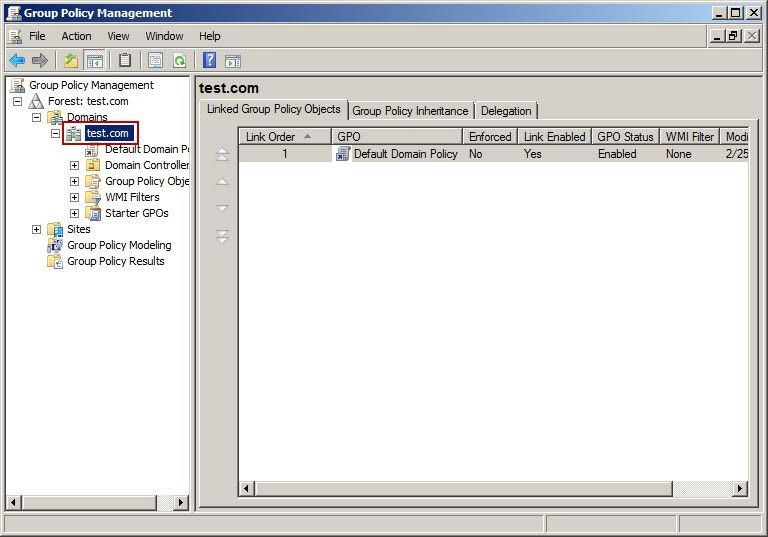
Figure 1‑16