Wiki Home Update Image and Game Update Game on the Game Server
Update Game on the Game Server
2016/06/03 11:40
If you are very familiar with CCBoot software, and the "game-updating software's", then we can take the following operation steps.
Preparation work:
The game server (must install "hard disk"), IP address: 192.168.1.25
The CCBoot server, IP address: 192.168.1.252
The steps are as follows:
1. The game server settings.
1) With an installed "hard disk" machine, to update the game. (machine named: the game server)
2) In "game server", install iSCSI Initiator (For details, please refer to the "iSCSI Initiator Installation") And the game-updating software.
2. CCBoot settings
1) Creating a disk group on the CCBoot server, named "Game", just adding the game disk.
2) On the main interface of the CCBoot, right-click the "Client Manager", click to select the "Auto Scan" (Figure 1‑1).
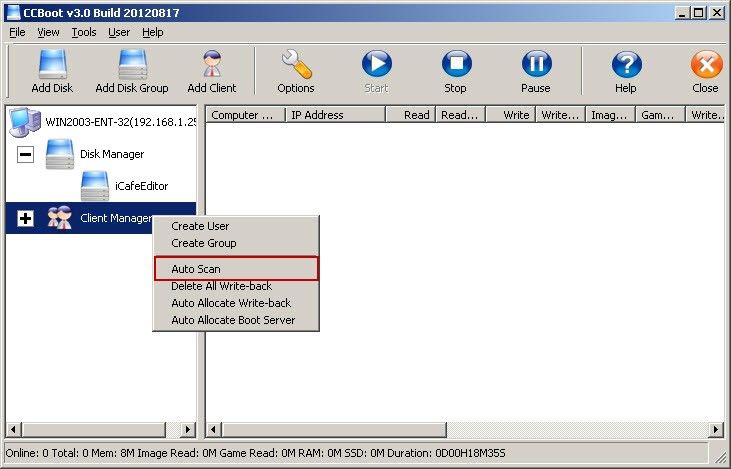
Figure 1‑1
3) It will pop up the "CCBoot Auto Scan" dialogue box, in the "Low IP Address" and "High IP Address" edition box, enter the. game server IP, and then click "Start" button, and scan out the game server IP (Figure 1‑2).

Figure 1‑2
4) Double-click the "just scanned machine", it will pop up "CCBoot Client" dialogue box, and then click the "Disk Group" on the right "»" button (Figure 1‑3).
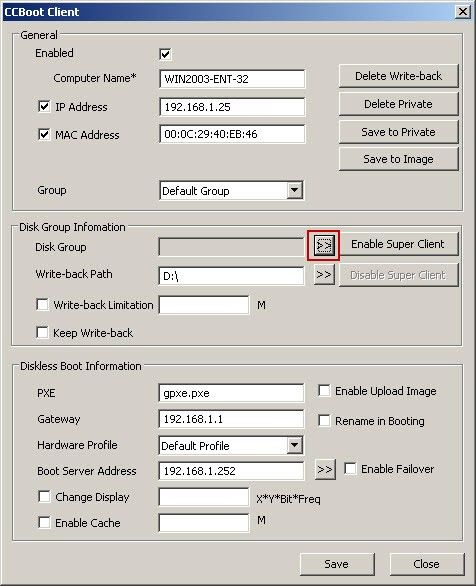
Figure 1‑3
5) In the pop-up "CCBoot Disk Group Selection" dialogue box, select the "Game" check box, and then click the "OK" button (Figure 1‑4).
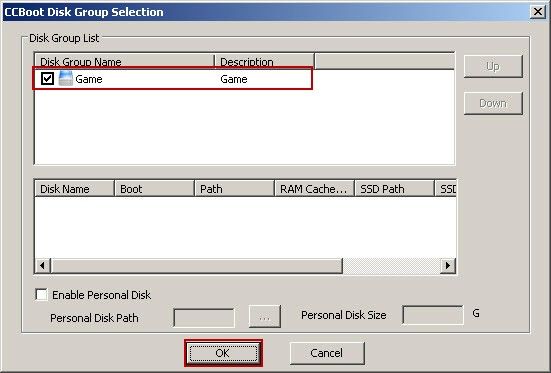
Figure 1‑4
6) Click the "Enable Super Client" button on the "CCBoot Client" dialogue box (Figure 1‑5).
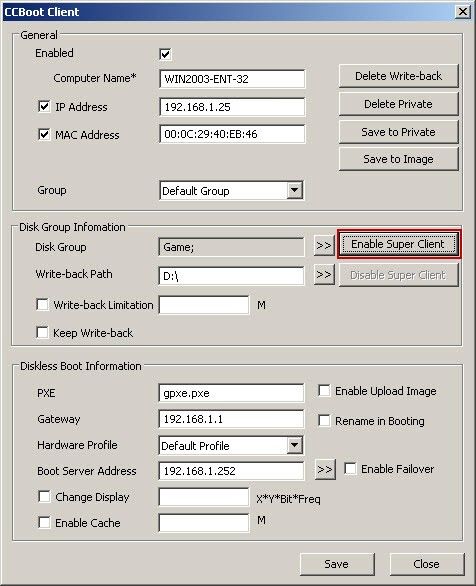
Figure 1‑5
7) In the pop-up "CCBoot Select Disk" dialogue box, select the "Game", click "OK" button (Figure 1‑6).
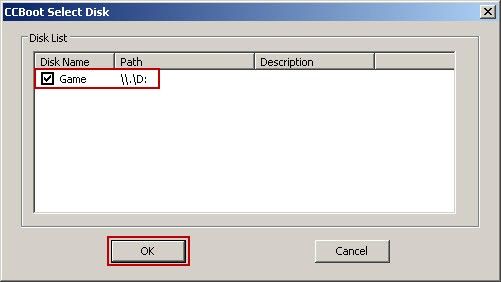
Figure 1‑6
3. iSCSI settings
1) Boot the "game server", in the game server, run the iSCSI program.
2) In the pop-up "iSCSI Initiator Properties" dialogue box, click the "Add" button (Figure 1‑7).
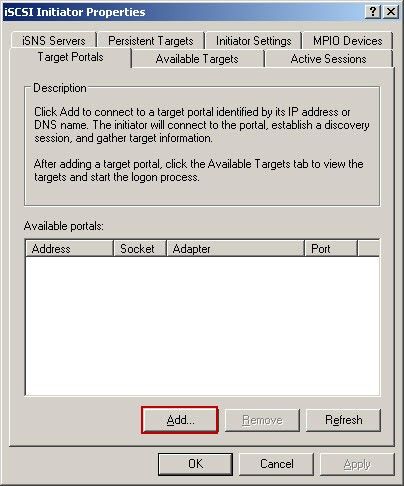
Figure 1‑7
3) It will pop up "Add Target Portal" dialogue box, in the "IP address or DNS name" edition box, enter the "CCBoot server IP address", then click "OK" button (Figure 1‑8).
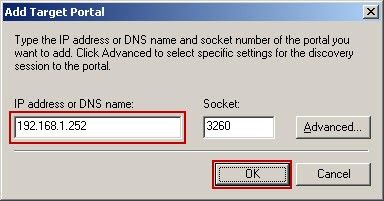
Figure 1‑8
4) After "Add" is completed (Figure 1‑9), and then click "Available Targets" tab.

Figure 1‑9
5) In the detailed pane of "Select a target", you will see something similar to the item "iqn.2008-12com.ccboot 252:00",and then click "Log On" button (Figure 1‑10).
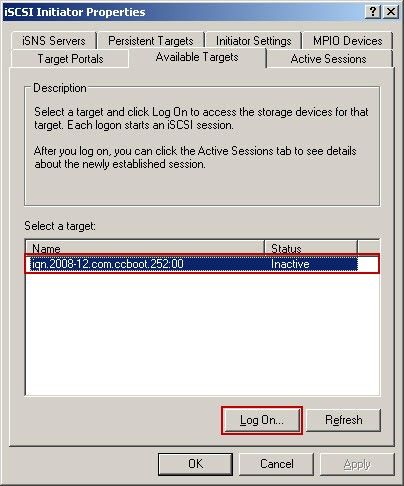
Figure 1‑10
6) In the pop-up "Log On to Target" dialogue box, select the "Automatically restore this connection when the system boots" check box, and then click "OK" button (Figure 1‑11).
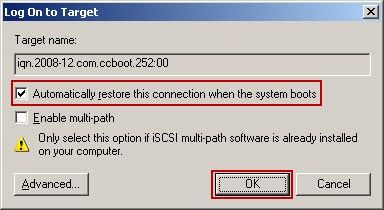
Figure 1‑11
7) After the successful setting, in the "disk management" window of "the game server", there will be one more disk. This is the game disk on the server.
8) Add the disk letter "G" for the game disk, and update the "G disk" using the game-updating software.