For more information, you can also refer to the "Quick Start" in CCBoot v3.0 Wiki.
System Requirements
-
Server Requirements
- Windows 2000, Windows XP, Windows 2003, Vista or Windows 2008.
- Latest service packs should be installed on the server.
-
Client Requirements
- Windows XP, Windows 2003, Vista, Windows 7 or Windows 2008.
- PXE 2.x compliant network adapter
Step 1 - Install CCBoot
Download CCBoot installation package from:http://www.ccboot.com/download/ccbootsetup.exe.Launch ccbootsetup.exe on the server and keep press next button to end.
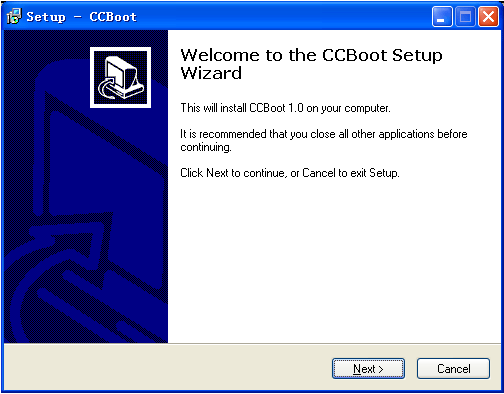
Figure-1
CCBoot will use the following port 67 (DHCP), 69 (TFTP), 3260 (iSCSI), 1000 (Image Upload), 8001 (Service Control). You need to open those ports on the server firewall.Step 2 - Launch CCBoot
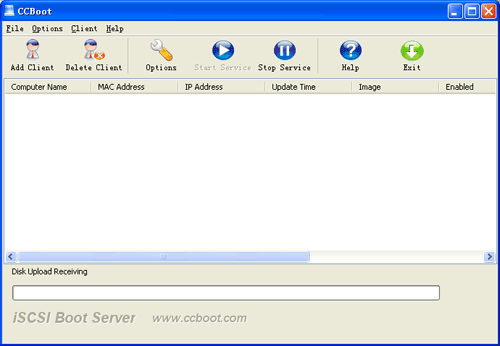
Figure-2
Click button "Options":
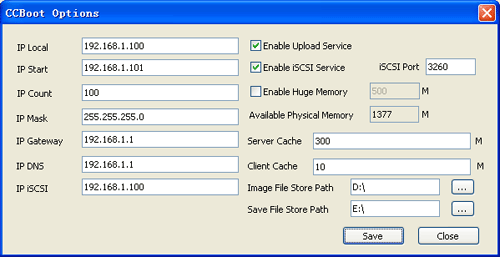
Figure-3
Suppose the server IP is 192.168.1.100.Set IP Local: 192.168.1.100, IP Start: 192.168.1.101, IP Count: 100, IP Mask: 255.255.255.0, IP Gateway: 192.168.1.1, IP DNS: 192.168.1.1, IP iSCSI: 192.168.1.100
Set Image File Store Path "D:\" and Save File Store Path "E:\".
Press "Save" button.
Notes: the Image File Store Path should have enough free disk space. Client will upload the boot image to this directory. the "Save File Store Path" is used to store the client write data. Normally it's different to the "Image File Store Path". If you want to know more about "Options", please refer to Server Configuration.
Step 3 - Create Boot Image
- Choose another PC as client prepare to install Windows system. (WinXP, 2003, Vista, Windows 7 or Win2008).
- Format the hard disk.
- Install Windows.
- Install the latest package of Windows (WinXP SP2, 2003 SP1, Vista SP1).
-
Open the local area connection network property
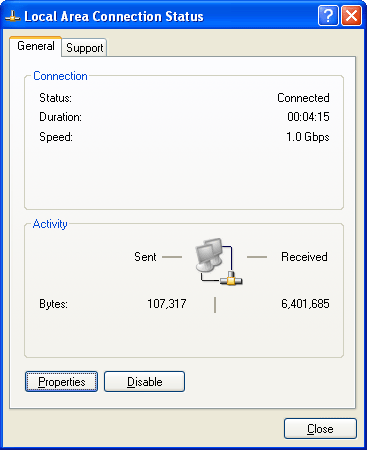
Figure-4
Click "Properties" button.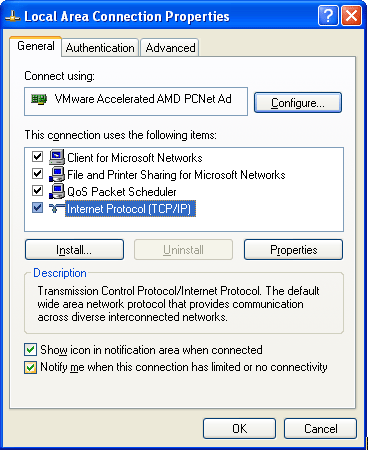
Figure-5
Select "Internet Protocol (TCP/IP)" and click "Properties" button.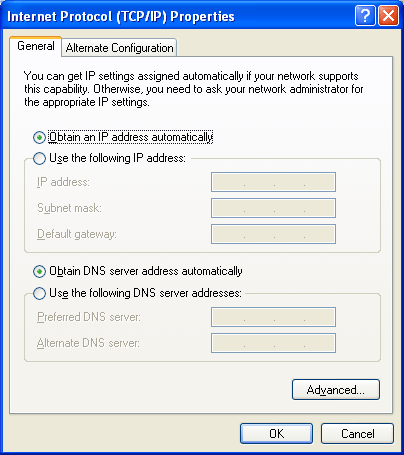
Figure-6
Select "Obtain an IP address automatically" and "Obtain DNS server address automatically", click "OK". - Download iSCSI boot client from: http://www.ccboot.com/download/iscsibootclient.exe. If your system is 64-bit, please download it from: http://www.ccboot.com/download/iscsibootclient64.exe.
-
Install iSCSI boot client with all default settings.
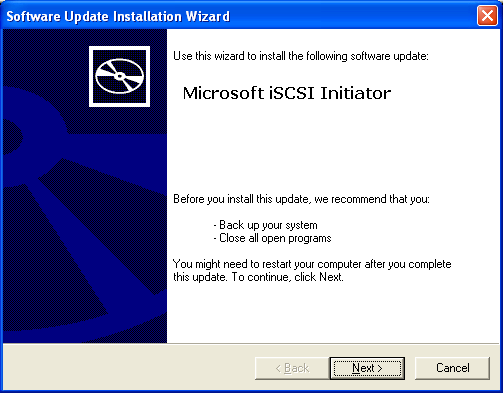
Figure-7
If the system is NOT XP, you need to check "Configure iSCSI Network Boot Support" and select Boot NIC in following graph.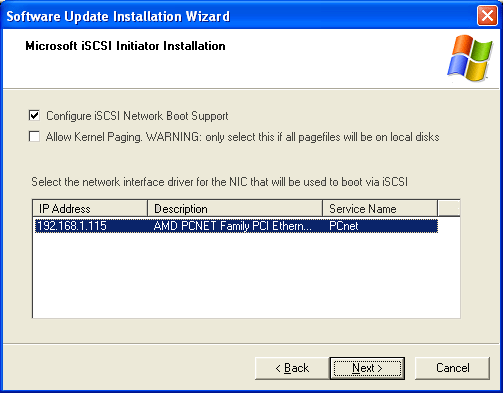
Figure-8
-
If the system is Windows XP, you need to install a package called "sanbootconf" which configures your XP installation to boot via iSCSI. You can download "sanbootconf" from http://www.ccboot.com/download/sanbootconf.zip, unzip sanbootconf.zip to C:\ and run setup.bat.
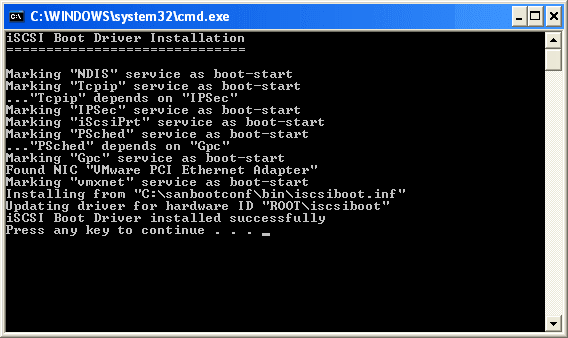
Figure-9
-
Make sure that there are no other DHCP servers on the LAN. Now, go to server and you will find a new list item in CCBoot.
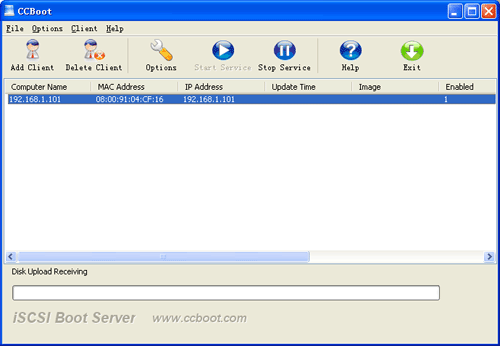
Figure-10
Double click this item: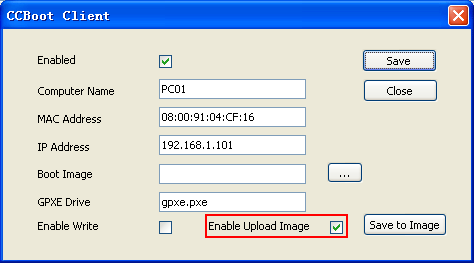
Figure-11
Select "Enable Upload Image" and you can change the "Computer Name" as you like. Click "Save" button to save the client's properties. -
Open "C:\CCBoot" and you will find a file named "CCDiskUpload.exe". Copy this file to the client. Or you can also download CCDiskUpload.exe at client from http://www.ccboot.com/download/CCDiskUpload.exe
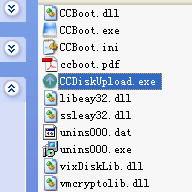
Figure-12
-
Go to client and launch CCDiskUpload.exe.
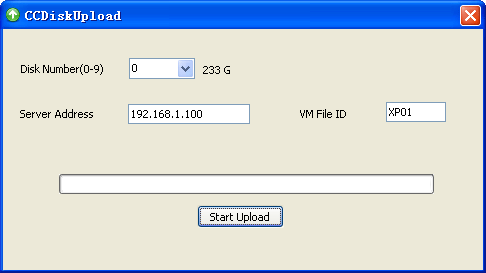
Figure-13
Select Disk Number: 0, Server Address: 192.168.1.100, VM File ID: XP01, click "Start Upload" button. Now CCDiskUpload will create boot image and upload it to the server. After finished, CCDiskUpload will popup a dialog box and shows "Finished". CCBoot will create a VMDK file in the "Image File Store Path". "VM File ID" is the prefix of the VMDK file. In this case, CCBoot will create a file named "XP01.vmdk" in "D:\".
Step 4 - Set Diskless Boot Property
At server, select the list item in CCBoot and double click it.
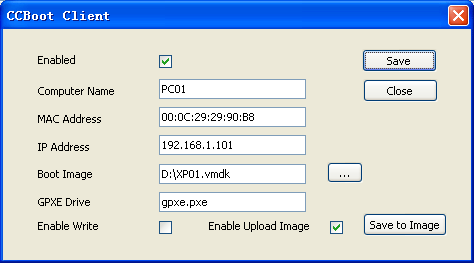
Figure-14
Set Boot Image: D:\XP01.vmdk.Step 5 - Diskless Boot Client
Now, you can set boot from network in the client's BIOS and boot Windows with iSCSI even plug the hard disk. After finished the configuration, you will see the following steps in the screen.1) PXE DHCP
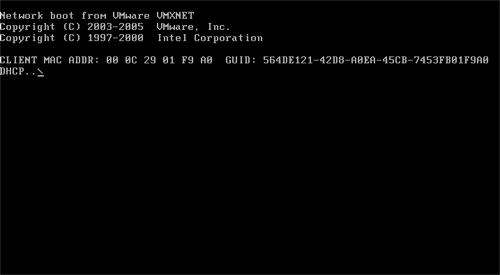
Figure-15
2) gPXE DHCP
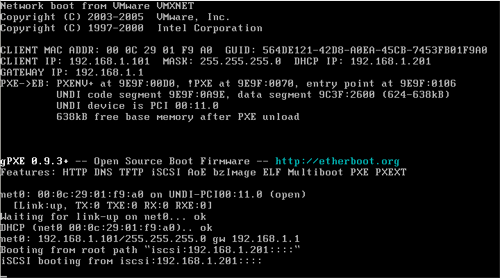
Figure-16
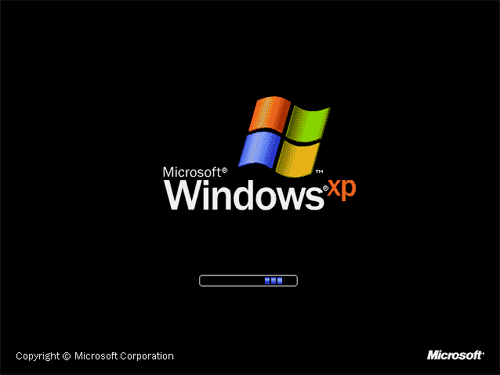
3) Win XP boot (if the boot image is Win XP)
If you have any problems, please refer to FAQs.
More information: How to boot from network?
