Wiki Home Update Image and Game Update image using Keep Writeback function
Update image using Keep Writeback function
2017/12/03 18:14
CCBoot "Keep Write-Back" is a method of keeping data (drivers, application installation) even after reboot and if you want to make the change you have made permanent then you can use “Save to Image” function to save it to the image. So all client PCs get the changes.
As an example we will take PC01, the operation steps are as follows:
1.) Before updating please back up the Image file. (For methods of back up image, please refer to "Back up Image".
2.) On the CCBoot main interface, click “Client Manager”, Right click “PC01” and then click “Keep Write-back” (Figure 1).
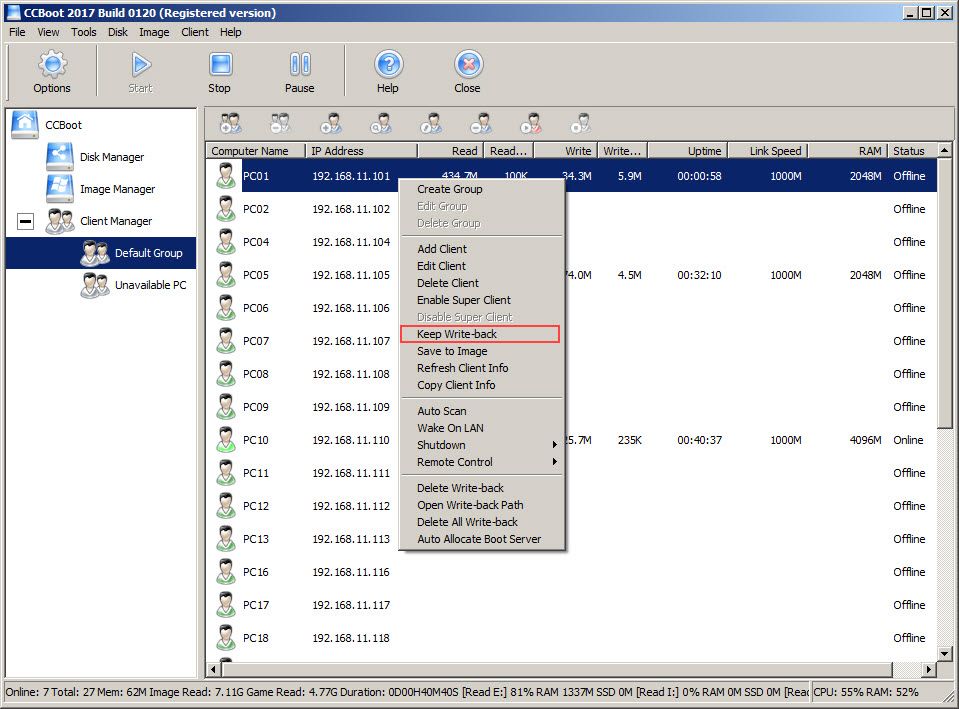
Figure 1
3.) In the pop-up “Do you want to delete write-back?” dialog box, click the “Yes” button to delete the write-back data automatically (Figure 2).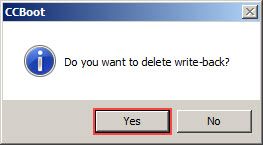
Figure 2
4.) Diskless boot PC01, and make your changes or updates (such as driver updates or program installation). Once, you are done, shutdown the client (PC01).
5.) On CCBoot "Client Manager" right-click the PC01 and then click “Save to Image” (Figure 3).
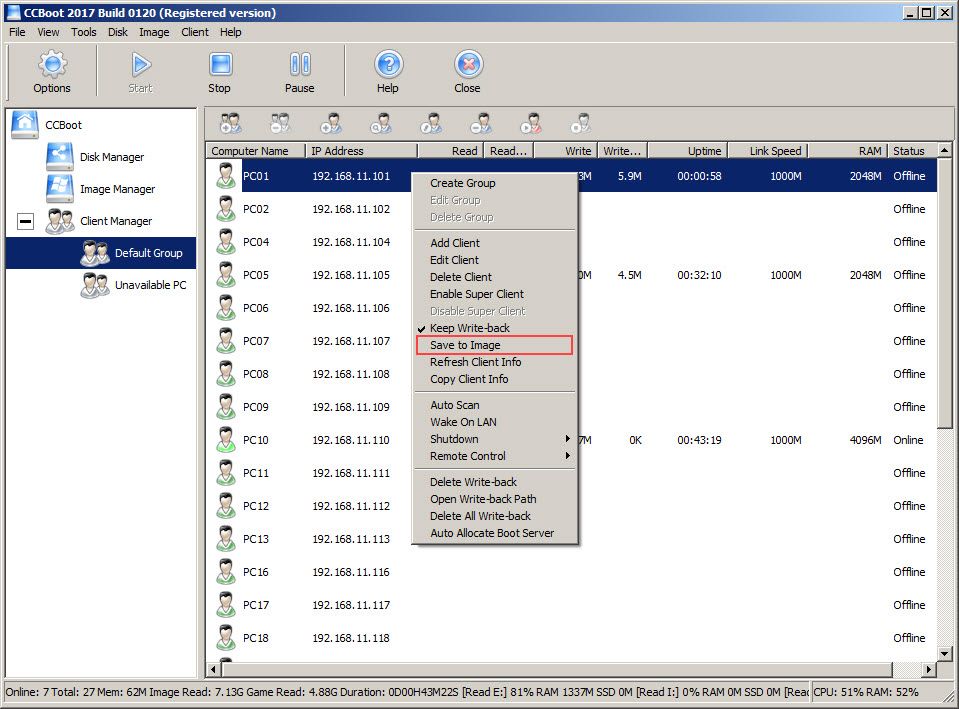
Figure 3
6.) It will open a pop-up “Do you want to save to image?” dialog box, Press “Yes” button (Figure 4).
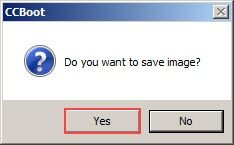
Figure 4
7.) After another pop-up “Do you want to save to image [E:\SIWIN7X64_20151012.VHD]?” dialog box will open, Press “Yes” button to confirm image save (Figure 5)
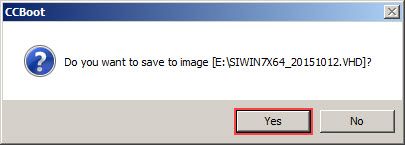
Figure 5
8.) After clicking the “Yes” button another pop-up “Do you want to create a restore point? dialog box will open, click the “Yes” button to continue (Figure 6)
Figure 6
Note: if you choose "No" then CCBoot will not create any recovery point and directly update the image or the last recovery point file.
Notes: If you choose "Yes" then CCBoot will create a recovery point for the image. So your image disk will one more file with name .xxx.vhd at the end (.001.vhd, .002.vhd). If there are many recovery points, then its recommended that you merge them so you have just 1 main image. please refer to "Merge Image".
9.) Now, in the pop-up "CCBoot Recovery Properties" dialogue box, enter "Description" to describe the changes made to the image, and then click "OK" button. CCBoot will now save the image while creating a recovery point for it (Figure 7)
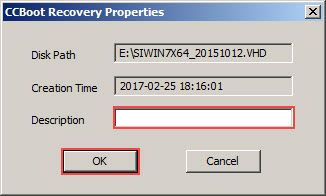
Figure 7
10.) Now, let's disable "Keep Write-back", to do that right-click “PC01” in the CCBoot "Client Manager" and then click the “Keep Write-back” to uncheck it (Figure 8).
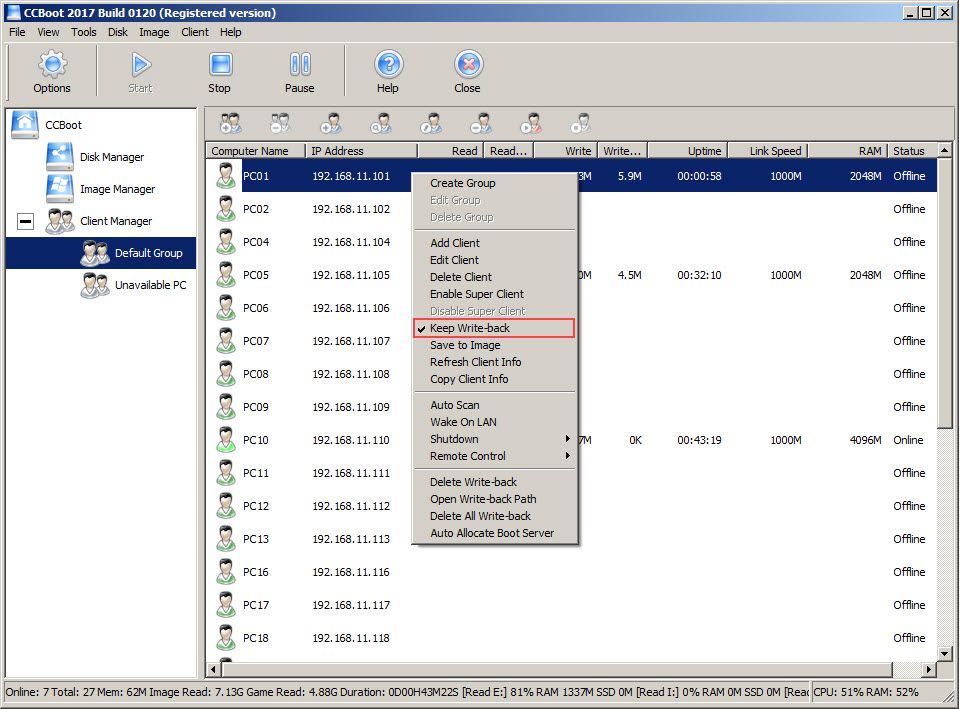
Figure 8
When the keep writeback is enabled, you will see "Write" text in the "Enable" column (Figure 9).
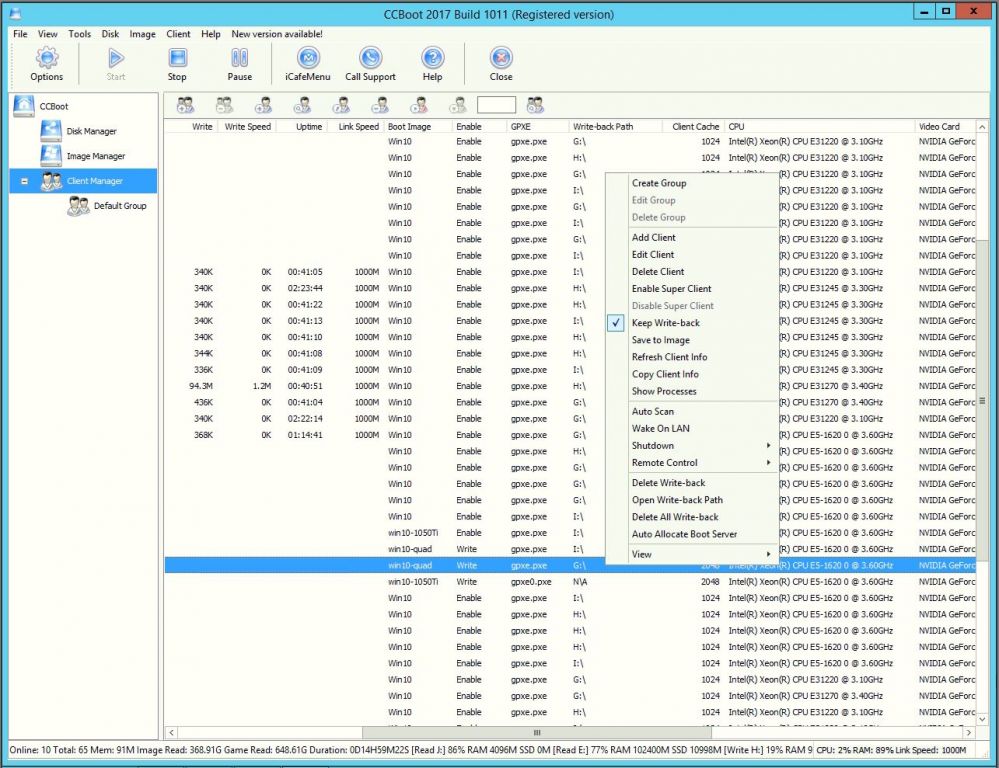
Figure 9
Note: You can use keep writeback to update image often, however if you use Keep Writeback option to keep changes for clients always.
Then it will fill up the writeback disk as well as reduce the life of SSD disks as Keep Writeback will write directly to disk and is not cached in Writeback Disk cache.
So, use it when needed and not always.
Note: If you set a client that has keep writeback enabled as default template and expect the other client to have the same then it will not occur.
Using keep writeback in multiple PC at the same time is not beneficial to client boot as well as performance thus by default the keep writeback option will not be applied to other clients from default template.