Wiki Home Create Boot Image ImageX Tool to Create Boot Image
ImageX Tool to Create Boot Image
2020/08/15 00:28
This article tells you how to use imageX tool to create boot image for CCBoot. It avoids you to upload image through CCBoot sever and client. Thank you Turkey reseller Necmettin Teştek provide the pictures and opinions.
You need prepare a PC with "Windows 7 Ultimate" and a "Windows 7 Ultimate ISO" file firstly.
1) On the PC, click the "Start" button, right click the "Computer" and select "Manage" (Figure 1-1).
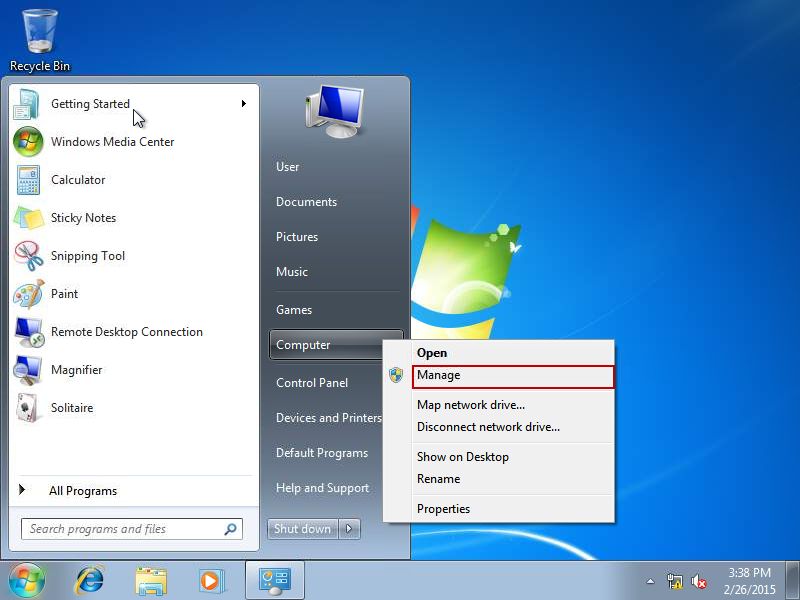
Figure 1-1
2) It will pop up the "Computer Management" form. In the left side of the form, on the directory tree, click the "Disk Management" node. Then, on the File Menu, click "Action" and select "Create VHD" (Figure 1-2).
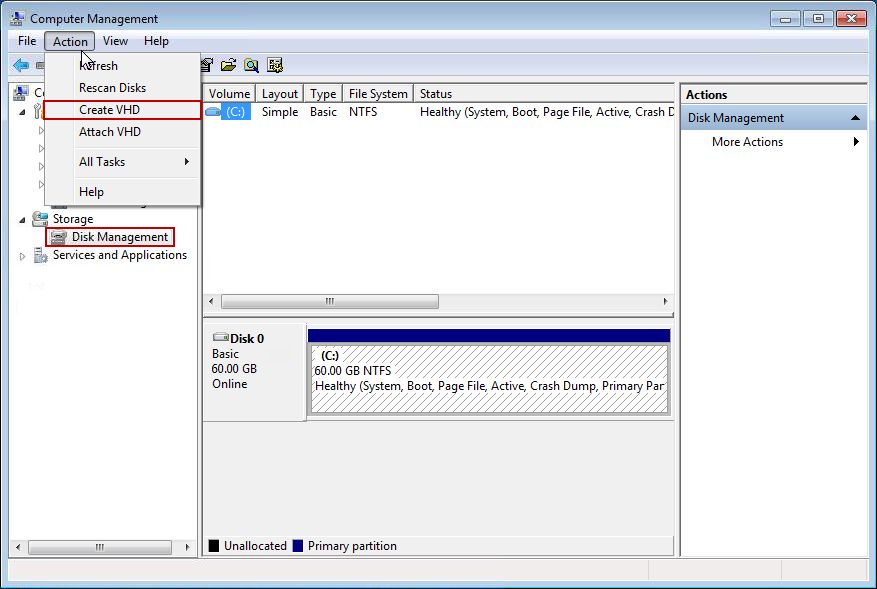
Figure 1-2
3) In the "Create and Attach Virtual Hard Disk" dialog box, click the "Dynamically expanding" radio button, set the "Virtual hard disk size", and "Specify the virtual hard disk location" (Figure 1-3).
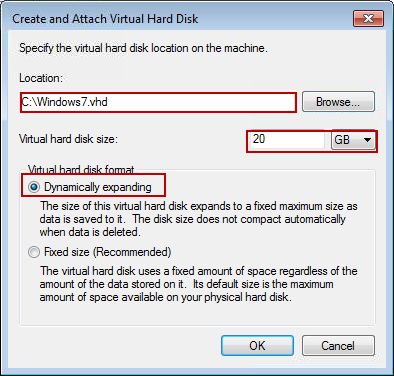
Figure 1-3
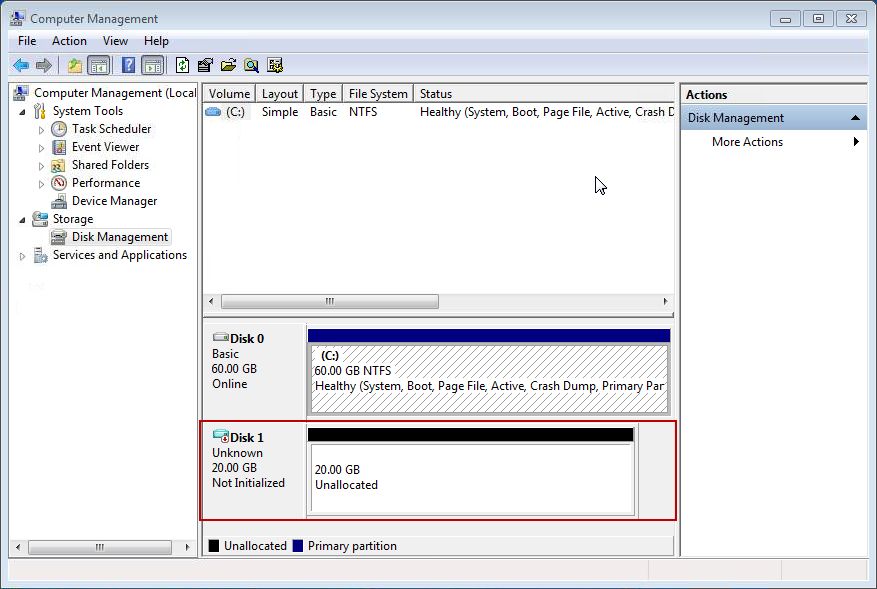
4) You can see there is a Disk 1 you just created (Figure 1-4).
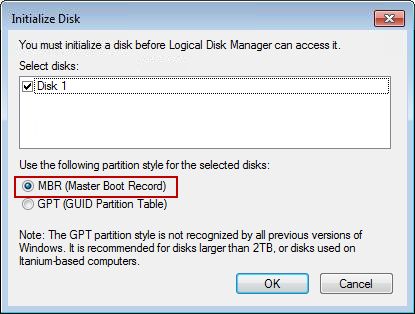
5) Right click Disk 1, and select "Initialize Disk". In the pop up "Initialize Disk" dialog box, select Disk 1, and use MBR partition style, then click the "OK" button (Figure 1-6).
6) Right click the initialized Disk 1, and select "New Simple Volume...". In the pop up "New Simple Volume Wizard" dialog box, click the "Next" button. Then, specify the Volume size, and click the "Next" button (Figure 1-6).
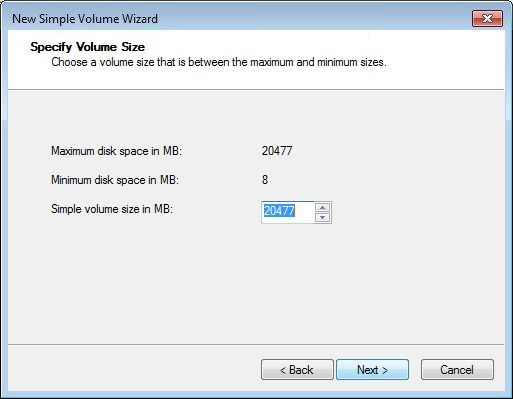
Figure 1-6
7) Assign drive letter or path, format partition and set Driver E:\ as "Activate Partition" (Figure 1-7).
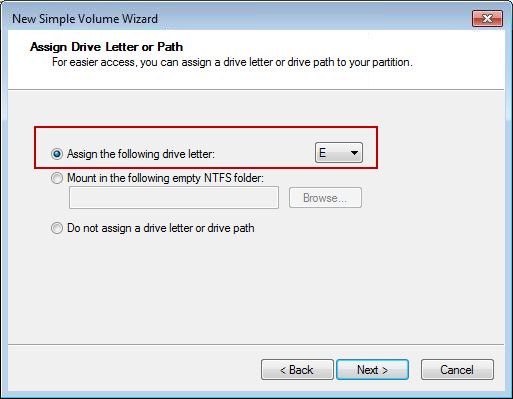
Figure 1-7
8) Use WinMount or other ISO tools to load win7.iso as drive d: as follow (Figure 1-8).
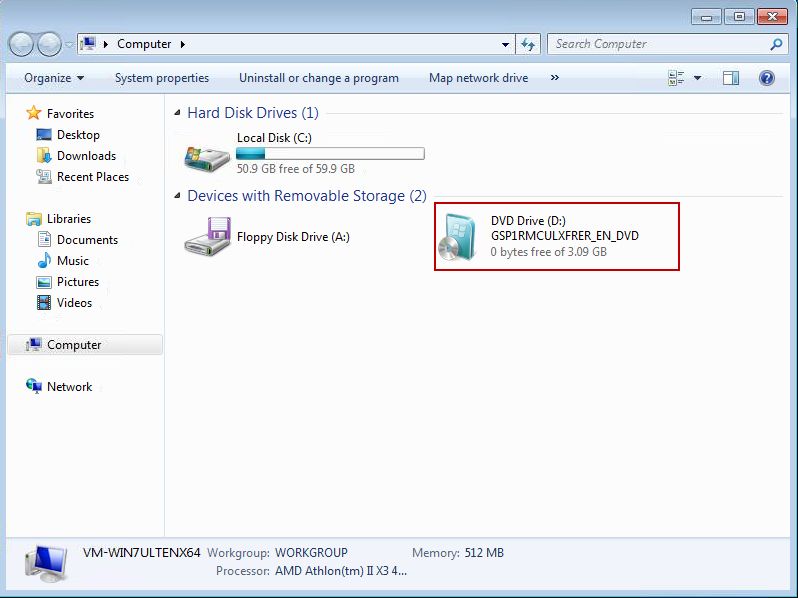
Figure 1-8
9) Download "Waik Tools" on desktop. Run "GetWaikTools" and click Download (Figure 1-9).
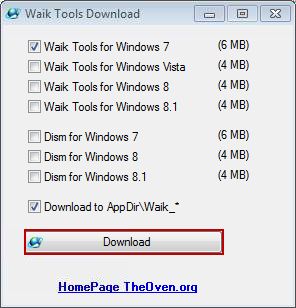
Figure 1-9
10) Input the command: imagex /apply d:\sources\install.wim 4 e: as picture. imagex is downloaded in step 9 (Figure 1-10).
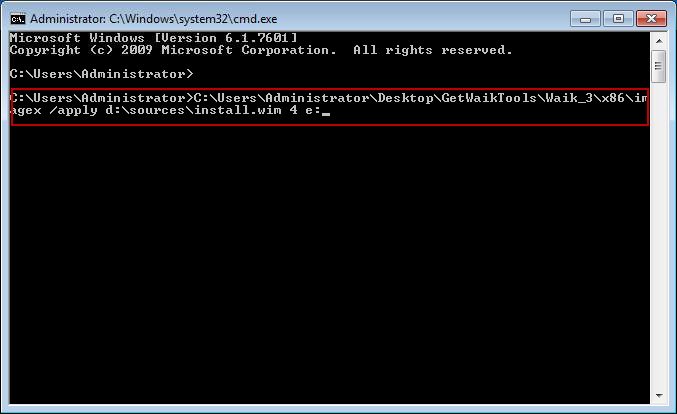
Figure 1-10
11) Input command "bcdboot E:\Windows /l en-us /s E:" after the image applied successfully (Figure 1-11).
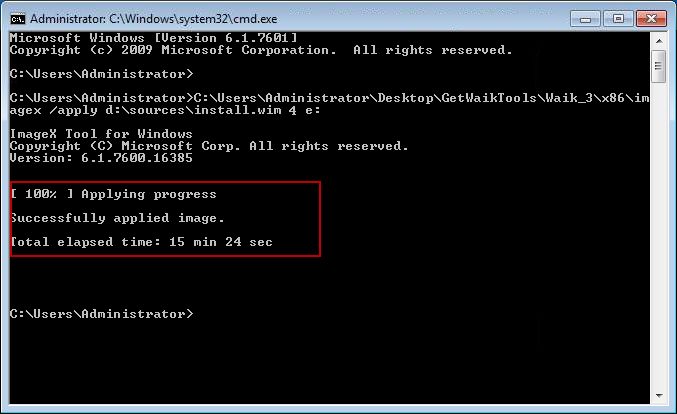
Figure 1-11
12) Input the command "C:\bcdedit", check the "path" and "recoverysequence" ID (Figure 1-12).
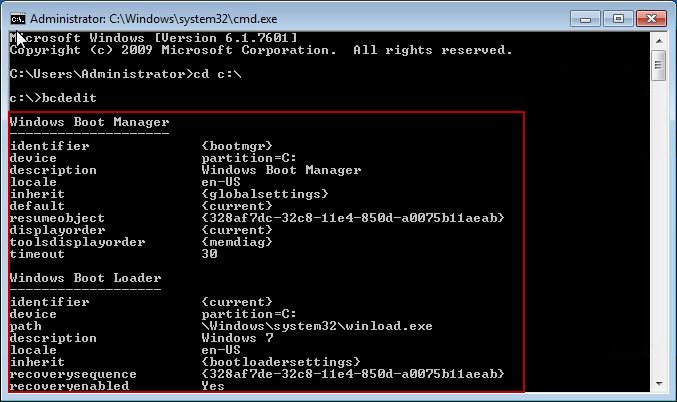
Figure 1-12
13) Input command: C:\bcdedit /copy {default} /d "Boot From Windows7.vhd". When done, it will display the identifier ID. Here it's {328af7e0-32c8-11e4-850d-a0075b11aeab} (Figure 1-13).
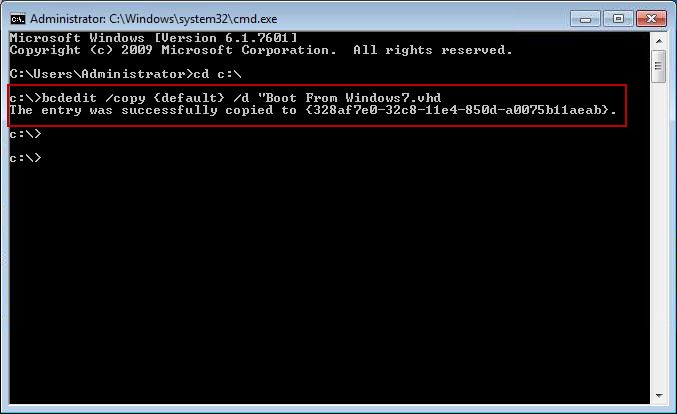
Figure 1-13
14) Input command: C:\bcdedit /set {328af7e0-32c8-11e4-850d-a0075b11aeab} device vhd=[C:]\windows7.vhd (Figure 1-14).
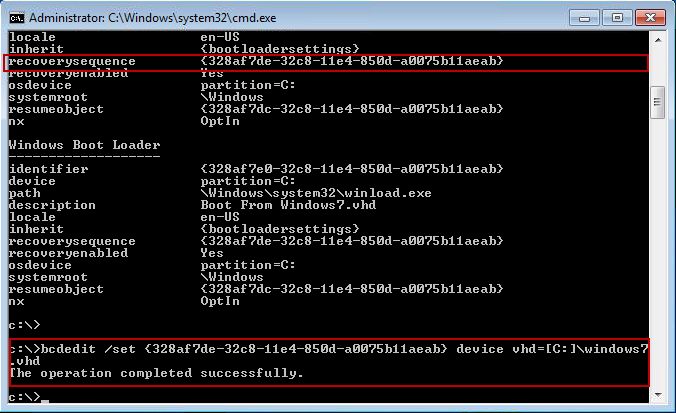
Figure 1-14
15) Input command: C:\bcdedit /set {328af7e0-32c8-11e4-850d-a0075b11aeab} osdevice vhd=[C:]\windows7.vhd (Figure 1-15).
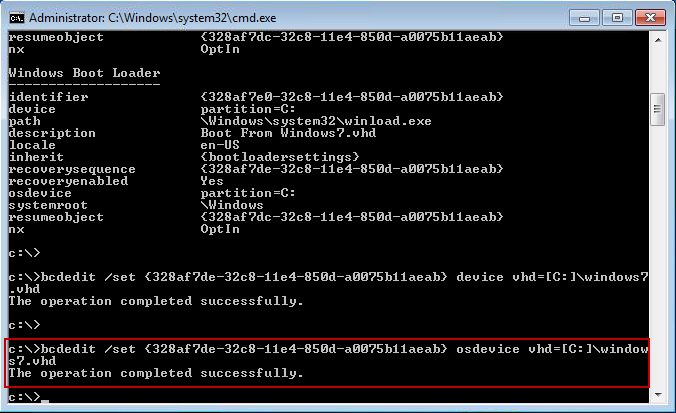
Figure 1-15
16) Restart System and choose "Boot from windows7.vhd " (Figure 1-16) .
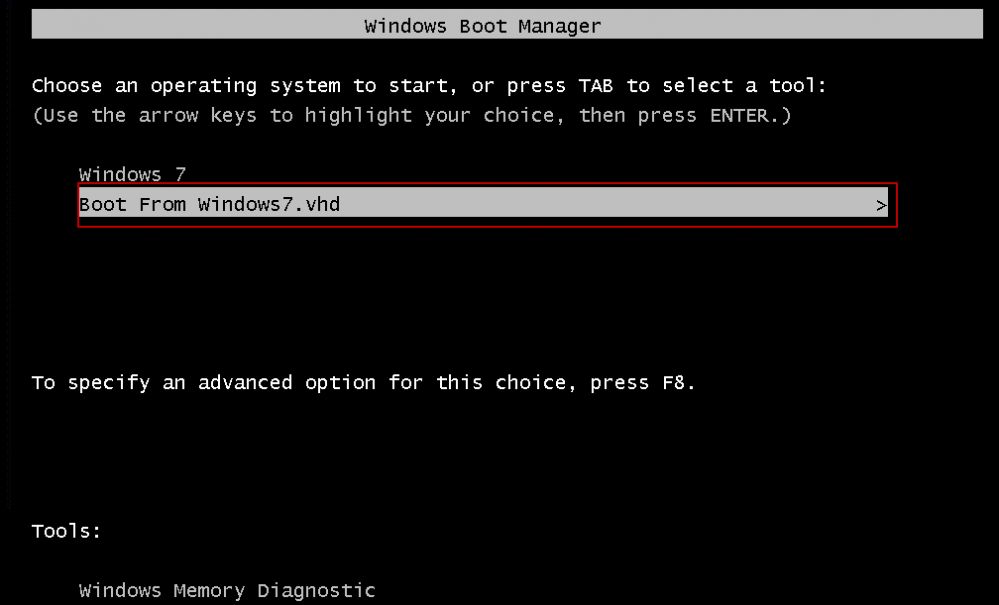
Figure 1-16
17) Boot and install "CCBoot client".
18) Restart and choose the default image to boot. Then the "C:\Windows7.vhd" is the image we need.
Related:
Using super image to boot clients
Create Client Image with Dual NICs
Create windows bootable USB drive to create client image